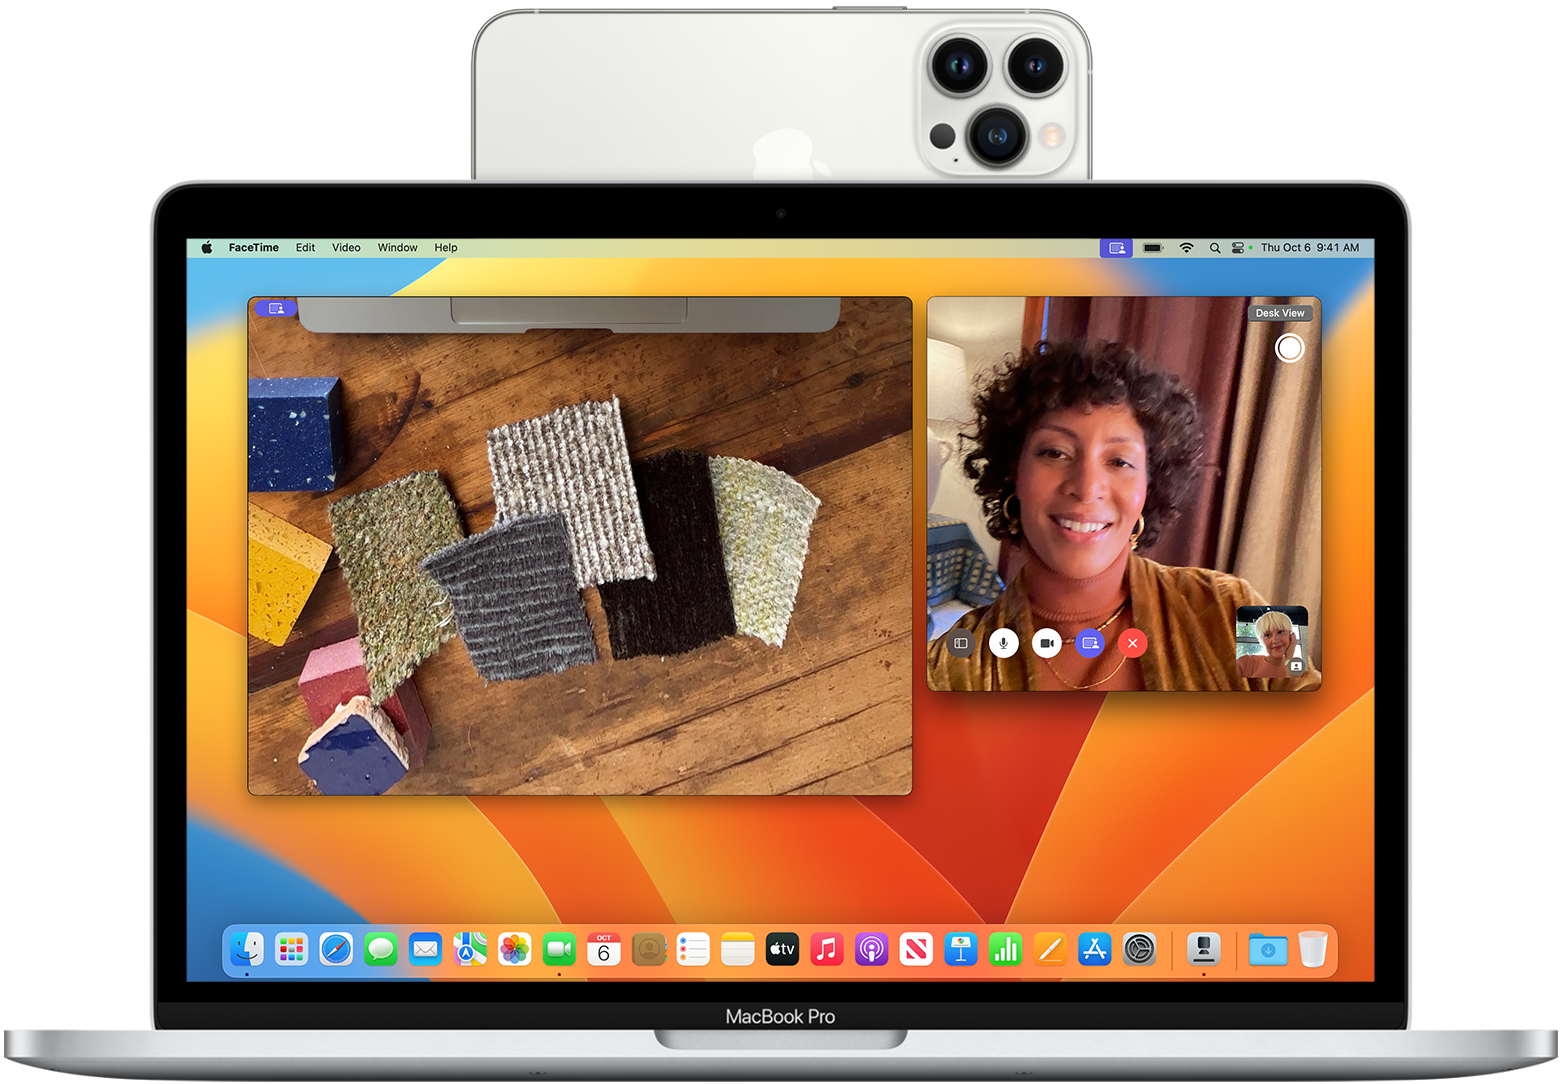
A functioning camera is essential for MacBook users, especially in an era where video conferencing and virtual meetings are commonplace. When your MacBook’s camera isn’t working, it can disrupt your day, affecting both personal and professional interactions. This extensive guide will walk you through various troubleshooting techniques to help you resolve your camera issues.
Preliminary Checks: Ensuring Camera Activation
At times, the solution to a non-working camera could be as simple as a setting that’s been overlooked or an application that’s interfering with the camera.
Confirming Camera Permissions
First, ensure that the application you’re trying to use has the necessary permissions to access the camera. You can do this by:
- Clicking on the Apple logo in the top-left corner of your screen.
- Selecting ‘System Preferences’, then ‘Security & Privacy’.
- Clicking on the ‘Privacy’ tab.
- Choosing ‘Camera’ from the sidebar.
- Checking the box next to the application that needs camera access.
Checking Application Restrictions
If you’ve confirmed that the correct permissions are in place, close any applications that might be using the camera. Applications can sometimes fail to release the camera, preventing other programs from accessing it.
Diagnosing Hardware Issues
When software solutions don’t resolve the camera problem, it’s possible there could be a hardware issue at play.
Testing with Different Applications
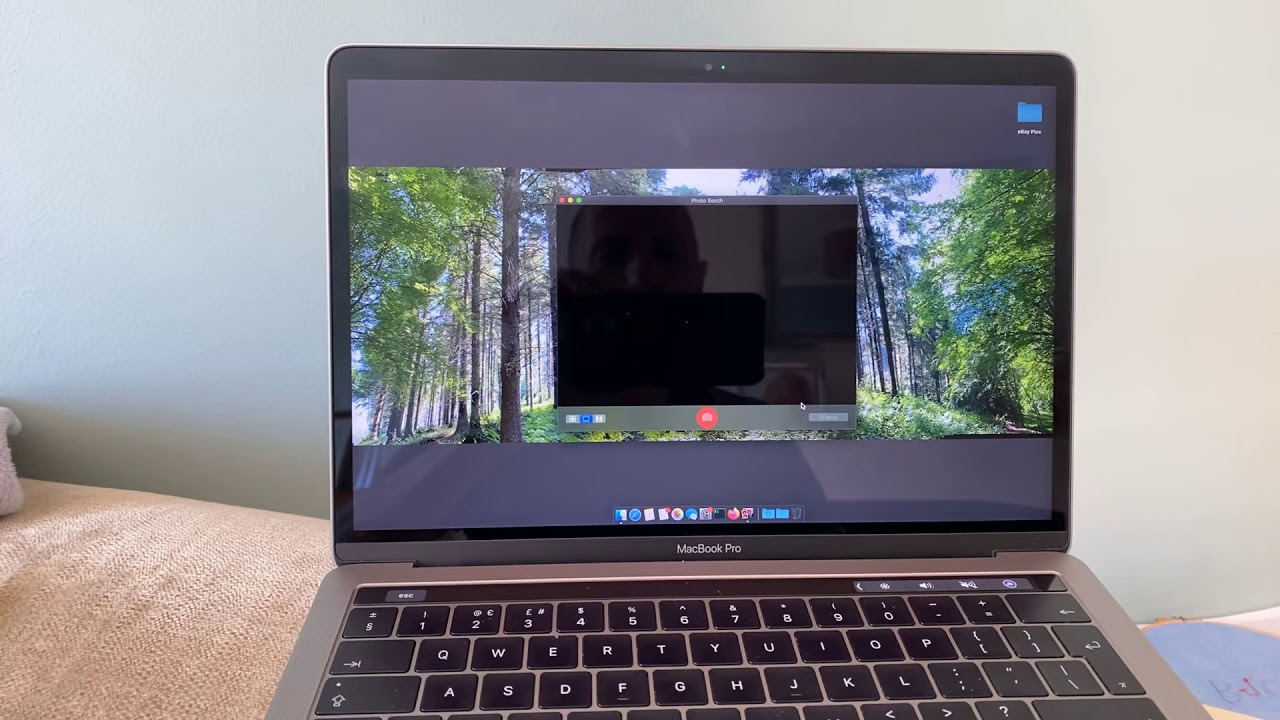
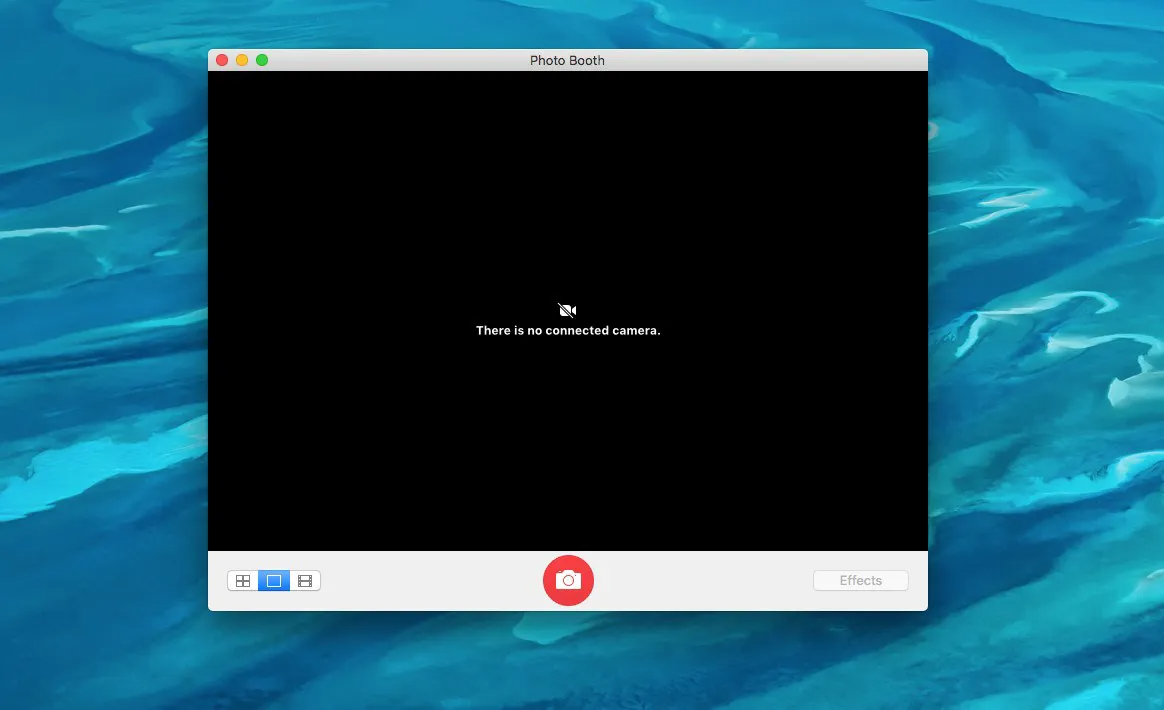
Try using the camera with multiple applications like FaceTime, Photo Booth, or Zoom. If the camera works with some applications but not others, there’s likely an issue with the software rather than the camera itself.
Inspecting for Physical Blockage
Though it may seem obvious, check to ensure nothing is covering your MacBook’s camera. Screen protectors, cases, or even stickers can sometimes obstruct the view.
Software Solutions: Tackling Potential Glitches
Software glitches can often be the cause of camera malfunctions on a MacBook. Here are a few ways to tackle them:
Restarting Your MacBook
A simple restart can sometimes clear up any temporary software issues that could be causing the camera to malfunction.
Updating MacOS
Ensuring that you’re running the latest version of MacOS can resolve camera issues caused by outdated software.
- Click on the Apple logo.
- Select ‘About This Mac’.
- Click ‘Software Update’ to check for available updates.
Resetting the System Management Controller (SMC)
The SMC controls various low-level functions on your MacBook, including the camera. Resetting it might resolve the issue.
- Shut down your MacBook.
- For MacBooks with a T2 chip, press and hold the power button for 10 seconds, then release it and wait a few seconds before pressing it again to turn on your MacBook.
- For MacBooks without a T2 chip and with a non-removable battery, hold Shift-Control-Option on the left side of the built-in keyboard and press the power button at the same time. Release all keys and the power button simultaneously, then press the power button to turn on your MacBook.
Resetting the NVRAM/PRAM
Nonvolatile random-access memory (NVRAM) or parameter RAM (PRAM) stores certain settings even when your MacBook is turned off. Resetting it can sometimes fix camera issues.
- Shut down your MacBook.
- Press the power button, then immediately press and hold the Option-Command-P-R keys.
- Hold these keys for about 20 seconds. Your MacBook may appear to restart during this process.
- Release the keys and allow your MacBook to boot normally.
Addressing Persistent Software Issues
Sometimes, software issues can be more persistent and require a deeper dive to resolve.
Checking Console Logs
Console logs can provide clues about what’s causing the camera to fail. Use the Console app in the Utilities folder to check for any error messages that occur when you try to use the camera.
Creating a New User Account
User account settings can interfere with camera functionality. Create a new user account to see if the camera works under a different set of preferences.
- Go to ‘System Preferences’.
- Select ‘Users & Groups’.
- Click the lock icon and enter your administrator password.
- Click the ‘+’ button to add a new user.
- Log out of your current account and log into the new one to test the camera.
Booting into Safe Mode
Booting into Safe Mode can help diagnose if the issue is related to any third-party software.
- Shut down your MacBook.
- Press the power button and then immediately press and hold the Shift key.
- Release the Shift key when you see the login window.
- Try using the camera in Safe Mode.
Seeking Professional Help
Enlisting Expert Assistance for MacBook Camera Complications
When the camera on your MacBook ceases to function and all do-it-yourself fixes have been exhausted without success, it may be time to seek professional help. Dealing with hardware issues, especially those that involve integrated components like a MacBook’s camera, often requires a level of expertise that goes beyond the average user’s skills.
Using Apple Diagnostics for a Preliminary Assessment
Before you make your way to a service provider, Apple offers a built-in tool called Apple Diagnostics (formerly known as Apple Hardware Test) that can help you understand if there’s an underlying hardware issue.
- First, ensure that your MacBook is placed on a flat, stable surface with good ventilation.
- Disconnect all external peripherals except for the power adapter.
- Restart your MacBook and immediately hold down the ‘D’ key as it boots.
- Release the key when you see a progress bar or are prompted to choose a language.
- Apple Diagnostics will run automatically, checking your system for hardware issues.
- Note down any reference codes provided; these can be very helpful to a professional technician.
Contacting Apple Support for Guidance
If Apple Diagnostics returns error codes related to the camera or doesn’t find any problems, but your camera is still not working, it’s time to reach out to Apple Support. They can offer guidance based on the error codes or symptoms you describe and will advise you on the best course of action.
- Visit the official Apple Support website.
- Navigate to the ‘Contact Support’ section.
- Choose ‘Mac’ as your product.
- Select an issue related to the camera or hardware.
- Opt for the most convenient way to get in touch – via phone, chat, or email.
Scheduling an Appointment with the Genius Bar
For hands-on professional help:
- Schedule an appointment with the Genius Bar at your local Apple Store through the Apple Support website or the Apple Store app.
- Ensure you have your Apple ID credentials and a backup of your data before your appointment.
- Bring your MacBook to the Apple Store at the scheduled time for a diagnostic by a certified technician.
Visiting an Apple Authorized Service Provider (AASP)
If you cannot get to an Apple Store, an Apple Authorized Service Provider can offer similar services. These providers are officially recognized by Apple and have technicians trained in the repair and maintenance of Apple products.
- Use the locator tool on Apple’s website to find an AASP near you.
- Contact the service provider to discuss your issue and arrange for a diagnostic.
- Just as with the Genius Bar, make sure you back up your MacBook before handing it in for service.
Weighing the Cost of Repairs
When seeking professional help:
- Consider the age of your MacBook and whether it’s still under warranty or covered by AppleCare+. If so, the repair might be free or at a reduced cost.
- If your warranty has expired, ask for a quote before agreeing to any repairs. Depending on the cost, you might need to decide if the repair is worth it or if you’d be better off investing in a new machine.
Conclusion:
Restoring Your MacBook’s Camera Functionality
A non-working MacBook camera can be a significant inconvenience, but with these troubleshooting steps, you stand a good chance of resolving the issue. From checking permissions and hardware to resetting system controllers and updating software, you have a variety of options at your disposal. If all else fails, Apple’s support network is available to help get your camera back up and running. Remember, regular updates and maintenance can prevent many of these issues from occurring in the first place, ensuring your MacBook’s camera is ready when you need it.
