When the camera on your MacBook Pro isn’t working, it can be a significant inconvenience, particularly if you rely on video conferencing for work or staying in touch with family and friends. Fortunately, there are several steps you can take to diagnose and potentially solve the problem.
Check the Camera’s Functionality
When your MacBook Pro’s camera isn’t working, it’s essential to check its functionality systematically. There are several ways to verify if the problem is software-related or if there might be a hardware issue.
Ensuring No Interference from Other Applications
Before delving into more complex troubleshooting, make sure no other application is currently using or interfering with the camera’s operation.
Close Potential Interfering Apps
Open the Force Quit Applications window by pressing Command + Option + Escape and close any apps that might be using the camera, such as FaceTime, Skype, or Photo Booth. After closing these applications, try accessing the camera again with a single app to see if the issue persists.
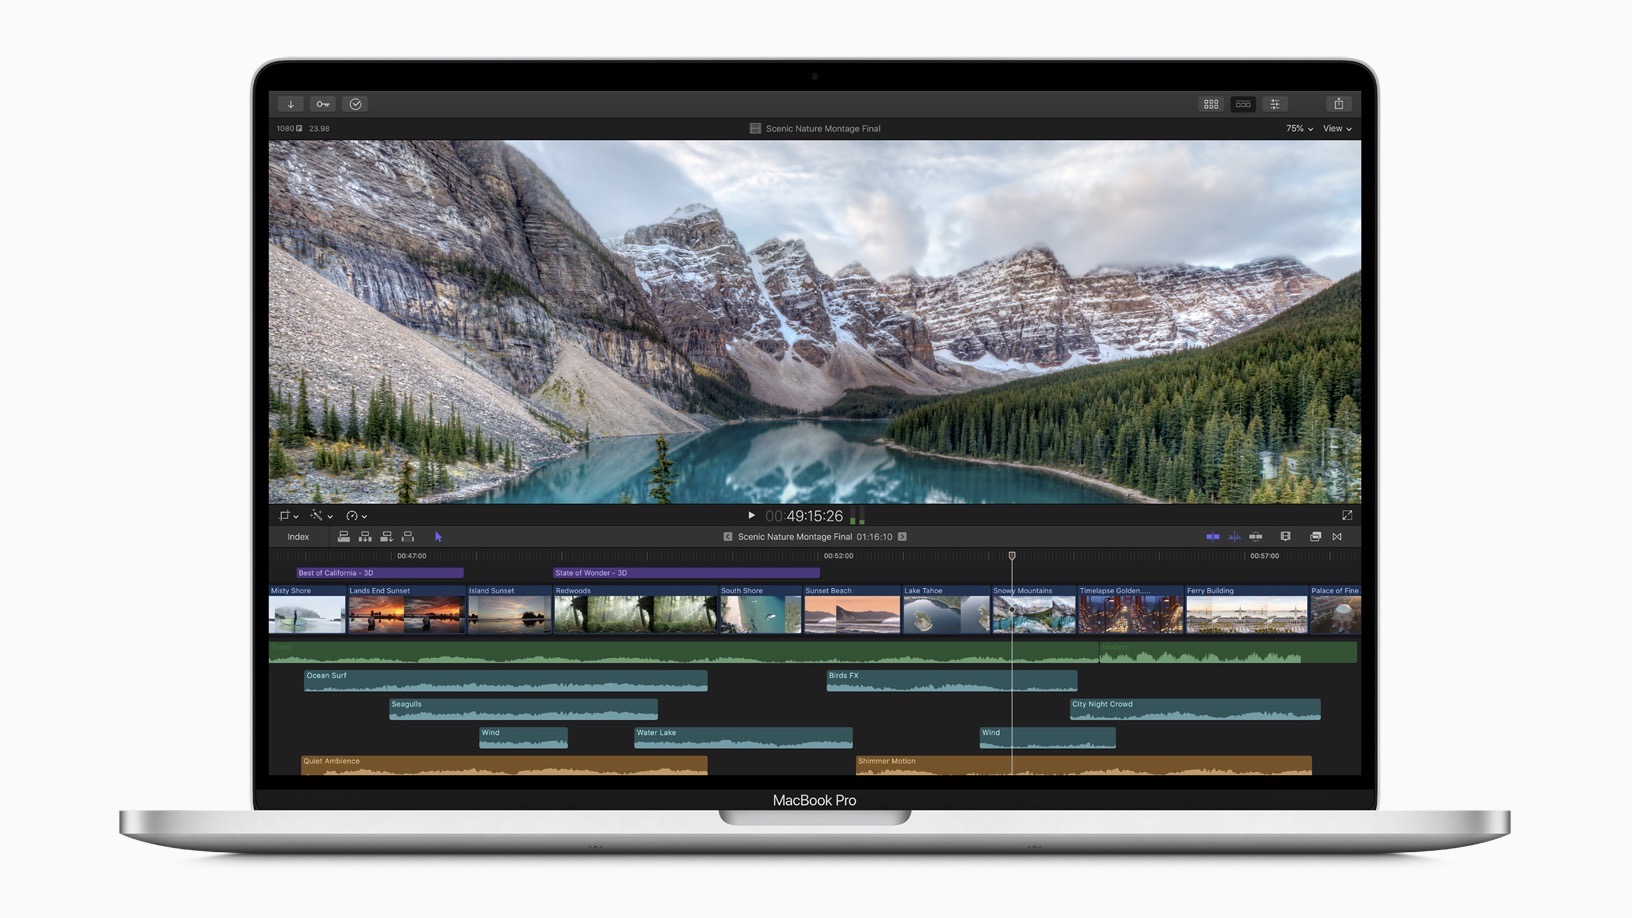
Testing the Camera with Different Applications
Trying different applications can help isolate the issue. If the camera works with one app but not another, the problem may be with the app that cannot access the camera.
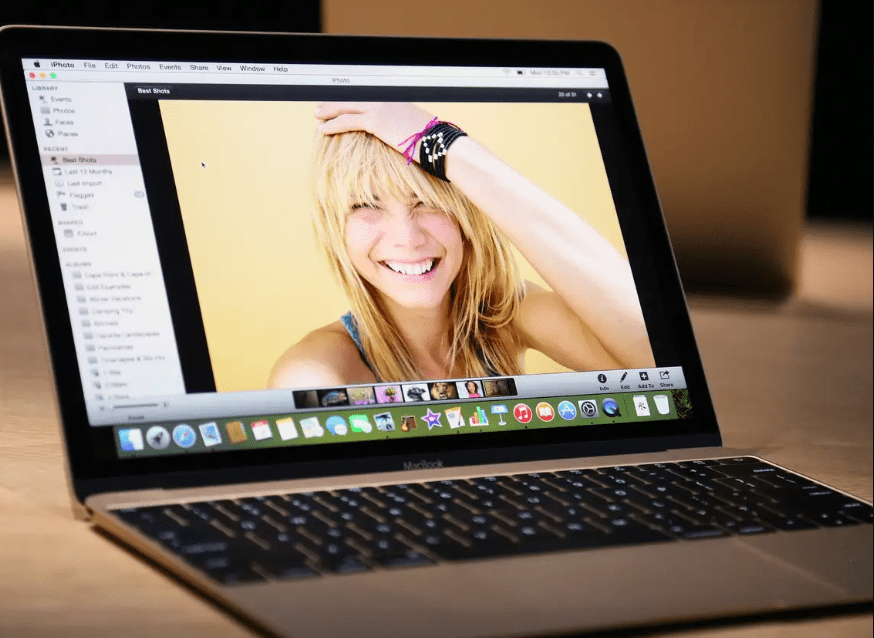
Use Apple’s Built-in Apps
Open Photo Booth, FaceTime, or another app that uses the camera to see if the camera is functioning. If the camera works in one app but not others, the fault may lie with the app’s settings or compatibility.
Reviewing System Report for Camera Recognition
Your MacBook Pro’s System Report can provide insightful information about the hardware connected to your computer, including the camera.
Access the System Information
Hold the Option key and click the Apple menu. Select System Information or System Report. Under the Hardware section, look for Camera and select it. If the camera is recognized by the system, it should be listed there along with its specifications.
Resolving Potential Software Conflicts
If other applications are not the issue, there might be a software conflict within the system itself that is preventing the camera from working.
Check for Conflicting Processes
Open the Terminal application (located in the Utilities folder within Applications) and type sudo killall VDCAssistant, followed by Enter. You will need to enter your administrator password. This command will stop the camera assistant process, which may have become unresponsive, and allow it to restart. Do the same for AppleCameraAssistant.
If the camera still doesn’t work, there may be an issue with the services that the camera relies on to function.
Restart Relevant Services
Restart your MacBook Pro to refresh the underlying services that the camera uses. A fresh start can often resolve issues that appear to be related to the camera but are actually caused by background services failing to start or operate correctly.
Conclusion
Checking your MacBook Pro’s camera functionality involves closing potential interfering apps, testing with different applications, reviewing the system report, and resolving any software conflicts. If the camera still fails to work after these steps, the problem might be more complex and could require further intervention, either through system diagnostics or professional support from Apple’s customer service.
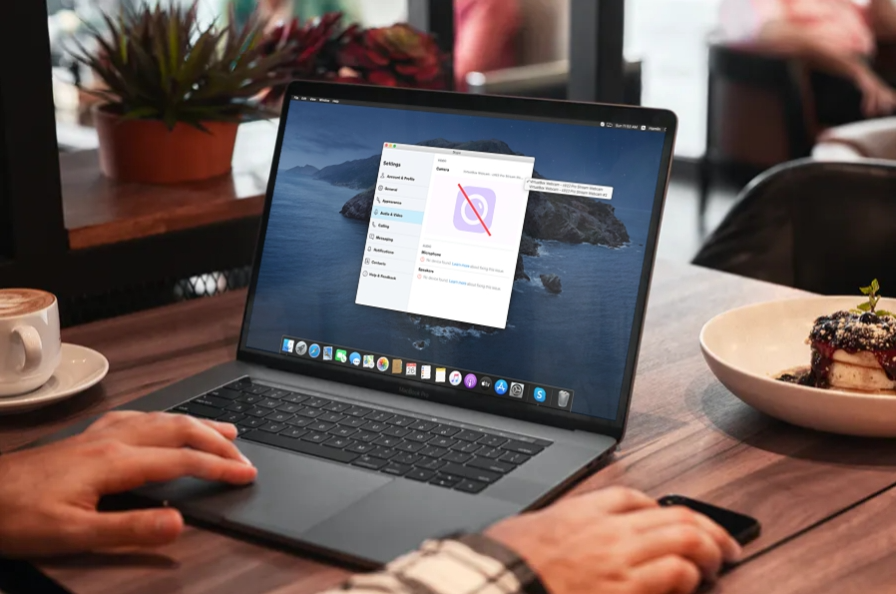
Review Your Application Permissions
If your MacBook Pro’s camera is not working, one of the crucial steps you need to take is to review your application permissions. This is especially important if the camera is selectively not working with certain applications. MacOS includes privacy settings that allow you to control which apps have access to the camera, and sometimes these settings can prevent an app from using the camera even if the camera itself is functioning properly.
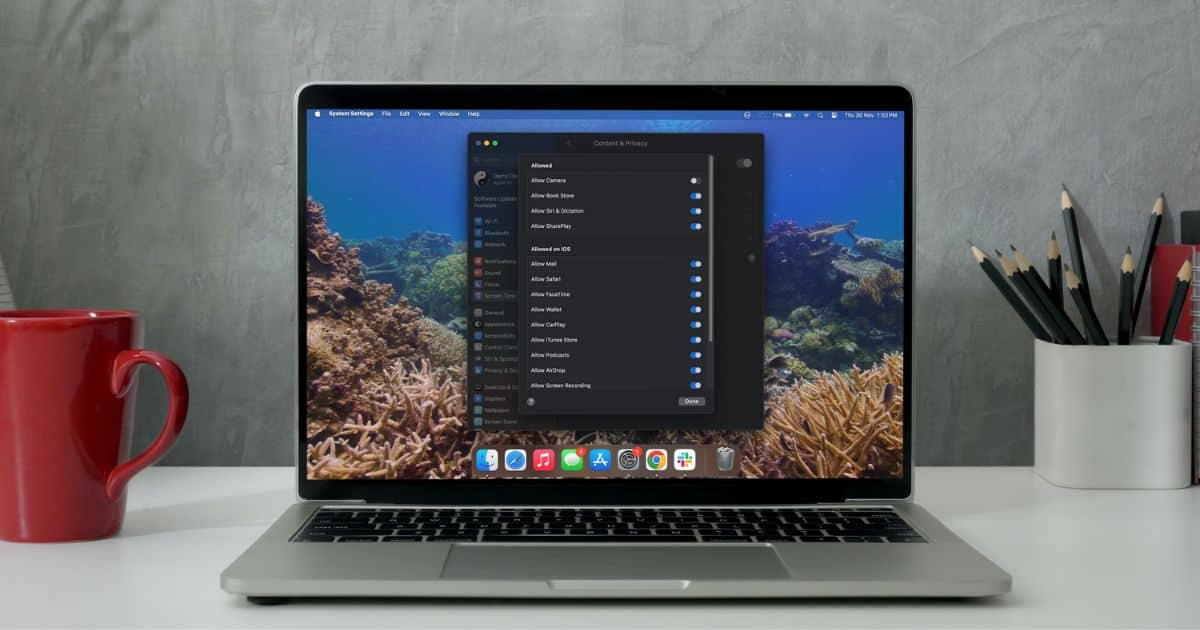
Checking Camera Permissions in macOS
To begin, you need to access your system’s privacy settings:
- Click on the Apple icon in the top-left corner of your screen.
- Select ‘System Preferences’ from the dropdown menu.
- Click on ‘Security & Privacy,’ which is usually represented by a house icon.
- Go to the ‘Privacy’ tab at the top of the window.
Modifying Camera Access
In the ‘Privacy’ tab:
- Scroll down or look to the left-hand side to find ‘Camera’ in the list of features.
- Click on ‘Camera’ to view the list of applications that have requested access to your camera.
Granting or Revoking Camera Access
In the ‘Camera’ section:
- You will see a list with checkboxes next to each app.
- If an app is not allowed to use the camera, its checkbox will be empty.
- To change an app’s access, click the padlock icon at the bottom left of the window to authenticate with your administrator username and password.
- After unlocking, you can check or uncheck the boxes to grant or revoke camera access for each app.
Understanding the Implications of App Permissions
Ensuring Intended Functionality
When you grant an application access to your camera, it should be able to use it for video calls, taking photos, and other camera-related functions. It’s essential to ensure that only the apps you trust and need to use the camera have permission to do so.
Privacy Considerations
Be aware of privacy implications when granting camera access to applications. Only give permission to apps from reputable developers and services you use regularly that require camera functionality.
Troubleshooting Apps with Camera Access Issues
Refreshing Permissions
If an app has the correct permissions but still can’t use the camera:
- Try unchecking and then re-checking the box next to the app to reset the permission.
- If that doesn’t work, try restarting the app and checking again to see if the camera works.
Identifying Problematic Apps
Occasionally, an app may still have difficulty accessing the camera even with the correct permissions. This could be due to compatibility issues, particularly after a macOS update. Check the app developer’s website or support channels for updates or workarounds.
Restart Your MacBook Pro
Perform a Simple Reboot
Sometimes, a simple restart can resolve the issue. Click the Apple menu > Restart, and allow your MacBook Pro to reboot completely. After restarting, open the application you want to use and see if the camera is now working.
Reset the System Management Controller (SMC)
Resetting the SMC on Intel-Based MacBooks
If you have an Intel-based MacBook Pro and the camera still isn’t working after a restart, you might need to reset the System Management Controller (SMC). To reset the SMC on a MacBook Pro with a non-removable battery:
- Shut down your MacBook Pro.
- Press and hold Shift + Control + Option on the left side of the keyboard, then press and hold the power button (or Touch ID button) at the same time.
- Hold these keys for 10 seconds.
- Release all keys, then press the power button to turn on your MacBook Pro.
Note: For MacBook Pro models with the T2 chip, the process might be different.

Update macOS
Ensure Your Software is Up-to-Date
Outdated software can lead to hardware malfunctions, including camera issues. Check for any available macOS updates by going to the Apple menu > About This Mac > Software Update. Install any available updates and check if the camera starts working.
Conclusion
If your MacBook Pro camera isn’t working, these troubleshooting steps can often resolve the problem. Check for application conflicts, verify permissions, restart the device, reset the SMC, and update macOS as needed. If the issue persists after these steps, it may be time to contact Apple Support or visit an Apple Store for professional assistance.