Introduction
In today’s multimedia age, podcasts have evolved beyond simple audio formats, embracing video as a powerful tool to engage audiences. A visually compelling podcast requires careful planning and execution when it comes to camera setup. This comprehensive guide will delve into the intricacies of setting up a podcast-ready camera system, covering everything from choosing the right equipment to optimizing your recording space and ensuring high-quality visuals to complement your engaging content.
Section 1: Selecting the Right Camera Equipment
When venturing into video podcasting, selecting the right camera is a foundational step that can significantly influence the overall quality of your content. Here’s what to consider when making this important choice:
1.1 Image Quality and Resolution
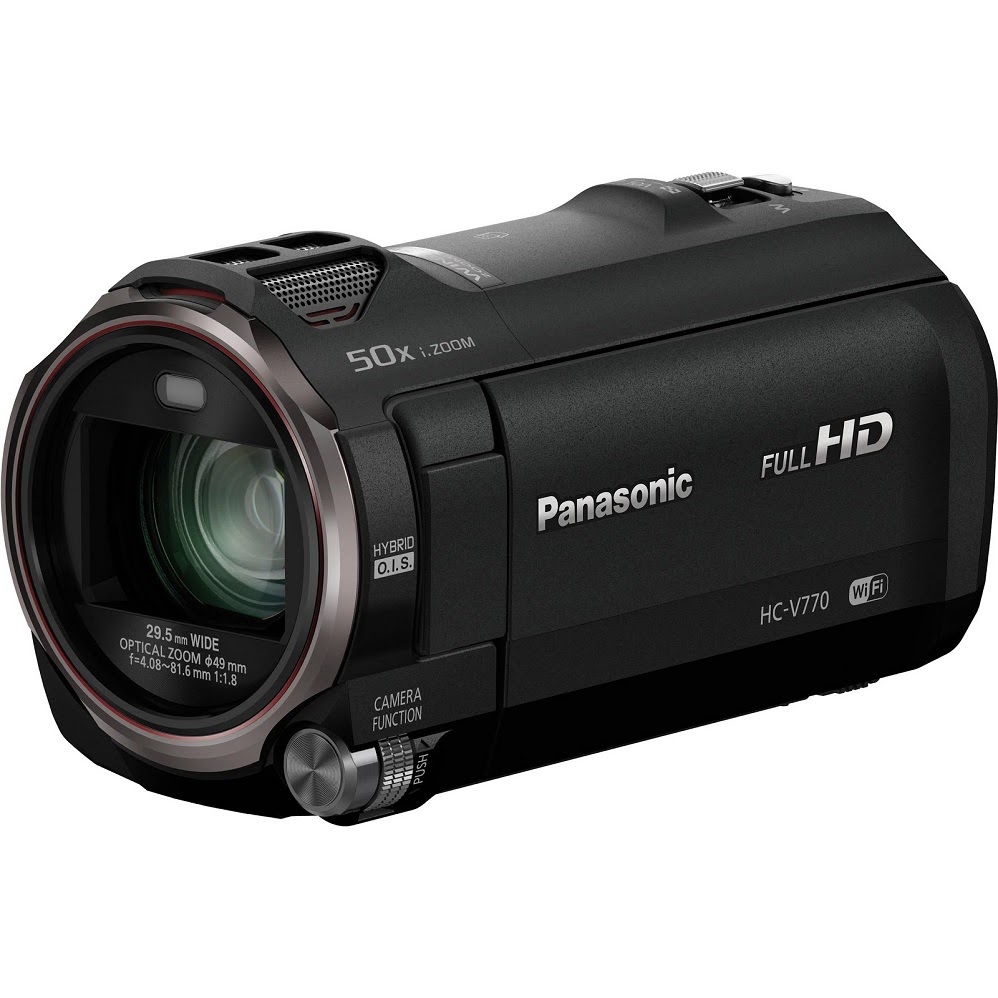
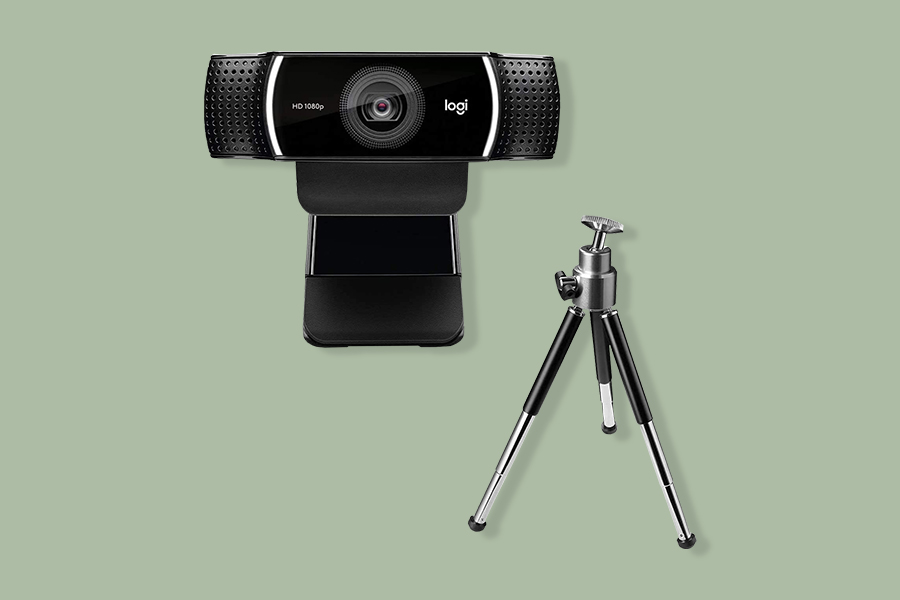
The visual appeal of your podcast starts with crisp, clear footage. Look for cameras that offer Full HD (1080p) recording as a minimum standard, which is widely accepted for online video platforms. As technology advances and viewer expectations rise, many podcasters are now opting for 4K cameras, which provide more detailed images and greater flexibility during editing.
1.2 Lens and Field of View
Consider the lens type and its field of view. A wide-angle lens may be suitable if you have multiple hosts or guests in one frame, while a standard lens works well for individual close-ups. Interchangeable lenses give you more creative control over your shots.
1.3 Low Light Performance
Podcasts often take place indoors, where lighting conditions might not always be optimal. A camera with excellent low-light sensitivity ensures good image quality even in dimly lit environments. Features like larger sensors, wider aperture ranges (f/1.8 or lower), and advanced noise reduction capabilities are essential for better low light performance.
1.4 Audio Capabilities
While audio quality is typically managed separately from the camera, having a decent built-in microphone can serve as a backup or simplify setup for solo podcast sessions. Additionally, ensure your camera has clean HDMI output so you can connect it to an external recorder for superior audio capture.
1.5 Connectivity and Live Streaming
For live podcasts or easy uploading, check that your camera supports connectivity options such as Wi-Fi, USB-C, or Ethernet ports. This enables you to stream directly to platforms like YouTube or Twitch, or transfer files quickly to your computer for editing and upload.
1.6 Budget and User-Friendliness
Finally, balance your budget with features that suit your needs. Beginner-friendly cameras with automatic modes can help streamline your workflow, whereas more advanced models with manual controls allow for greater customization and artistic expression. Remember, investing in quality equipment is a long-term investment in the visual aspect of your podcast brand.
Section 2: Setting Up Multiple Cameras for Enhanced Visual Engagement
2.1 The Benefits of Multiple Camera Angles
Using multiple cameras in your podcast setup can elevate the production value by providing viewers with a dynamic visual experience. It allows for varied shot compositions, capturing different perspectives of the host(s) and guests, and keeps the visuals interesting during lengthy discussions. This technique is especially useful for panel discussions, interviews, or performances where reactions and interactions are key components.
2.2 Choosing Camera Positions
- Wide Shot: A wide angle camera captures the entire set, giving viewers context and showing all participants at once.
- Close-up Shots: Individual close-ups highlight facial expressions and emotions, particularly for speakers or active participants.
- Overhead Shot: For demonstrating products or showcasing hands-on activities, an overhead camera can add unique insights.
- Angle Variations: Experiment with side angles or diagonal views for a more cinematic feel.
2.3 Syncing Cameras
To seamlessly switch between camera angles during post-production or live streaming, ensure all cameras are synced. You can achieve this using timecode sync devices, software-based solutions, or clapboards for manual syncing.
2.4 Switching Options
- Hardware Switchers: Physical switchers enable real-time switching during live streams. These can range from simple, entry-level units to professional-grade ones with numerous input channels and transition effects.
- Software Switching: Many video production software, like OBS Studio, allow you to switch between camera feeds live, ideal for virtual podcasting setups.
- Automatic Tracking Systems: AI-powered PTZ (Pan-Tilt-Zoom) cameras can track subjects automatically, eliminating the need for manual switching.
2.5 Monitoring and Control
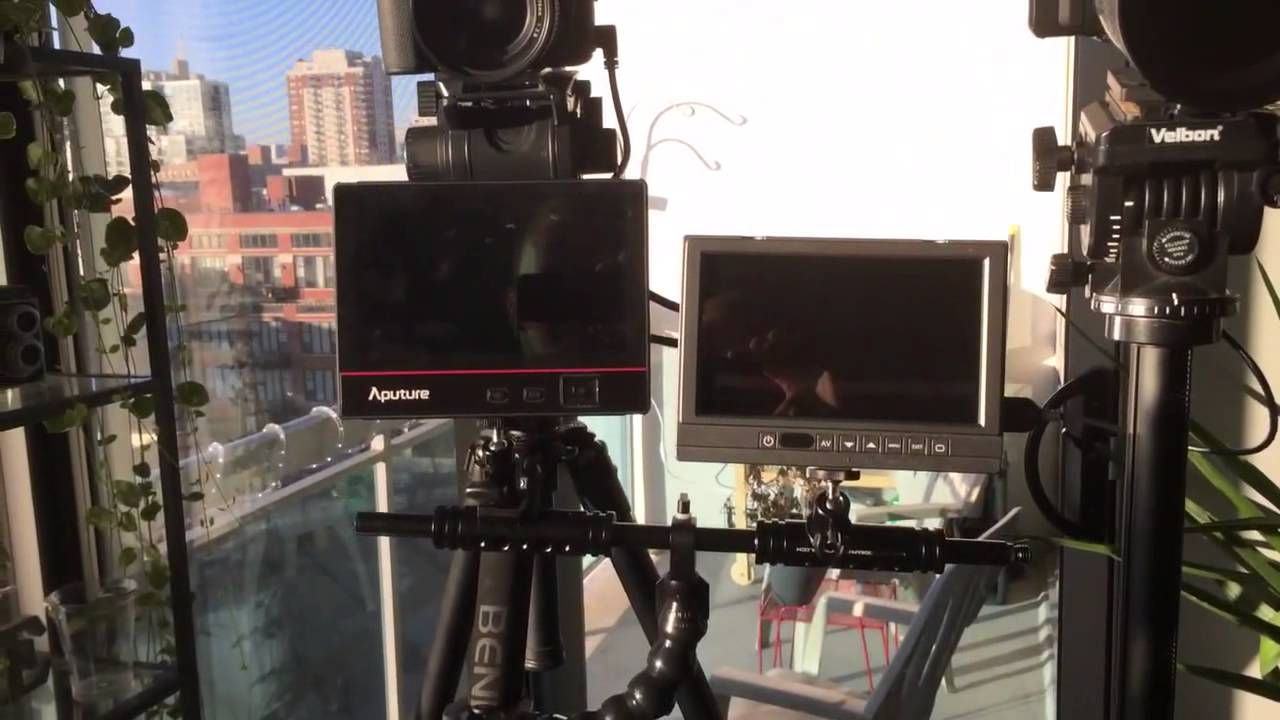
Use a multi-view monitor or software dashboard to keep track of all camera feeds simultaneously. This way, you or your technical team can effectively direct the show, ensuring smooth transitions and catching any issues on the fly.
2.6 Post-Production Integration
In a pre-recorded setting, footage from each camera can be edited together to create a polished final product. Editing software like Adobe Premiere Pro, Final Cut Pro, or DaVinci Resolve allows you to cut between angles, add transitions, and synchronize soundtracks across multiple cameras.
Remember, regardless of how many cameras you use, the goal is always to enhance the storytelling process and maintain viewer engagement throughout your podcast session. Always prioritize the narrative flow and the natural dynamics of your conversation when deciding which camera angle to use and when to switch.
Section 3: Lighting Techniques for Professional Look
Proper lighting is vital for creating a polished podcast appearance:
- Key Lights: Set your primary light source (key light) to the side of your subject, slightly above eye level, to highlight faces and create dimension.
- Fill Lights: Soften shadows cast by the key light with fill lights placed opposite or at an angle to balance out exposure.
- Backlighting: Add a backlight to separate your subjects from the background and create a sense of depth.
Section 4: Optimizing Audio for Clear Dialogue
While cameras may not be the primary source of audio, syncing high-quality audio is essential:
- External Microphones: Use shotgun or lavalier mics to capture crisp, clear dialogue. Position them close to the speaker’s mouth while minimizing noise pickup.
- Audio Interfaces: Connect your mics to an audio interface for cleaner signal and better control over input levels.
- Noise Reduction: Implement soundproofing measures and utilize noise-cancelling software to reduce ambient noise.
Section 5: Recording Environment and Background
Creating a visually appealing backdrop is equally important:
- Background Selection: Choose a neutral, non-distracting background. Alternatively, invest in a green screen for virtual backgrounds.
- Room Acoustics: Optimize the room for acoustics using acoustic panels or soft furnishings to minimize echo and reverberation.
Section 6: Post-Production and Editing Tools
Once the raw footage is captured:
- Video Editing Software: Choose software that supports multi-camera editing, color correction, and special effects if desired.
- Color Correction & Grading: Enhance the visual appeal by adjusting brightness, contrast, and color temperature to maintain consistency across scenes.
- Compression & Exporting: Ensure your final video podcast is optimized for web playback with the right codecs and resolution settings.
Conclusion: Unleashing Your Podcast’s Visual Potential
A well-planned camera setup is pivotal in transforming your podcast into a captivating visual experience. By carefully selecting the right equipment, positioning cameras strategically, optimizing lighting and audio, and refining the visuals in post-production, you can elevate your podcast to new heights, engaging viewers and broadening your audience reach. Remember, while the technical aspects are crucial, always remember to let your unique personality and content shine through, because at its core, a great podcast is about connection and storytelling.
