
Introduction
Snapchat, the popular multimedia messaging app, has revolutionized the way we share moments with friends and family. One of its core features is the camera functionality, which allows users to snap photos and record videos in real-time. This guide will walk you through a step-by-step process on how to turn on the camera for Snapchat, ensuring that you’re always ready to capture those fleeting but fun-filled moments.
I. Getting Started: Launching Snapchat and Accessing the Camera
A. Opening the Snapchat App
To begin, locate and tap on the Snapchat app icon on your device’s home screen or app drawer. The app’s signature ghost logo should be easily recognizable.
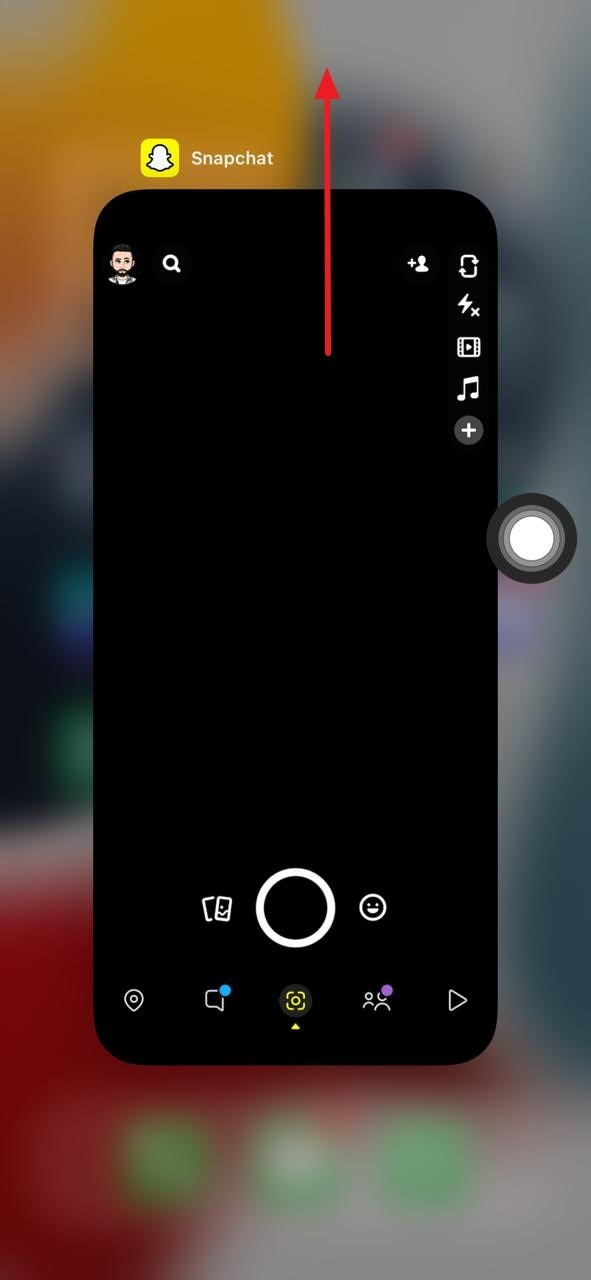
B. Instant Access to the Camera
Upon launching Snapchat, you’ll automatically land on the camera interface. Snapchat’s design prioritizes quick access to the camera function; it opens directly into camera mode so you can start snapping right away.
II. Operating the Snapchat Camera
A. Switching Between Front and Back Cameras
At the top-right corner of the screen, you’ll find a button resembling two arrows forming a circle. Tap this button to toggle between the front-facing (selfie) camera and the rear-facing camera.
B. Zooming In and Out
To zoom in or out while using the Snapchat camera, simply pinch in or out on your screen with two fingers as if you are zooming in a photo viewer. This feature enables you to capture close-up shots or wider angles.
III. Capturing Snaps
A. Taking a Photo
To take a photo, just press and hold the circular shutter button located at the bottom of the screen. Release your finger when you’ve framed your shot, and your snap will be captured.
B. Recording a Video
For recording a video, press and hold the same shutter button. Keep holding until you finish recording, then release the button to stop the recording.
IV. Additional Camera Features
A. Flash and Night Mode
If you need additional light, you can turn on the flash by tapping the lightning bolt icon. Some devices also have a night mode feature which can be activated under low-light conditions.
B. Filters, Lenses, and Special Effects
Swipe left or right on the camera screen to apply filters and lenses before taking a snap. Snapchat offers a variety of creative filters, from augmented reality lenses to geofilters specific to your location.
V. Troubleshooting Camera Issues and Solutions
A. Camera Not Turning On or Functioning Properly
If you encounter issues where the Snapchat camera does not turn on or function as expected, follow these troubleshooting steps:
- Check Permissions: Ensure that Snapchat has permission to access your device’s camera. Navigate to your device’s settings, locate ‘Apps’ or ‘Application Manager’, find Snapchat, and check if camera permissions are granted. If not, enable them.
- Restart the App: Sometimes, a simple restart can fix temporary glitches. Close the Snapchat app completely and then reopen it.
- Update Snapchat: Head over to your respective app store (Google Play Store for Android, Apple App Store for iOS) to check if there’s an available update for Snapchat. Outdated versions of the app may cause compatibility issues with your device’s camera.
- Update Your Device OS: Ensure that your device’s operating system is up-to-date. System updates often contain bug fixes and improvements that could resolve camera issues.
- Clear Cache: For Android devices, clearing the Snapchat cache might help resolve any camera problems. Go to Settings > Apps > Snapchat > Storage, and tap ‘Clear Cache’. Note that this won’t delete your snaps but could reset some app settings.
- Factory Reset (As a Last Resort): If all else fails, consider resetting your device to its factory settings. However, remember to backup important data first since this will erase everything from your phone.
B. Poor Camera Quality
In case you’re experiencing poor video or image quality within Snapchat:
- Check Lens Cleanliness: A dirty camera lens can lead to blurry or low-quality images. Use a microfiber cloth to clean both front and back lenses gently.
- Adjust Camera Settings: While Snapchat doesn’t offer extensive camera settings, check your device’s native camera app for resolution or quality adjustments. High-resolution settings may improve the overall quality when used in Snapchat.
- Snapchat’s Built-in Adjustments: Within Snapchat, you can try using the zoom feature sparingly as excessive zooming can degrade image quality. Also, avoid using filters or lenses that intentionally distort or lower the quality of the image.
- Hardware Check: If the issue persists across other apps too, it might be due to hardware malfunction. In such cases, seek assistance from your device manufacturer or a certified repair service.
Remember, while Snapchat strives to provide a seamless camera experience, certain issues may arise due to external factors such as software bugs, hardware limitations, or user preferences. Following these troubleshooting tips should help you address most common camera-related problems on Snapchat.
VI. Conclusion
Mastering the art of turning on and utilizing the Snapchat camera is the first step to becoming a Snapchatter extraordinaire. From capturing everyday moments to creating engaging stories, Snapchat’s instant camera access provides an intuitive platform to express yourself visually. By following these steps and exploring the various camera features, you’ll be well-equipped to make the most out of your Snapchat experience.