Setting up a Blink camera system in your home is a straightforward process that you can typically accomplish without professional help. Blink cameras are designed for ease of use, with a focus on providing homeowners with a flexible and affordable home security solution. Here’s how to get started.
Unboxing and Preparing Your Blink Camera
Setting up a new Blink camera system is an exciting step towards enhancing the security of your home. The process begins with unboxing and preparing your device, which is designed to be a straightforward and user-friendly experience. Let’s walk through the key steps involved in getting your Blink camera ready for installation.

What’s in the Box
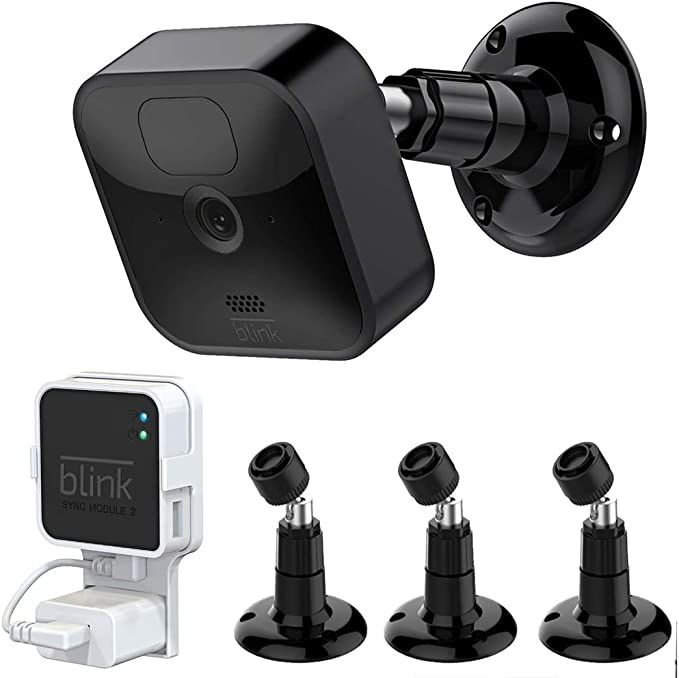
When you receive your Blink camera, you will typically find several key items included in the package:
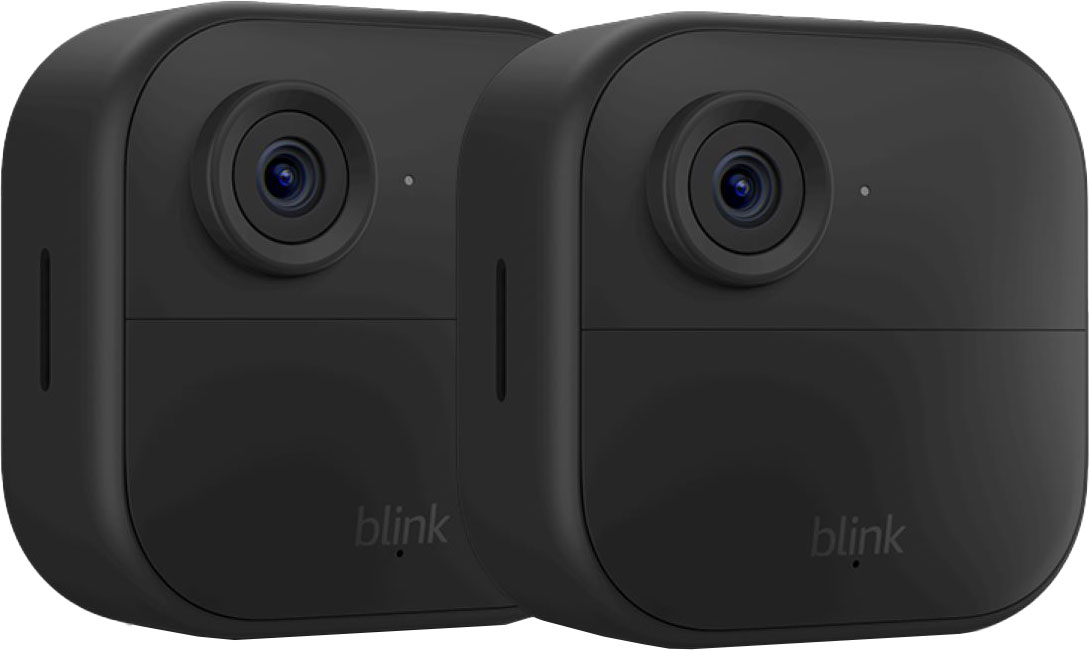
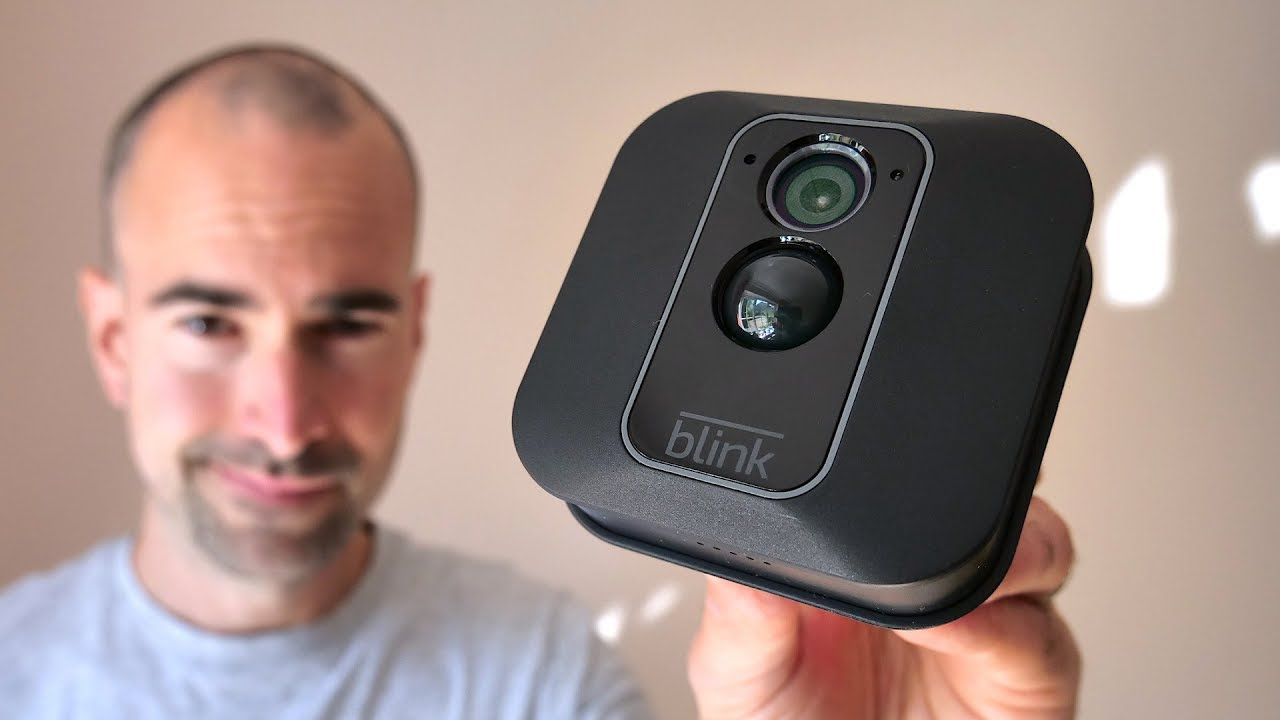
- The Blink Camera: This is the main component that captures video and sends alerts.
- Mounting Kit: A bracket and screws (or sometimes an adhesive strip) for attaching the camera to your desired location.
- Batteries: These are usually AA lithium batteries that power your camera.
- The Sync Module (for systems that require one): A separate device that helps to manage your Blink cameras and connect them to the internet.
- USB Cable and Power Adapter (for the Sync Module): To provide power to the Sync Module.
- Quick Start Guide: Instructions to help guide you through the setup process.
Preparing the Blink Camera
Before you begin the physical installation, it’s important to prepare your Blink camera and ensure that all components are functioning properly.
- Insert the Batteries: Open the battery compartment of your Blink camera and insert the provided lithium batteries, making sure to orient them correctly according to the +/- symbols.
- Power Up the Sync Module: If your Blink system includes a Sync Module, connect it to power using the USB cable and power adapter.
- Download the Blink Home Monitor App: The app is available for free on both iOS and Android devices and is essential for setting up and controlling your Blink camera.
- Create an Account: Open the Blink app and create a new account or log in if you already have one.
- Add Your Camera: Follow the in-app instructions to add your new camera to your Blink account. This will usually involve scanning a QR code located on the back of the camera or the Sync Module.
Testing the Camera’s Functionality
After inserting the batteries and adding the camera to your Blink account, it’s a good idea to test the camera’s functionality before mounting it. Check the camera’s live view in the app to ensure that it’s working correctly and that you have a clear image. You can also test the motion detection and alert features to make sure they’re operating as expected.
Familiarizing Yourself with the Blink App
Take some time to explore the Blink app and familiarize yourself with its features and settings. Understanding how to navigate the app will make it easier to adjust settings during and after installation. You can customize motion detection zones, set up schedules, and configure notification settings to suit your preferences.
Conclusion
Unboxing and preparing your Blink camera is the first step in a simple and satisfying process. By ensuring that everything is in order and functioning correctly, you’ll set yourself up for a smooth installation. Stay tuned for detailed instructions on selecting the perfect location and mounting your Blink camera for optimal performance and security.
Setting Up the Blink Sync Module
The first step in the installation process is setting up the Blink Sync Module. This device connects your Blink cameras to the internet and helps conserve battery life by acting as a hub between your cameras and Wi-Fi network.
Connecting to Power and Wi-Fi
Plug the Sync Module into an electrical outlet and connect it to your Wi-Fi network following the instructions on the Blink app. It’s important to place the module in a central location within your home to ensure a strong signal to all of your cameras.
Downloading the Blink Home Monitor App
Creating an Account and Adding Your Device
Download the Blink Home Monitor app from the App Store or Google Play. Create an account, and follow the in-app instructions to add your Sync Module and cameras to the system. The app will guide you through scanning a QR code on the back of the Sync Module to pair it with your account.
Installing the Cameras
Choosing the Right Location
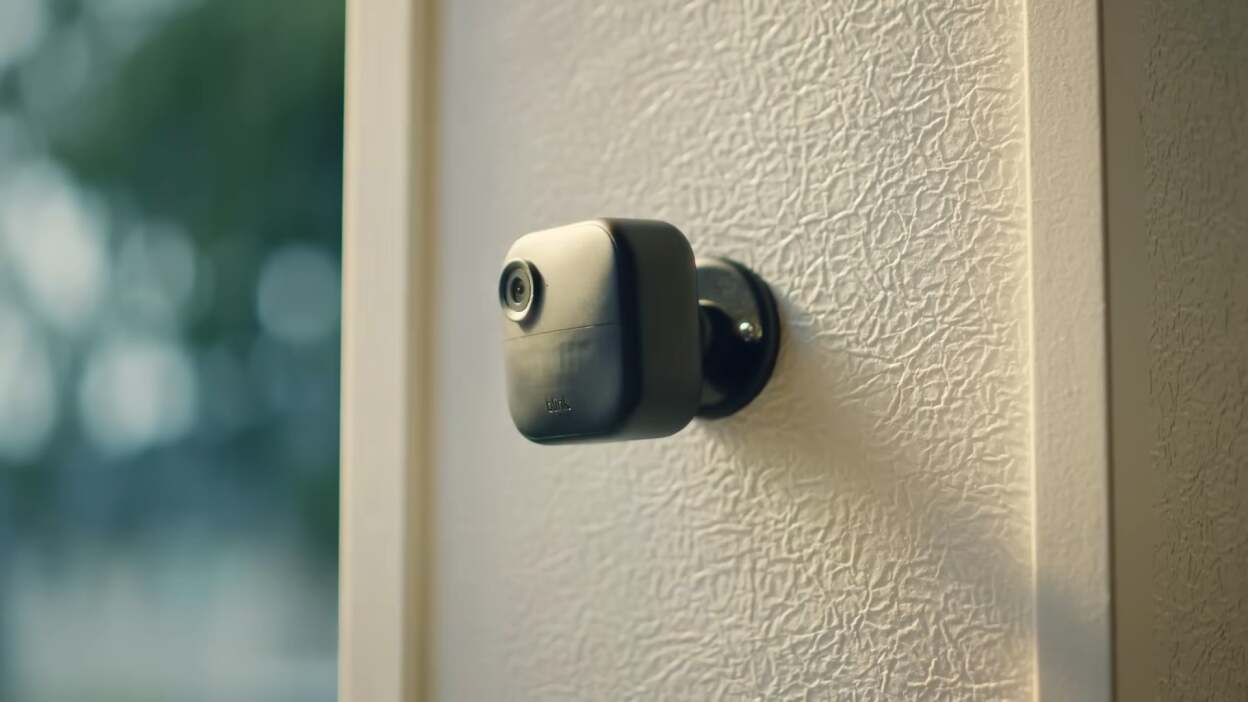
Selecting the proper location for your Blink cameras is crucial. You’ll want to cover main entry points and high-traffic areas. Keep in mind the camera’s field of view and any potential obstructions when choosing where to place it.
Attaching the Mounting Bracket
Once you’ve chosen a spot for your camera, attach the mounting bracket using the included screws or adhesive pad. The Blink camera system is designed for easy removal, so you can adjust the camera’s position as needed or take it down for battery replacement.
Configuring Camera Settings
Within the Blink app, you can configure settings such as motion detection sensitivity, video quality, and retrigger time. Customizing these settings helps optimize battery life and ensures you receive alerts that are relevant to your home’s security needs.
Testing Your Blink Camera System
Testing your Blink camera system after installation is a critical step to ensure it is functioning correctly and optimized for your specific security needs. Proper testing can help you make the necessary adjustments for the best coverage and can save time by identifying any issues early on.
Confirming Camera Placement and Functionality
Verifying Field of View
Once you have mounted your Blink camera, use the Blink Home Monitor app to check the camera’s live view. This will give you a clear picture of what the camera is capturing. Make sure that the camera is angled to cover the desired area without any significant obstructions blocking the view.
Evaluating Motion Detection Range
Test the camera’s motion detection feature by walking through the intended area of coverage. Adjust the camera’s position and settings until you’re satisfied that it’s triggering alerts appropriately and not missing any key areas.
Customizing Camera Settings
Fine-Tuning Motion Sensitivity
In the Blink app, you can adjust the sensitivity of the motion detection. If you’re receiving too many alerts, lower the sensitivity. If the camera is missing activity, increase the sensitivity. Finding the right balance is key to effective surveillance.
Setting Up Activity Zones
For cameras that support activity zones, you can specify which parts of the camera’s field of view should trigger motion alerts. This is useful for avoiding false alarms from areas with frequent, irrelevant movement, like a busy street or a tree that moves in the wind.
Testing Notification and Recording Functions
Ensuring Timely Alerts
When motion is detected, the Blink system should promptly send a notification to your smartphone or tablet. Test this by enabling motion detection and then moving in front of the camera to see how quickly you receive an alert.
Reviewing Recorded Clips
After receiving a motion alert, check the recorded clip in the Blink app’s clip roll. Ensure the clip starts on time, captures the entire event, and is of good quality.
Assessing Night Vision and Audio Quality
Checking Low-light Performance
Most Blink cameras come with infrared night vision. Test this feature by viewing your camera’s live feed in a low-light environment to ensure you can see clearly. If the image is too dark or too bright, reposition the camera or adjust nearby lighting.
Testing Audio Clarity
If your Blink camera has audio capabilities, record a test video with sound to evaluate the audio quality. Ensure you can clearly hear voices or other important sounds within the camera’s range.
Troubleshooting Common Issues
Resolving Connectivity Problems
If your camera is having trouble connecting to the Sync Module or Wi-Fi, try moving the camera closer to the Sync Module or the router to improve the signal strength. Check for any interference from other electronic devices and reposition as needed.
Updating Firmware
Keep your Blink camera system up to date with the latest firmware. Updates can resolve known issues and provide improvements to the camera’s performance. The Blink app should notify you of any available updates.
Conclusion
Installing a Blink camera system is a user-friendly process that can provide peace of mind through additional home security. By following these steps and utilizing the Blink app, you can set up and customize a surveillance system that meets your specific needs.