
Experiencing issues with your iPhone’s back camera can be frustrating, especially when you rely on it for capturing important moments. Here’s how to approach the problem and seek solutions.
Common Causes for iPhone Camera Malfunctions
When an iPhone’s back camera stops functioning properly, it can be due to various reasons. Understanding these common causes can help you troubleshoot the issue effectively.
Software-Related Issues
iOS Glitches or Bugs
Occasionally, an iOS update may introduce unforeseen glitches that can affect the camera’s performance. These can range from minor bugs that cause the camera app to freeze or crash, to more significant software issues that prevent the camera from functioning altogether.
Third-Party Apps Conflicts
Third-party apps that utilize the camera might conflict with the iPhone’s native camera app. If these apps are not optimized or if they malfunction, they can cause problems with the camera’s operation.
Hardware-Related Problems
Accidental Damage
Drops, impacts, or water damage can harm the internals of the iPhone, including the camera. This physical trauma can dislodge or damage the camera’s components, leading to malfunctions.
Normal Wear and Tear
Over time, the iPhone’s components can suffer from wear and tear, which may eventually affect the camera’s ability to perform as expected.
Troubleshooting Steps for Software Issues
Restart the iPhone
Often, a simple restart can resolve temporary software issues. This can clear the phone’s memory and give the camera app a fresh start.
Update iOS
Ensure that your iPhone is running the latest version of iOS. Updates often contain fixes for known bugs and improvements for the camera app.
Addressing Hardware Problems
Inspect the Camera Lens
Check the camera lens on the back of the iPhone for any visible signs of damage or obstruction. Clean the lens gently with a soft, microfiber cloth.
Get Professional Help
If you suspect hardware damage, it’s best to consult with an Apple-certified technician or visit an Apple Store for a professional assessment.
By identifying the common causes of iPhone camera malfunctions, you can take the appropriate steps towards fixing the issue, whether it’s a software reset or seeking repair services for hardware damage. Always ensure your data is backed up before performing any significant troubleshooting procedures.
Initial Steps to Resolve Camera Issues
If you’re facing issues with your iPhone’s back camera not working, there are several initial steps you can take to potentially resolve the problem before moving on to more advanced troubleshooting techniques. These steps are simple and can often fix temporary glitches or minor software bugs.
Basic Software Checks and Fixes
Restart the iPhone
Sometimes, the simplest solution is the most effective. Restarting your iPhone can clear temporary software glitches that may be causing the camera to malfunction. To restart your device, hold down the power button (and either volume button on newer models), then slide to power off. After the device has shut down, press the power button again to turn it back on.
Force Quit the Camera App
If the camera app is unresponsive, double-click the Home button (or swipe up from the bottom of the screen on a model without a Home button) to access the app switcher. Swipe up on the camera app to close it, then reopen the app to see if the issue persists.
Software Updates and Camera Settings
Update Your iOS
Outdated software can sometimes lead to camera issues. Check for iOS updates by going to ‘Settings’ -> ‘General’ -> ‘Software Update’. If an update is available, download and install it, as this could include fixes for your camera problem.
Check Camera App Permissions
Make sure that the camera app has the necessary permissions to operate. Go to ‘Settings’ -> ‘Privacy’ -> ‘Camera’ and ensure that the camera access toggle is enabled for all apps that require it.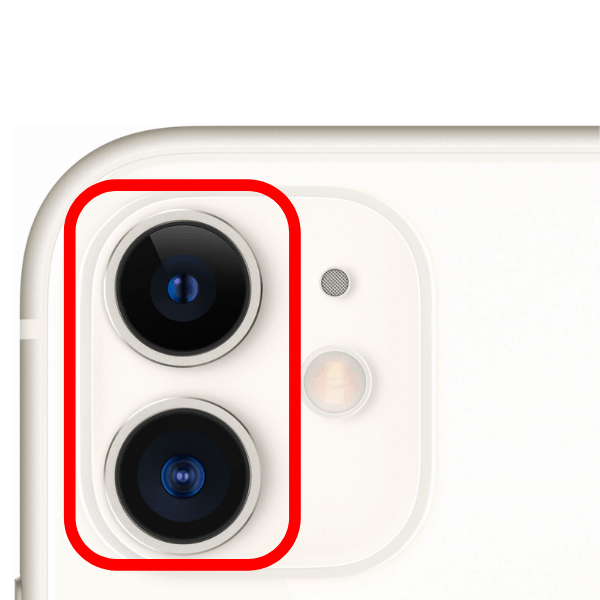
Hardware Checks
Clean the Camera Lens
A dirty or obstructed lens can affect camera functionality. Use a soft, clean cloth to gently wipe the lens. Avoid using harsh cleaning agents, as these can damage the lens coating.
Inspect for Physical Damage
Look for any signs of damage on the iPhone, such as dents or cracks that could be impacting the camera’s hardware. If physical damage is present, professional repair might be necessary.
By following these initial steps, you can often resolve common issues with the iPhone’s back camera. If the camera still isn’t working after these attempts, further troubleshooting or professional assistance may be required. Always remember to back up your iPhone before performing any actions that could potentially lead to data loss.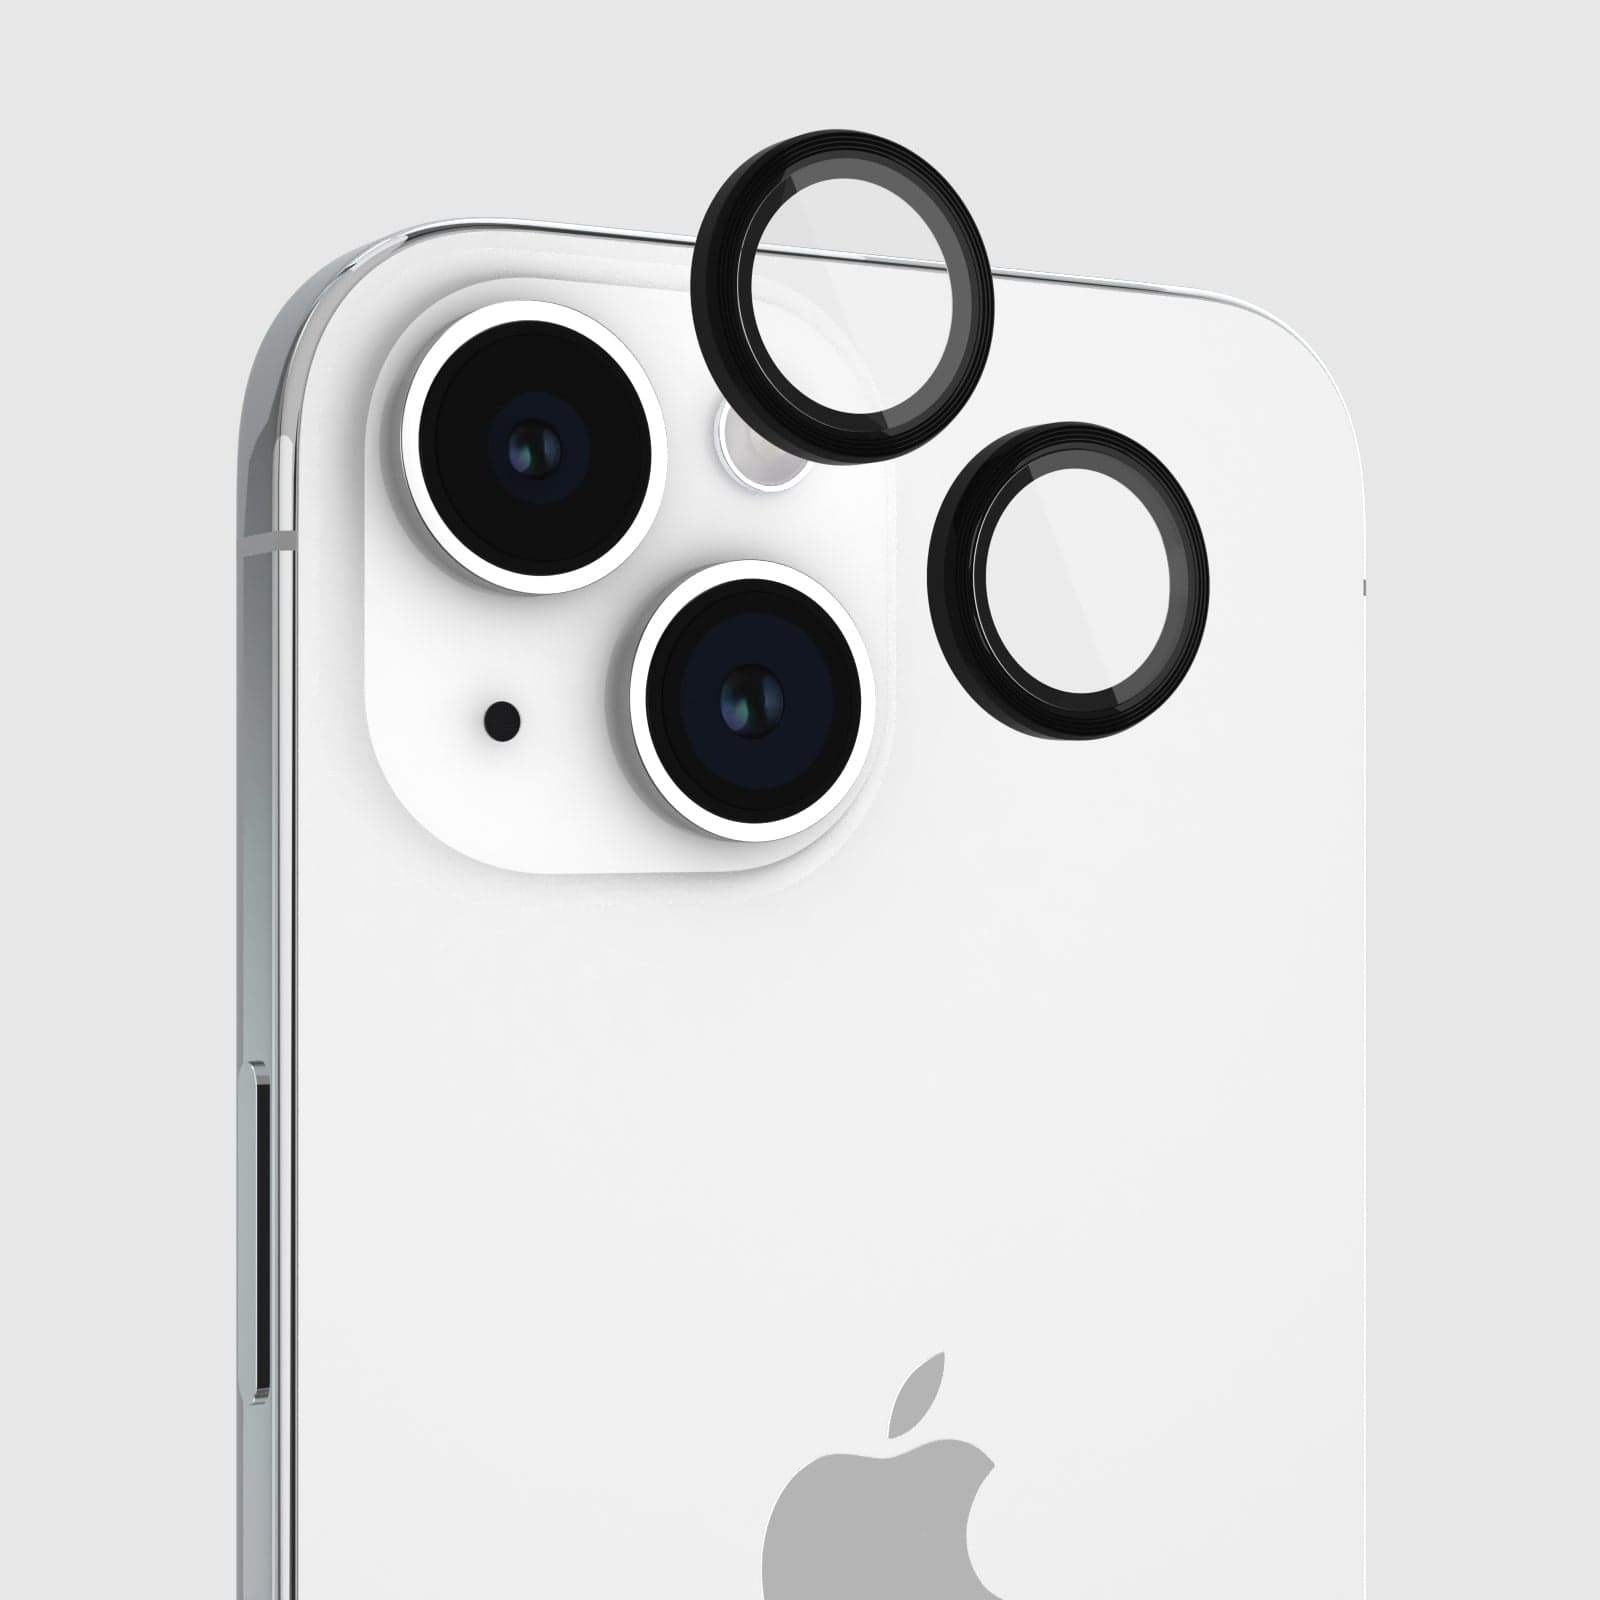
Advanced Troubleshooting Techniques
When basic troubleshooting methods don’t resolve the issue with your iPhone’s back camera not working, it may be time to try some more advanced techniques. These methods delve deeper into the system settings and require careful execution.
Delving into iPhone Settings
Hard Reset Your iPhone
Performing a hard reset can sometimes rectify camera issues that a standard restart does not fix. This process forces your iPhone to restart and refresh all system processes without erasing your data. The method to perform a hard reset varies depending on your iPhone model, so be sure to follow the instructions specific to your device.
Check for Restriction Settings
In some cases, camera access can be restricted through the iPhone’s settings. Go to ‘Settings’ -> ‘Screen Time’ -> ‘Content & Privacy Restrictions’ to ensure that camera access is allowed for all necessary apps.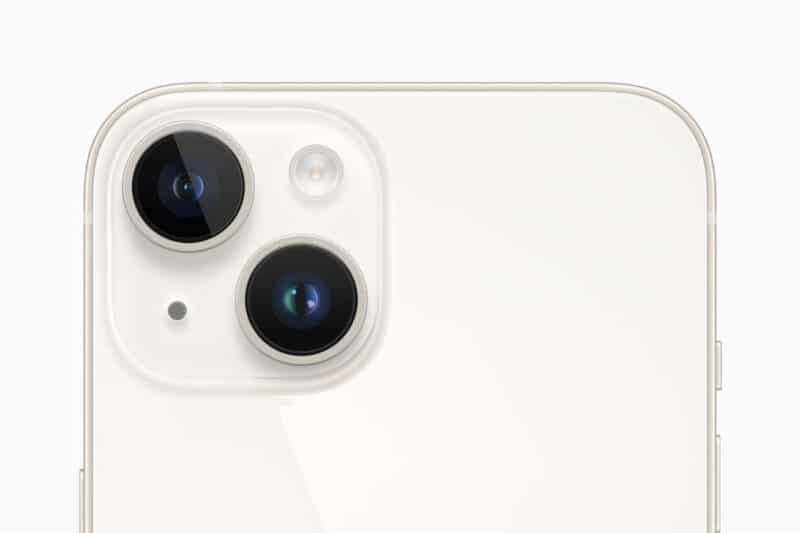
Using the iPhone Configuration Utility
Factory Settings Restore
As a last resort before hardware intervention, restoring your iPhone to factory settings can resolve deeper software issues. This will erase all data on your device, so ensure that you have backed up all important information before proceeding. Restore your iPhone via iTunes or through the ‘Settings’ -> ‘General’ -> ‘Reset’ -> ‘Erase All Content and Settings’ option.
DFU Mode Restore
DFU (Device Firmware Update) mode allows your iPhone to interface with iTunes without loading the operating system or bootloader. This is the most thorough restore process and can be used when other software recovery methods, including the factory settings restore, have failed. Be cautious with this method, as incorrect use can lead to further issues. If you’re not confident with entering DFU mode, it’s advisable to seek professional assistance.
Considering Hardware Solutions
Camera Module Replacement
If software solutions fail to rectify the problem, it’s possible that the camera module itself is faulty. This is a component that can be replaced by a professional repair service. If your iPhone is still under warranty, or you have AppleCare+, consider taking it to an Apple Store or an authorized service provider.
Professional Diagnostic
Sometimes, the issue may be related to the logic board or other internal components. In such cases, a full diagnostic by a professional is necessary to identify and fix the problem.
Advanced troubleshooting techniques should be approached with caution and, when necessary, with the help of a professional. These methods can potentially resolve persistent camera issues, but they also carry the risk of data loss or further technical problems if not performed correctly. Backup your data frequently, and when in doubt, contact Apple Support or visit an Apple Store for expert assistance.