
Resetting an Arlo camera is a troubleshooting step that can resolve various issues, such as connectivity problems, camera malfunctions, or software glitches. This guide will walk you through the process of resetting your Arlo camera to its factory default settings.
Understanding When to Reset Your Arlo Camera
Resetting your Arlo camera can be an important step in troubleshooting and resolving various issues with the device. It’s a process that can clear errors, restore connectivity, and refresh the system to its original factory settings. However, it’s not always immediately clear when a reset is necessary. Below, we’ll discuss when it might be appropriate to reset your Arlo camera and what to consider before doing so.
Identifying Issues That May Require a Reset
Certain technical problems might prompt the need for a reset. Understanding these issues is crucial in deciding whether to proceed with the reset process.
Connectivity Problems
If your Arlo camera is having trouble connecting to the internet or to the Arlo base station, a reset can often re-establish connection. Symptoms of connectivity problems include the camera appearing offline in the Arlo app, not responding to commands, or failing to upload recorded videos.
Performance and Functionality Issues
When the camera is not performing as expected—such as not recording when motion is detected, providing poor video quality, or experiencing audio issues—a reset might be necessary to restore full functionality.
After an Unsuccessful Firmware Update
On occasion, a firmware update may not install correctly, potentially causing the camera to act erratically. In such cases, a reset can help by reverting the camera to its previous state, allowing you to attempt the update again.
Preparing for a Camera Reset
Resetting your Arlo camera should be approached with caution, as it will erase all settings, configurations, and data. Here’s what you need to prepare before performing a reset.
Backing Up Important Data
Before resetting the camera, ensure that you’ve saved any important video recordings that are stored locally or in the cloud, as a reset may permanently delete these files.
Having Your Arlo Account Information Ready
After a reset, you will need to set up your camera again from scratch, which includes logging into your Arlo account. Make sure you have your login credentials readily available.
Understanding the Setup Process
Familiarize yourself with the setup process outlined in the Arlo app or user manual, as you will need to follow these steps to reconnect your camera to the network and configure your settings.
Deciding to Reset
With the understanding of the issues that a reset can potentially fix and the preparations required, you can make an informed decision on whether to proceed with resetting your Arlo camera. It is generally recommended to view a reset as a last resort after other troubleshooting steps, such as restarting the camera or checking network connections, have been attempted without success.
If the decision is made to reset the camera, it’s important to follow the specific reset instructions for your particular Arlo camera model, as the process can vary. After the reset, you will have a fresh start to reconfigure the camera and, hopefully, resolve any ongoing issues.
Resetting Your Arlo Camera
To reset your Arlo camera, you’ll need to follow specific steps, which can vary slightly depending on the Arlo model you have.
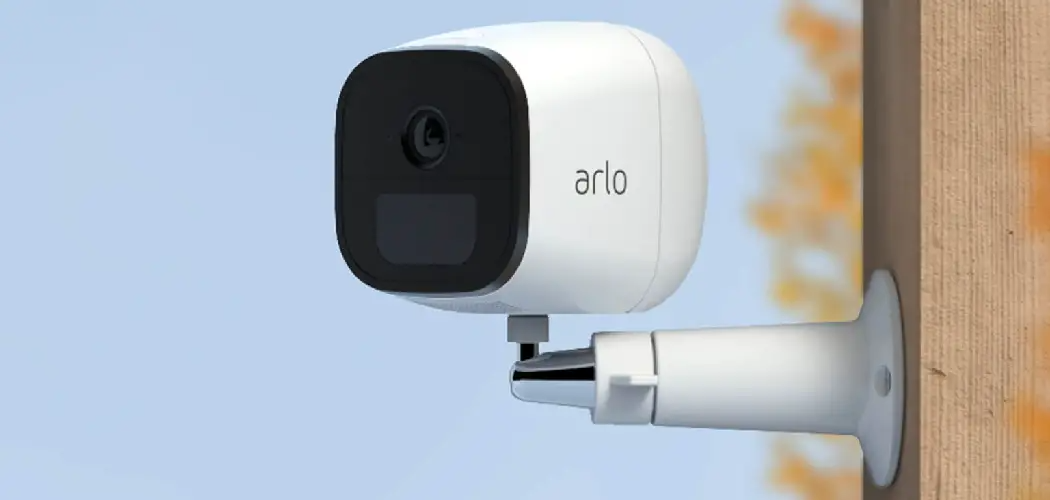
Locating the Reset Button
Most Arlo cameras have a reset button located on the device. For some models, such as the Arlo Pro, the reset button is situated on the camera’s back or bottom. For others, it might be found within the battery compartment.
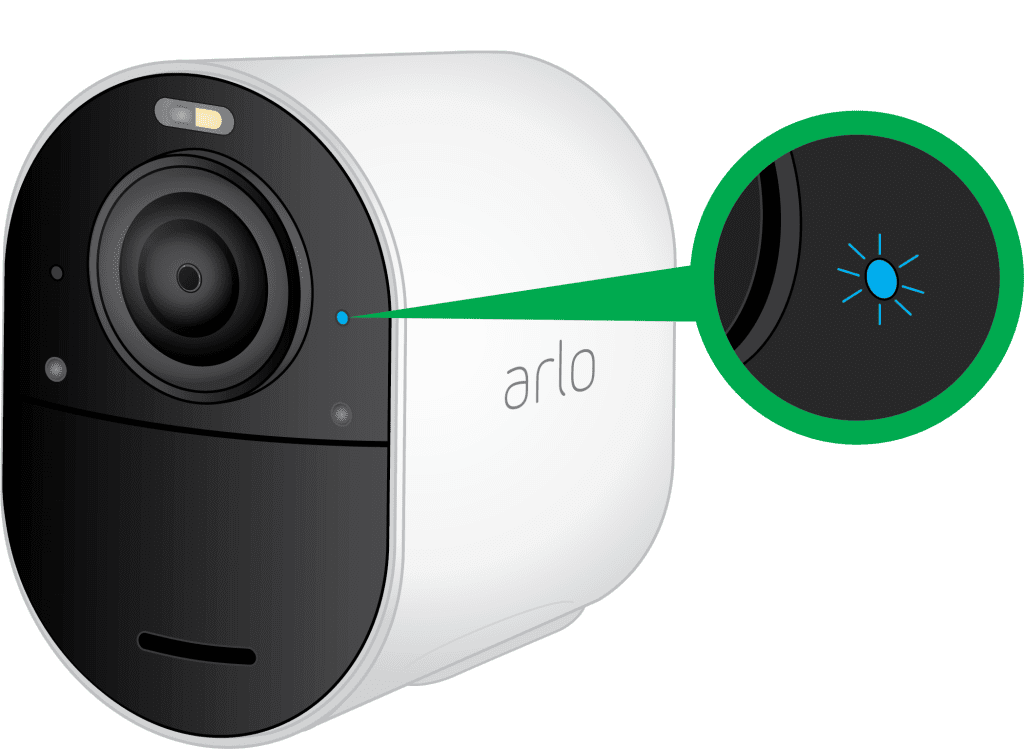
Performing the Reset Process
To perform the reset, you’ll typically need to press and hold the reset button for about 10 seconds until the camera’s LED flashes amber. Release the button once this occurs, and the camera will restart, returning to its factory default settings.
Reconnecting the Camera After Reset
After you’ve reset your Arlo camera, re-establishing the device’s connection to your network and Arlo account is the next critical step. This process essentially involves setting up your camera as if it were new, configuring settings, and ensuring everything is functioning correctly. Below is a guide on how to reconnect and configure your Arlo camera following a reset.

Syncing the Camera with the Base Station or Network
The first step after a reset is to sync the camera back to the Arlo base station or directly to your Wi-Fi network, depending on your specific Arlo camera model.
For Cameras That Use a Base Station
If your Arlo camera model requires a base station, you will need to go through the syncing process again. This typically involves pressing a sync button on the base station, then pressing a sync button on the camera itself. The Arlo app provides on-screen instructions that guide you through this process step by step.
For Cameras That Connect Directly to Wi-Fi
For Arlo cameras that connect directly to Wi-Fi without a base station, you will need to connect the camera to your network by using the Arlo app. Ensure that you are near your router and have your Wi-Fi credentials at hand to complete this process.
Configuring Camera Settings Through the Arlo App
Once your Arlo camera is reconnected to the base station or Wi-Fi network, you will need to use the Arlo app to reconfigure your camera settings.
Customizing Video and Audio Settings
You will have the opportunity to adjust video and audio settings to your preference. This includes selecting video resolution, field of view, and audio sensitivity. Make adjustments based on the specific needs of the camera’s placement and use case.
Setting Up Motion Detection and Activity Zones
Arlo cameras typically offer motion detection features which can be customized within the app. Setting up activity zones and sensitivity can help optimize the camera’s triggers for recording and notifications.
Scheduling and Smart Features
If your Arlo camera supports scheduling or smart features, such as person detection or package detection, you will need to set these up again. These features can enhance the camera’s functionality and provide more relevant alerts.
Testing the Camera After Reconnection
After completing the setup process, it’s important to test the camera to ensure that it is functioning as expected.
Verifying Live Feed and Connectivity
Check the live feed from your Arlo camera in the app to confirm it’s streaming correctly. Also, verify that the camera is maintaining a stable connection to the network or base station.

Testing Motion Detection and Alerts
To ensure that motion detection settings are correctly configured, perform a few tests by walking through the camera’s field of view and observing the alerts and recordings triggered by these actions.
Confirming Recording and Storage
Make sure the camera is correctly recording events and that the footage is being stored as expected, either locally or in the cloud, based on your settings and subscription plan.
By following these steps, you can successfully reconnect and set up it after a reset. It’s essential to tailor the settings to suit your preferences and the specific requirements of your monitoring location to maximize the camera’s efficiency and effectiveness. If you encounter any issues during the reconnection process or with camera performance after setup, consult the Arlo support resources or reach out to their customer service for further assistance.