Introduction
In the digital age, cameras have become an integral part of our daily lives. They capture memories, tell stories, and allow us to express creativity through the lens. However, going beyond just clicking a button, this guide explores the exciting world of DIY camera-making – an endeavor that combines the nostalgia of analog photography with modern innovation. Here, we delve into creating your own custom-built camera, fostering a deeper understanding of how these devices work while unleashing your inner inventor.
Understanding the Fundamentals of Photography: The Backbone of Your DIY Camera Project
Creating your own camera from scratch is an exciting and educational journey that requires a solid understanding of the fundamental principles of photography. These principles are the foundation upon which all cameras, whether DIY or commercially manufactured, are built.
1. Light and Exposure
The essence of photography lies in capturing light. A camera’s primary function is to gather and record this light onto a light-sensitive medium (film or digital sensor). The amount of light allowed into the camera is controlled by three key elements: aperture, shutter speed, and ISO sensitivity.
- Aperture: This refers to the opening in the lens through which light passes. It’s measured in f-stops and affects both the amount of light entering the camera and the depth of field (how much of the image is in focus).
- Shutter Speed: This is the duration for which the camera’s shutter remains open, allowing light to reach the film or sensor. Faster shutter speeds freeze motion while slower ones create a sense of movement or blur.
- ISO: It measures the sensitivity of the film or sensor to light. Higher ISO settings can be used in darker conditions but may introduce more noise or grain in the final image.
2. Focus and Lenses
A camera’s lens focuses incoming light to form an image on the film or sensor. The focal length determines the angle of view (zoom) and perspective, while focusing allows you to control which part of the scene appears sharp.
3. Image Formation
In a pinhole camera, light passes through a tiny hole and projects an inverted image onto the film. With lenses, the process is similar but involves refraction rather than simple projection. Understanding how these images form is crucial when designing your DIY camera‘s light path.
4. Film vs. Digital Capture
DIY cameras can utilize either traditional film or digital sensors. Film records light as a chemical reaction, creating a latent image that’s developed into a visible photograph. Digital sensors convert light into electrical signals, which are then processed into a digital image.
5. Aspect Ratio and Format
The size and shape of the recording medium (film or sensor) determine the aspect ratio of your photographs. Common formats like 35mm or medium format will influence the design of your DIY camera, particularly regarding film loading and spooling mechanisms.
By mastering these fundamentals, you’ll have a clear roadmap for building a functional DIY camera that not only captures light but also embodies your personal touch and creativity. As you embark on your DIY project, remember that each component you craft and attach is a direct application of these core photographic concepts, bringing your vision to life one step at a time.
Materials and Tools Checklist for Building a DIY Camera
Building your own camera can be an exciting project, and having the right materials and tools is essential. Here’s a general checklist to guide you through the process:
Materials:
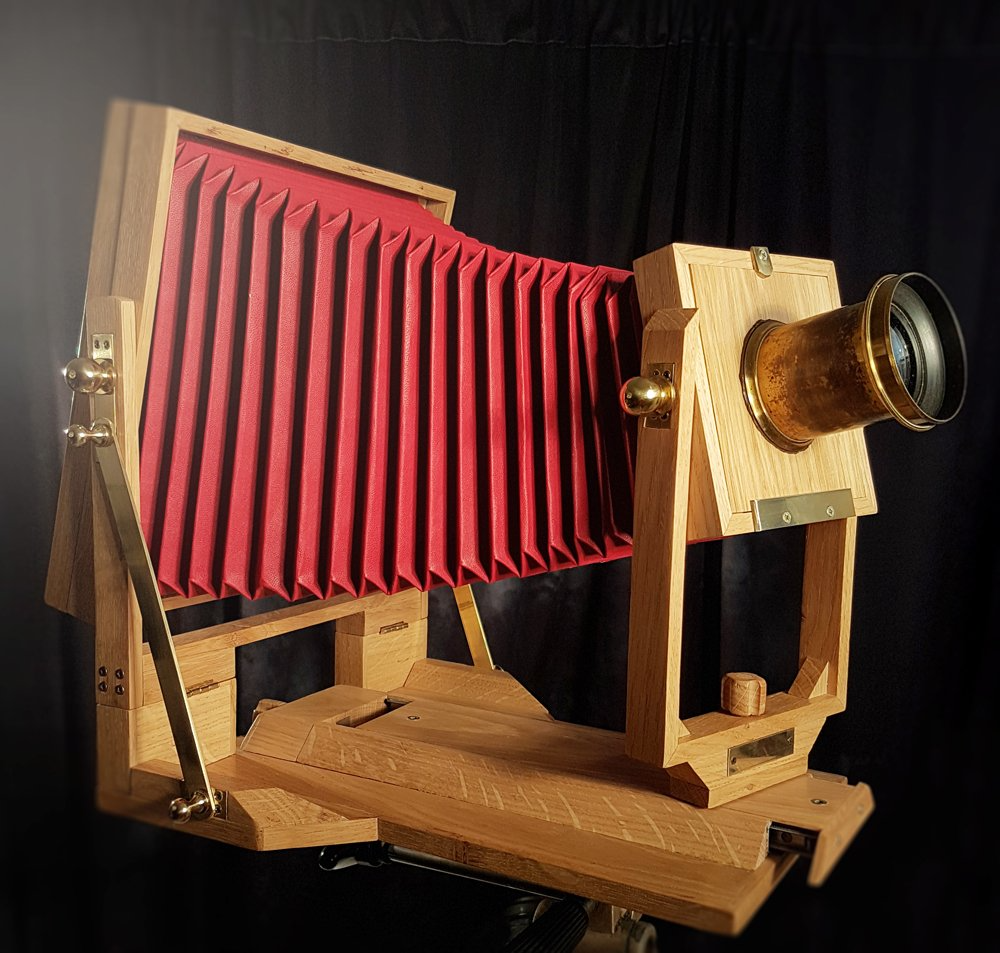
- Camera Body: Depending on your design, this could be made from wood, cardboard, plastic, or metal sheets.
- Lens: A premade pinhole, a lens from an old camera, or materials to create your own lens (e.g., a tiny piece of brass with a precisely drilled hole for a pinhole camera).
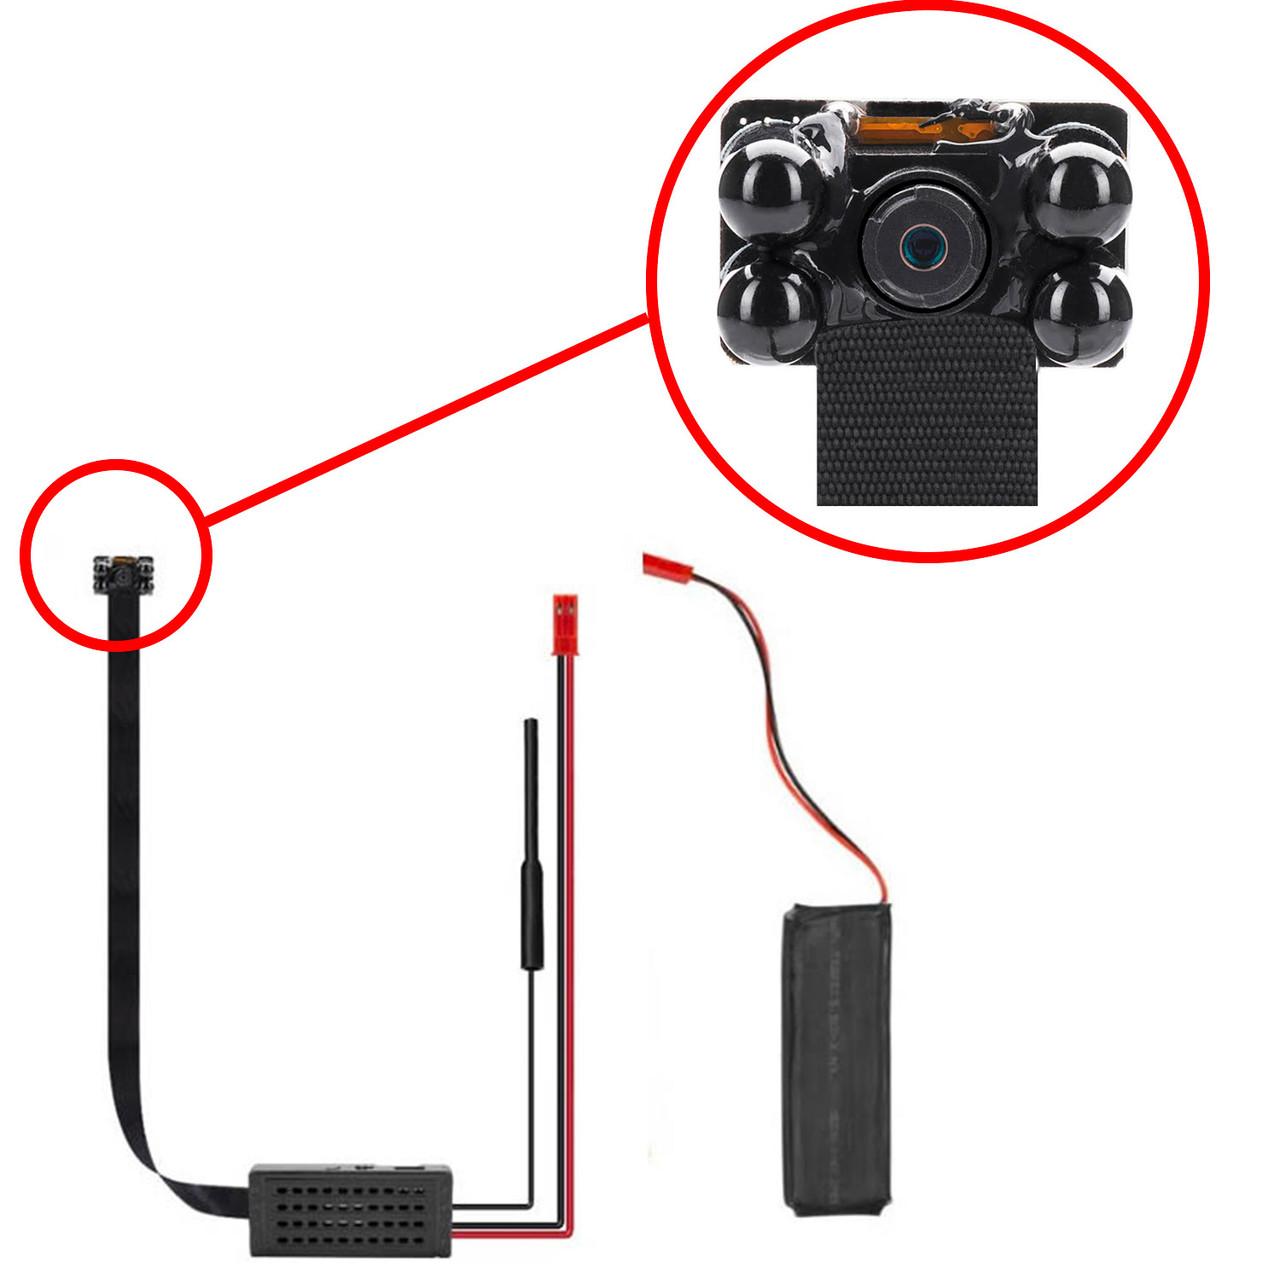
- Film Plane: For film cameras, this will be the area where the film sits; for digital, it could be a light-proof box to house a small sensor module.
- Lightproof Material: Black paint, blackout fabric, or electrical tape to prevent light leaks.
- Shutter Mechanism: Springs, levers, or even 3D printed parts to control exposure time.
- Aperture Control (if applicable): Thin material like aluminum or cardstock to make aperture disks for adjustable aperture size.
- Film Canisters or Digital Sensor Module: For holding and exposing the film or capturing images digitally.
- Miscellaneous Hardware: Screws, nuts, bolts, hinges, and other fasteners as needed for assembly.
- Adhesives: Wood glue, epoxy, or strong double-sided tape for construction.
- For Film Cameras: Roll film, sheet film, or a developing kit if you plan to develop your own photos.

Tools:
- Precision Cutting Tools: X-Acto knife, laser cutter, or jigsaw.
- Drilling Tools: Drill with various bit sizes, including very fine bits for making pinholes.
- Measuring Tools: Ruler, calipers, protractor, and/or square.
- Soldering Iron (for electronic components): If incorporating any electronic shutter mechanisms or using a digital sensor.
- Hand Tools: Screwdrivers, pliers, wrenches, sandpaper, and files.
- Clamps and Vices: To hold pieces in place during assembly or drilling.
- Paintbrushes and/or Markers: For applying lightproof paint or marking measurements.
- Dark Bag or Changing Tent: For loading film into the camera without exposing it to light.
Please note that the specific items required will vary based on the complexity and type of camera you’re building. Always research the particular design you’ve chosen to ensure you have all the necessary components and equipment.
Capturing Creativity Through DIY Cameras
The process of building your own camera is not only educational but also deeply rewarding. It allows you to connect with the art of photography at its most fundamental level, offering insights into the physics of light and the beauty of handmade craftsmanship. The end result? A one-of-a-kind device that captures life’s moments in a way that mass-produced cameras simply cannot replicate.
With your first DIY camera complete, consider advancing your skills with more complex builds, experimenting with different film formats, or even venturing into the realm of DIY digital cameras. The world of DIY photography offers endless possibilities for exploration and invention.
Throughout this guide, we’ve aimed to inspire you to embark on a creative adventure that will deepen your appreciation for the science and artistry behind every photograph. So, roll up your sleeves, gather your tools, and let the magic of DIY camera creation begin!