Introduction
Connecting your camera to a computer is an essential process for transferring photos and videos, editing them, or managing your digital library. This comprehensive guide will walk you through the step-by-step process of connecting various types of cameras to computers, addressing common challenges, and offering tips to ensure smooth data transfer.
Wired Connections: USB and HDMI
USB Connection
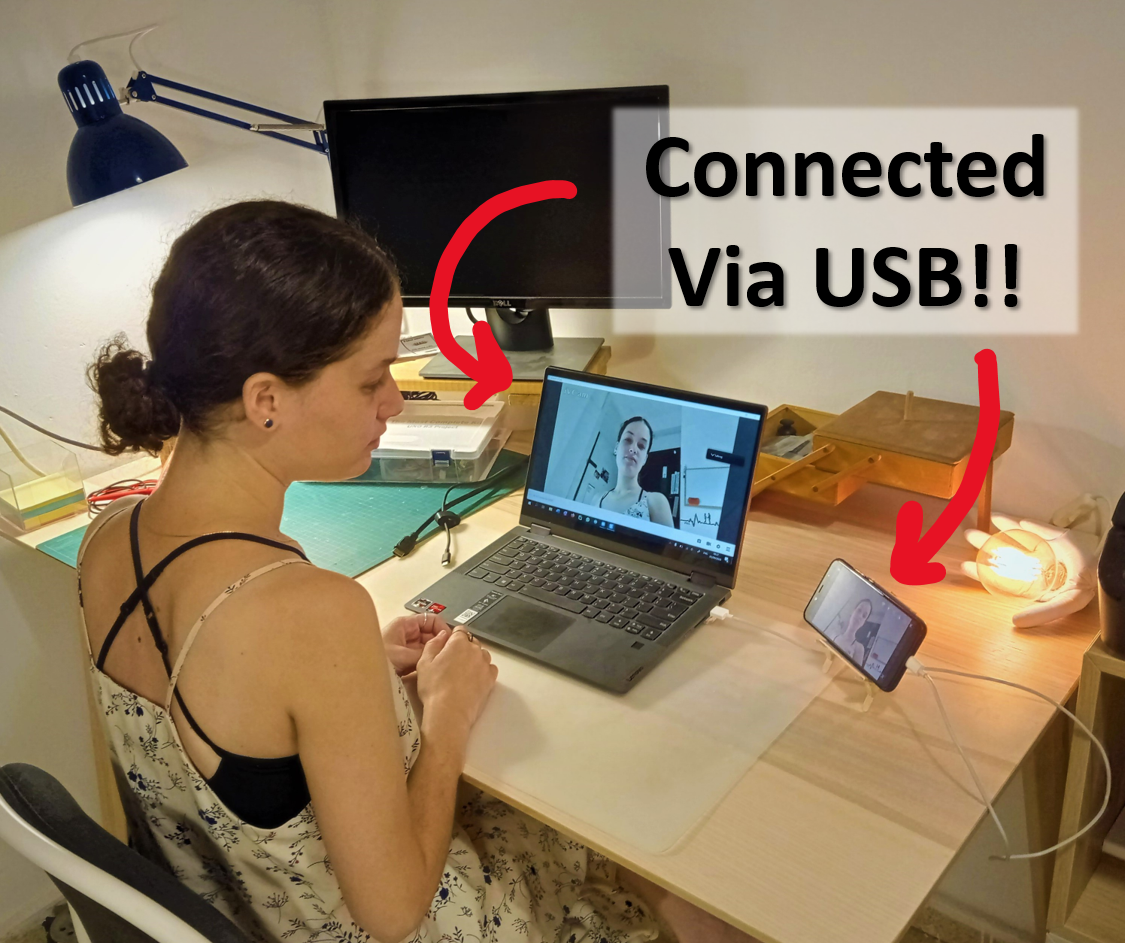
The most common method for connecting a camera to a computer is via USB cable. Here’s how:
- Prepare Your Gear: Ensure both your camera and computer are powered on and ready. Locate the USB port on your camera, which is typically covered by a protective flap.
- Plug in the Cable: Connect one end of the USB cable to your camera’s USB port and the other end to an available USB slot on your computer. Modern cameras use USB Type-C or Micro-USB cables, while older models may require a proprietary cable.
- Set Camera Mode: On your camera, switch it to ‘PC’ or ‘Computer’ mode if necessary. This tells the camera to communicate with the connected device.
- Auto-Detection: Most modern operating systems like Windows or macOS detect the camera automatically and prompt you to import the files or open them in compatible software such as Adobe Lightroom or Apple Photos.
HDMI Connection (For Video Playback)
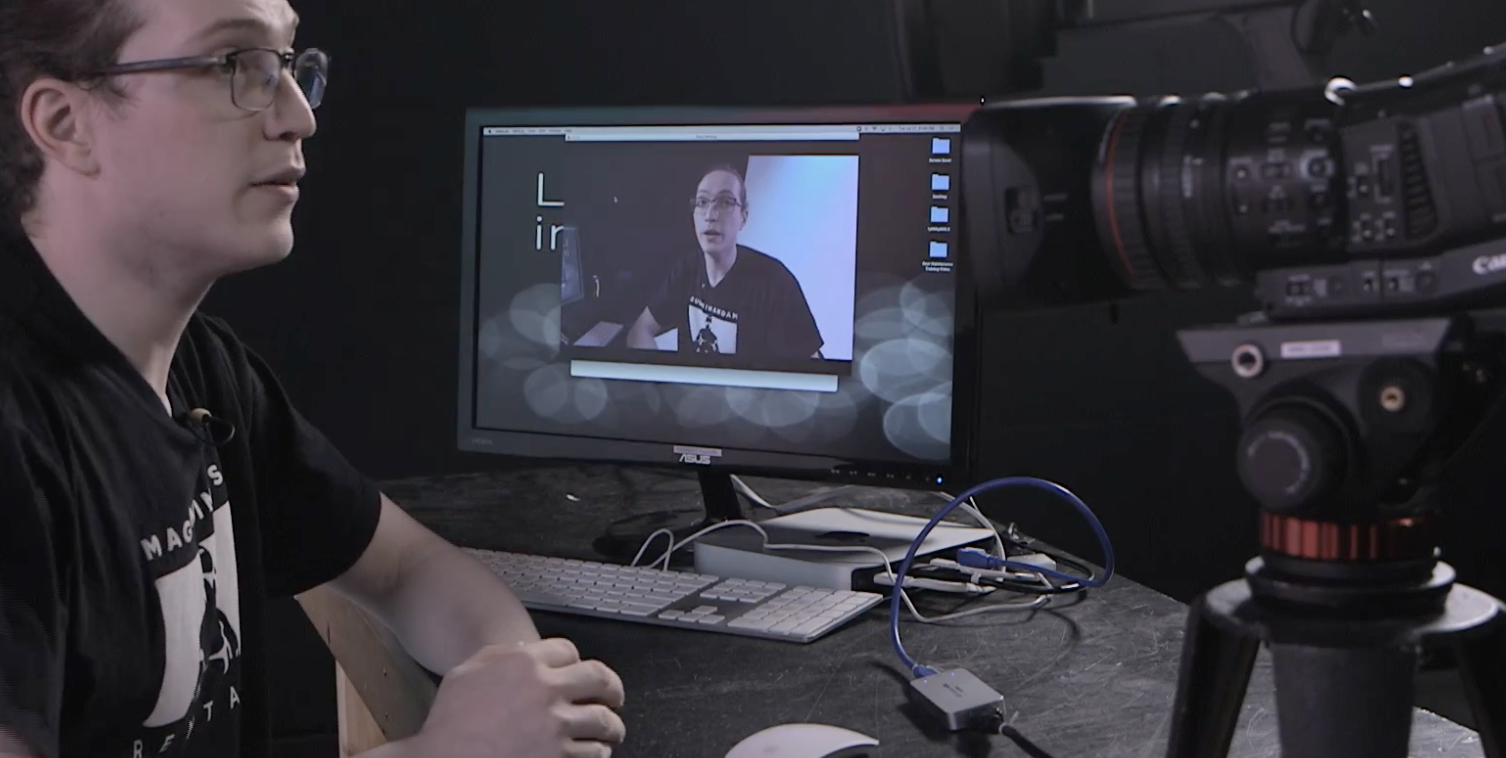
If you want to view your footage directly from the camera on a larger screen, you can connect using an HDMI cable.
- HDMI Port Identification: Find the HDMI port on your camera and your computer or monitor. If your computer lacks an HDMI input, you might need an adapter or dock.
- Plug In the Cable: Connect one end of the HDMI cable to the camera and the other end to the display device. The camera should be set to playback mode.
- Display Settings: Adjust your computer or monitor’s display settings to recognize the new input source. Note that HDMI connections do not facilitate file transfer but rather allow for video playback and review.
Wireless Connections
Wi-Fi and Bluetooth
Many advanced digital cameras now offer wireless connectivity options.
- Enable Wi-Fi/Bluetooth: Turn on the Wi-Fi function within your camera’s menu system. Pair your camera with your computer’s Wi-Fi network or establish a direct connection between the two devices if supported.
- Install Software: Some cameras require you to install a companion app or software on your computer to facilitate the wireless transfer. Follow manufacturer instructions to download and set up these tools.
- Transfer Files: Once connected, you can browse and transfer images directly from the camera to the computer without any physical cables.
Troubleshooting Connectivity Issues
Common Problems & Solutions
If you encounter difficulties during the connection process, consider the following troubleshooting steps:
- Check Cables: Ensure that cables are securely plugged in and not damaged. Replace if necessary.
- Drivers & Firmware: Make sure your camera’s drivers are up-to-date. Visit the manufacturer’s website to download and install the latest versions.
- Power Source: Charge your camera’s battery to prevent disconnection due to low power during transfer.
- Operating System Compatibility: Confirm that your camera and computer OS are compatible. Older cameras may not work with newer systems, requiring updates or adapters.
- File Transfer Settings: Verify that your camera is set to enable file transfers and not just charging over USB.
Conclusion
Connecting your camera to your computer doesn’t have to be complicated. Whether using a wired USB connection for file transfer, HDMI for large-screen viewing, or wireless technology for convenience, understanding the process and being aware of potential pitfalls ensures a seamless transition from lens to screen. Always refer to your camera’s manual for specific instructions and follow best practices to protect your valuable memories and creative work.