
Understanding Night Mode
“Night mode,” also known as dark mode or bedtime mode, is a setting on many electronic devices, apps, and websites that changes the color scheme to display lighter text on a darker background. The primary purpose of night mode of the camera is to reduce the strain on your eyes in low-light conditions and to make it more comfortable to use devices at night or in dark environments.
Here’s a detailed understanding of night mode of the camera and its benefits:
1. Eye Comfort and Strain Reduction
The traditional bright white background with black text can be harsh on the eyes, especially in a dimly lit room or during nighttime. Night mode of the camera inverts this, offering a darker theme that is less glaring. This can reduce eye strain and make it easier for users to look at screens for extended periods without discomfort.
2. Energy Saving
On devices with OLED or AMOLED screens, night mode of the camera can help save battery life. Since black pixels on these types of displays are actually turned off, using a dark theme can reduce power consumption, as fewer pixels are lit up.
3. Improved Sleep
Exposure to blue light emitted by screens can negatively affect your circadian rhythms and make it harder to fall asleep. While night mode of the camera doesn’t eliminate blue light, it does reduce the overall screen brightness, which can lessen the potential disruption to your sleep patterns.
4. Aesthetic Preference
Some users simply prefer the look of night mode of the camera to the traditional light mode. It can provide an aesthetic that is sleek and modern, and many people find it less distracting, allowing them to focus more on the content.

5. Accessibility
Night mode of the camera can also be beneficial for users with certain visual impairments or sensitivities. The reduced glare and contrast can make reading easier for individuals with conditions like photophobia (light sensitivity) or visual processing issues.
Implementation of Night Mode:
Most modern operating systems, including Windows, macOS, iOS, and Android, offer some form of night mode of the camera or dark theme setting. Many individual applications and websites also provide the option to switch to a dark theme either manually or automatically based on the time of day or system settings.
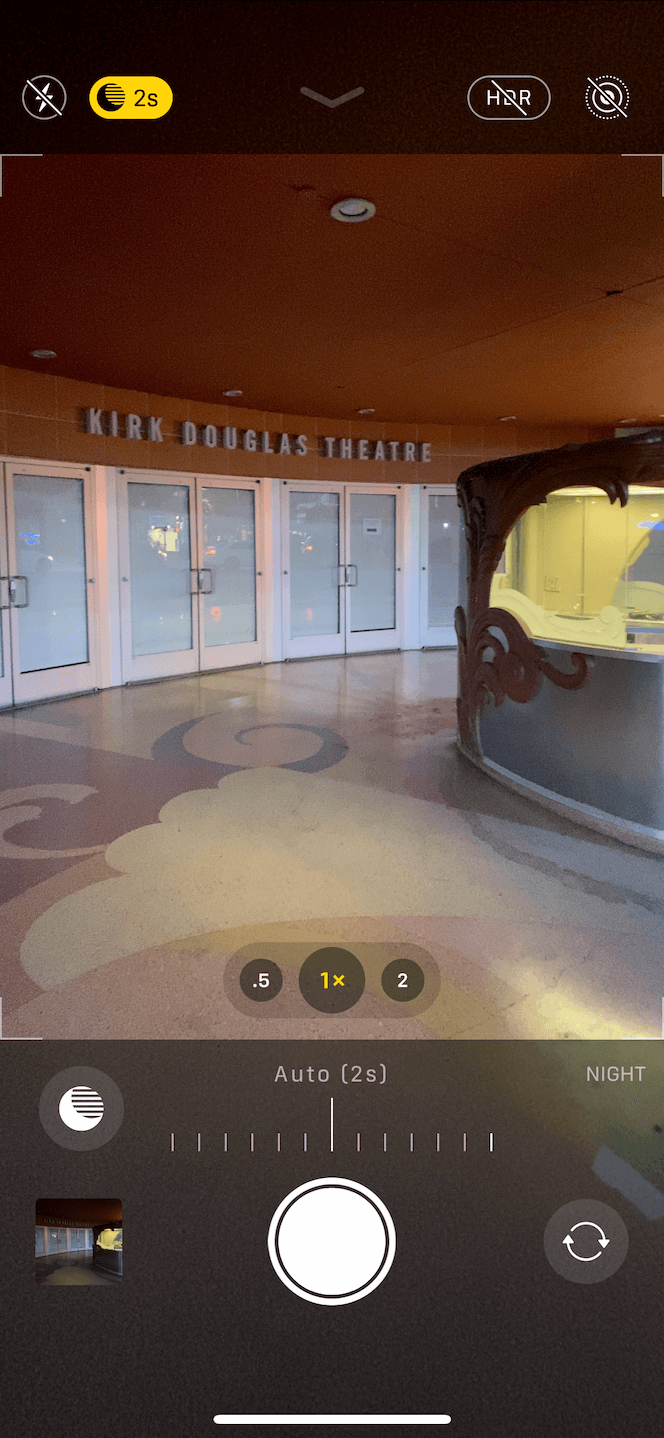
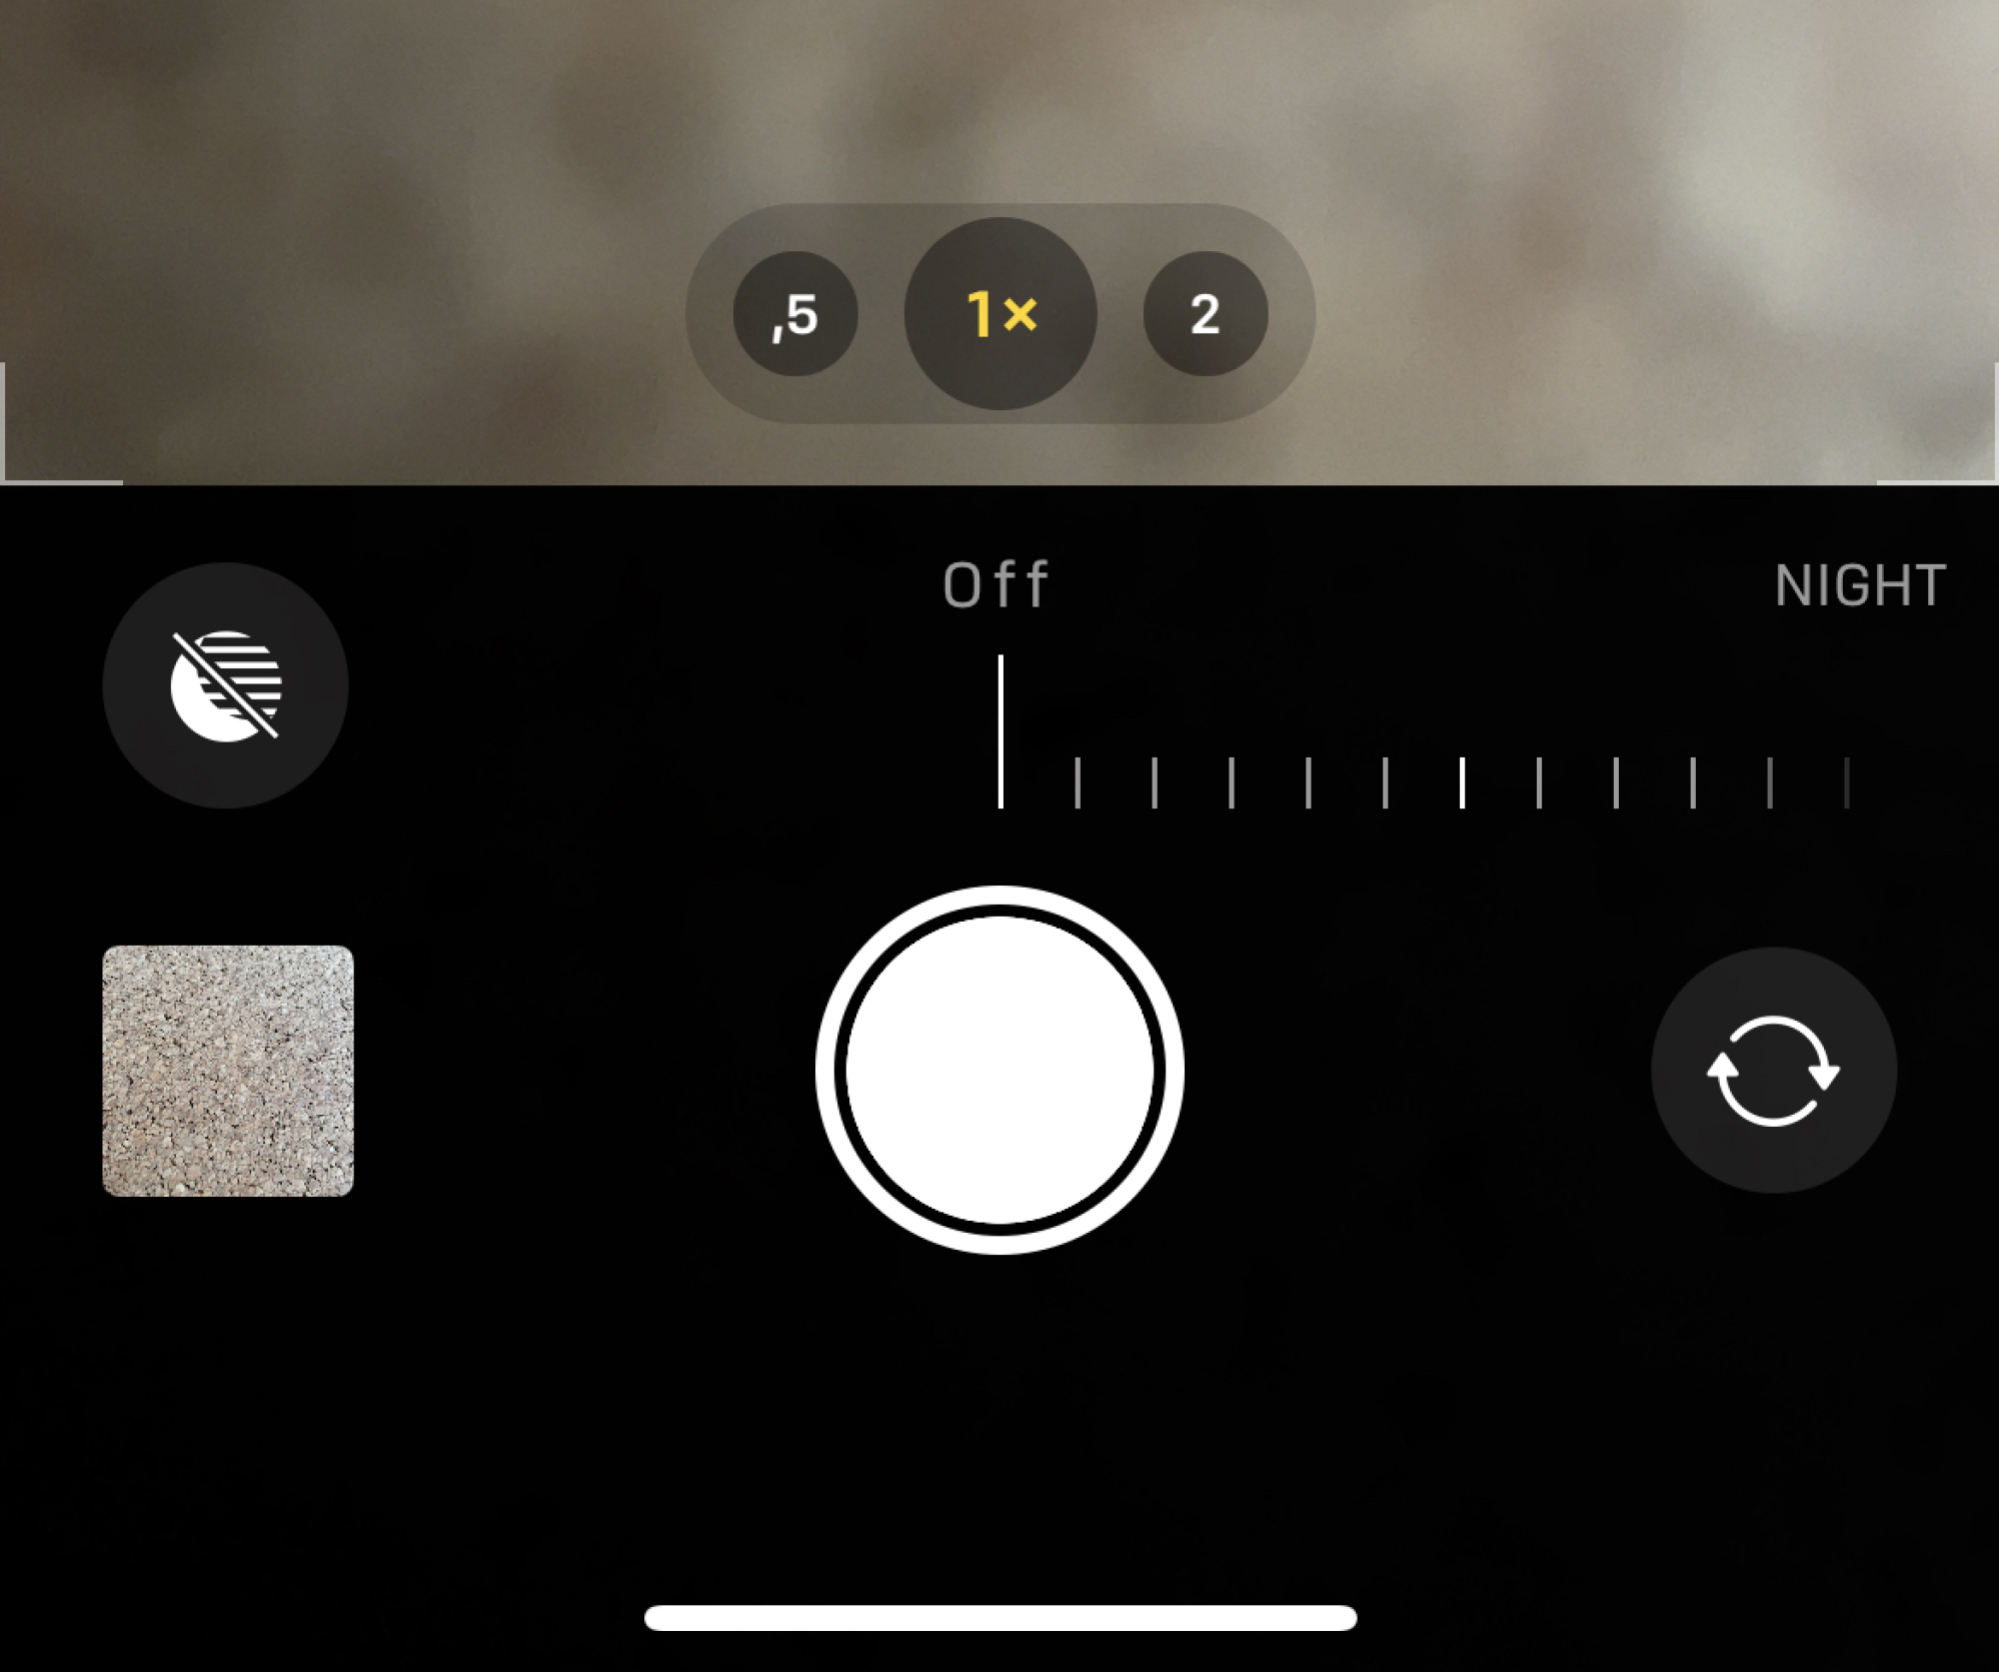
Turning On Night Mode
The method for turning on night mode, also known as dark mode or night shift, depends on the device and operating system you are using. Below are the steps for enabling night mode on some of the most common platforms:
Windows 10 and 11
- Go to Start and then Settings (gear icon).
- Choose “Personalization”.
- Click on “Colors”.
- Under “Choose your default app mode,” select “Dark”.
macOS
- Click on the Apple menu and select “System Preferences”.
- Choose “General”.
- Look for the “Appearance” section.
- Select “Dark” to enable dark mode.
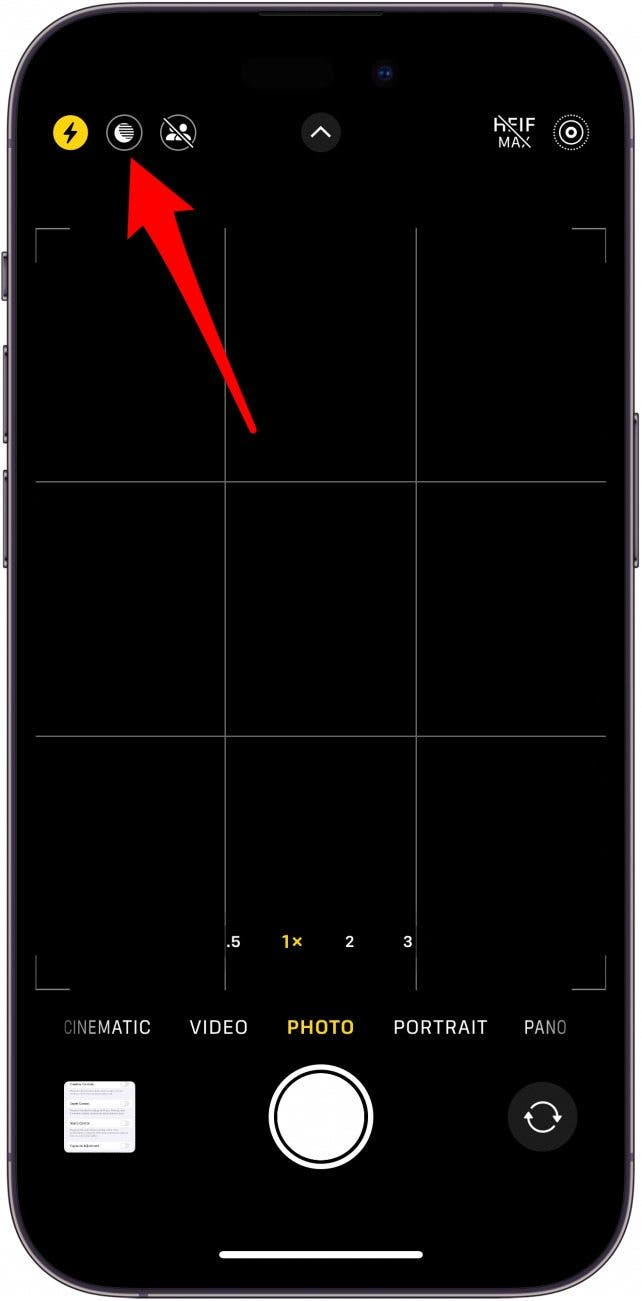
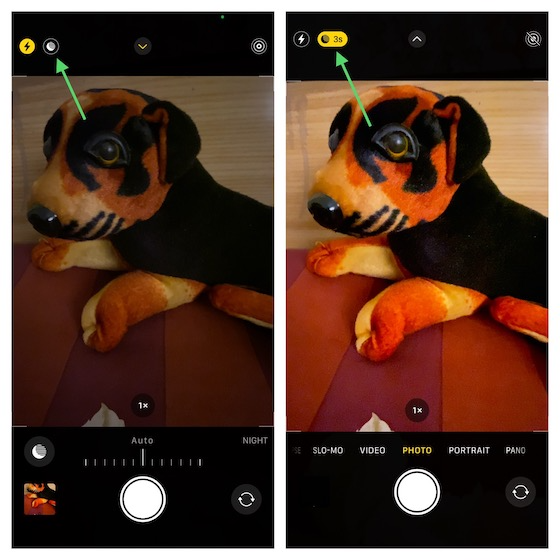
iOS (iPhone and iPad)
- Open the Settings app.
- Scroll down and tap on “Display & Brightness”.
- Under “Appearance,” choose “Dark”.
You can also quickly toggle between light and dark mode by using the Control Center. Swipe down from the top-right corner of the screen (on an iPhone with Face ID) or up from the bottom (on an iPhone with a Home button) and tap the brightness control icon. Then tap on the “Appearance” button to switch between light and dark mode.
Android
- Open the Settings app.
- Scroll down and tap on “Display”.
- Find and activate the “Dark theme” or “Night mode” switch.
On some Android devices, you can also find a quick toggle for dark mode in the quick settings dropdown menu that you can access by swiping down from the top of the screen.
Troubleshooting Common Issues
When you encounter common issues with your devices or software, there are several troubleshooting steps you can take to try and resolve the problem before seeking further assistance. Here are some general troubleshooting tips for a variety of potential issues:
1. Restart the Device
Often, many problems can be solved simply by restarting the device. Whether it’s a computer, smartphone, or another gadget, a restart can clear temporary glitches and free up system resources.
2. Check for Updates
Ensure that your device’s operating system and all software are up to date. Developers regularly release updates to fix bugs and improve performance.
3. Check Internet Connection
If you’re having trouble with online services or apps, make sure your internet connection is stable. You can try restarting your router or modem, checking for any service outages with your provider, or connecting to a different network.
4. Clear Cache and Cookies
For web-related issues, clearing your browser’s cache and cookies can resolve many problems with loading or formatting websites.
5. Check Cables and Connections
Physical connections can sometimes be the culprit. Make sure all cables are securely connected and that there are no frayed wires or loose ports.
6. Look for Error Messages
If your device or application provides an error message, take note of it. You can search online for that specific error code or message, which can lead to a solution.
7. Scan for Malware
If your device is running slowly or behaving strangely, it might be infected with malware. Run a full virus scan using a reliable antivirus program.
8. Check Accessibility or System Settings
Sometimes settings can be changed accidentally, causing unexpected behavior. Review your system or application settings to make sure everything is configured correctly.
9. Free Up Space
If your device is low on disk space, it can lead to performance issues. Delete unnecessary files or apps to free up space.
10. Check for Hardware Issues
If you suspect a hardware problem (like a failing hard drive or defective RAM), you might need to run diagnostic tests or open the device’s case to inspect the components (if you’re comfortable with hardware).
11. Use Built-in Troubleshooters
Many operating systems come with built-in troubleshooters that can diagnose and sometimes fix common problems. For example, Windows has a variety of troubleshooters in the “Update & Security” section of the Settings app.
12. Consult the User Manual or Support Forums
The user manual can offer guidance on specific features and troubleshooting steps. Online forums and communities can also be helpful, as other users may have faced and resolved similar issues.
13. Contact Support
If none of the above steps work, consider reaching out to the device manufacturer’s customer support or visit a professional tech support service.
Remember that troubleshooting often involves a process of elimination. By trying these general steps, you can narrow down the cause of the problem and, hopefully, find a solution.