Enhancing your home security can be as simple as installing a doorbell camera. With the rise of smart home technology, doorbell cameras have become a popular choice for their dual role in providing both convenience and security. Here’s how to install one at your home.
Selecting Your Doorbell Camera
Selecting the right doorbell camera is the initial and one of the most crucial steps in enhancing your home security and convenience. With numerous options on the market, it’s important to evaluate various features and considerations to ensure that the doorbell camera you choose meets your specific needs and preferences.
Understanding Your Doorbell Camera Needs
Assessing Your Home’s Layout
Before making a purchase, consider where your doorbell camera will be placed. Look at the existing doorbell location, the field of view you wish to capture, and the distance from your router to ensure a strong Wi-Fi connection if the camera is wireless.
Identifying Key Features
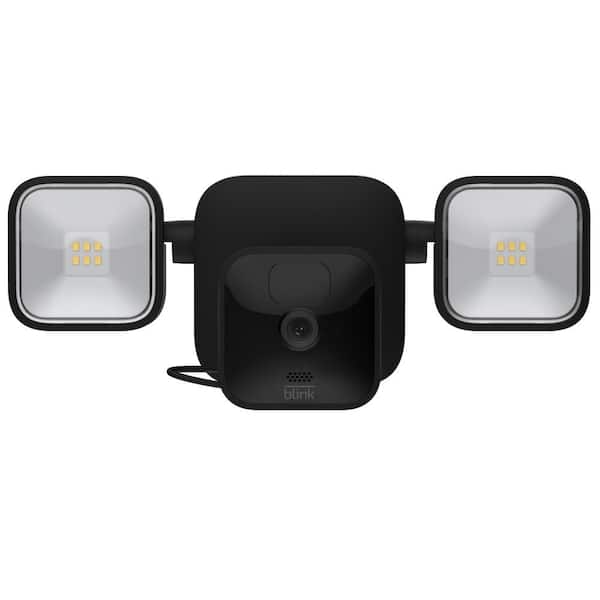
Make a list of features that are most important to you. These might include video quality, night vision, two-way audio, motion detection, cloud storage options, integration with other smart home devices, and whether the unit is powered by batteries or hardwired.
Evaluating Video and Audio Quality
High-Definition Video
Choose a doorbell camera that offers high-definition video quality to ensure you can clearly see who is at your door. Many models offer 1080p resolution, which is typically sufficient for identifying faces and other details.
Audio Capabilities
Consider a doorbell camera with two-way audio. This feature allows you to communicate with visitors without opening the door and can be a deterrent to potential intruders.
Considering Power Options
Wired vs. Battery-Powered
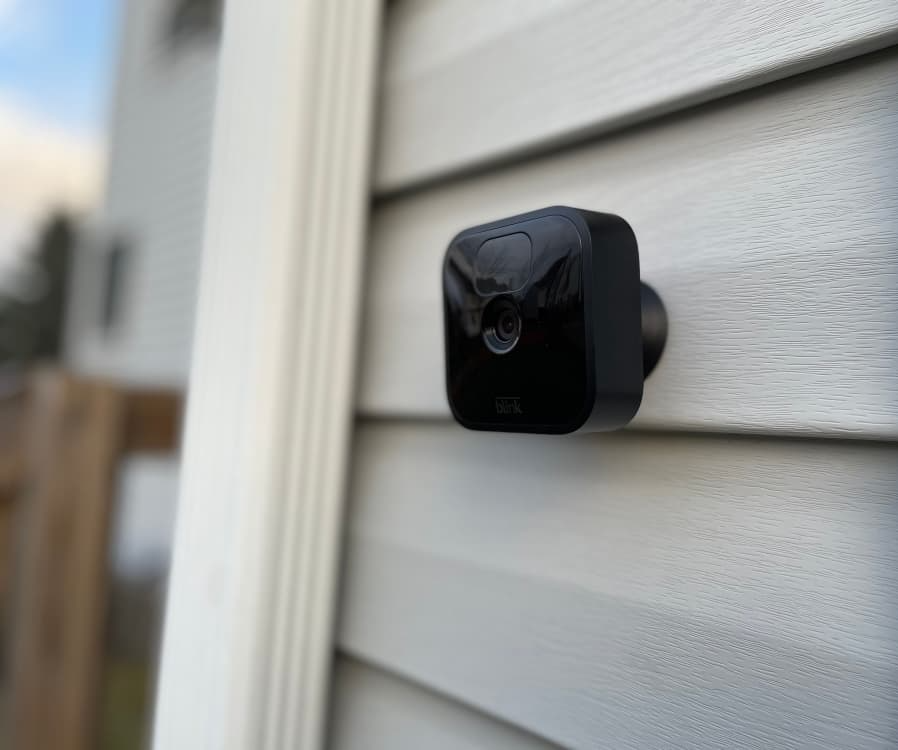
Determine if a wired or battery-powered doorbell camera is best for your situation. Wired cameras are generally more reliable since they don’t rely on batteries, but they require an existing doorbell wiring setup. Battery-powered models are easier to install and offer more flexibility in placement but will need the batteries to be recharged or replaced periodically.
Evaluating Battery Life
If you opt for a battery-powered doorbell camera, check the expected battery life and whether the camera offers a low-battery notification feature. Some models also support solar chargers to extend battery life.
Reviewing Storage Solutions
Cloud Storage Services
Many doorbell cameras offer cloud storage services to save video clips for a certain period. Look at the subscription plans and costs associated with these services, as they can vary widely between manufacturers.
Local Storage Options
Some models provide local storage via a removable SD card or internal memory. Consider if local storage is important to you for privacy reasons or to avoid additional subscription fees.
Checking Connectivity and Compatibility
Wi-Fi Requirements
Ensure that the doorbell camera is compatible with your home’s Wi-Fi network. Some cameras require a 2.4GHz connection, while others may also support the less crowded 5GHz band.
Smart Home Integration
If you have a smart home ecosystem, such as Apple HomeKit, Amazon Alexa, or Google Assistant, check that the doorbell camera is compatible. Integration allows for advanced automation and voice control.
Reading Reviews and Comparing Prices
Exploring Consumer Feedback
Read online reviews and consumer feedback to get an idea of the reliability and performance of different doorbell camera models. Look for consistent comments about the product’s durability, customer support, and software stability.
Comparing Cost vs. Value
Balance the cost of the doorbell camera with the value it provides. Cheaper models may save you money upfront but could lack important features or be less reliable over time.
Conclusion
Selecting the right doorbell camera involves careful consideration of your home’s specific requirements and a balance between features and budget. By thoughtfully evaluating these aspects, you can choose a doorbell camera that provides the security, convenience, and peace of mind that best suit your lifestyle.
Preparing for Installation
Gathering the Necessary Tools
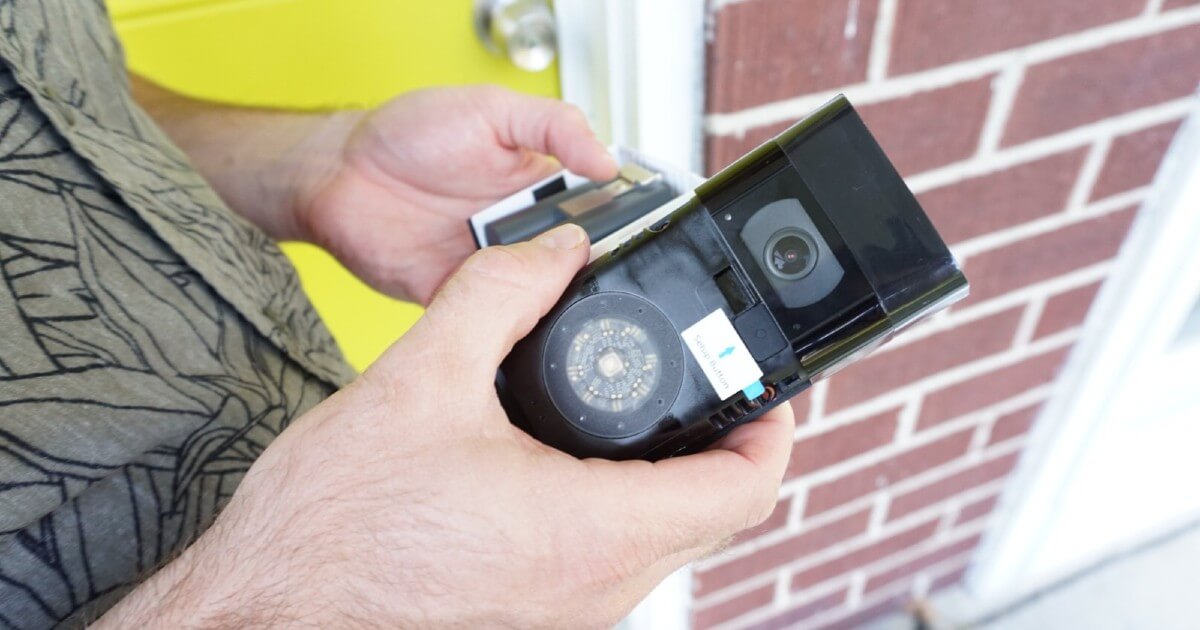
Once you have your doorbell camera, gather all the necessary tools for the installation. This often includes a screwdriver, drill, drill bits, and possibly a level. Check the manufacturer’s instructions for any additional tools you may need.
Turning Off Power (for Wired Models)
If you’re installing a wired doorbell camera, start by turning off the power at the breaker box to avoid any electrical hazards.
Removing the Existing Doorbell (if Applicable)
Detaching the Old Doorbell
If you are replacing an existing doorbell, unscrew it from the wall and gently pull it out to expose the wires. Take a photograph or make a note of the wire connections for future reference.
Installing the Mounting Bracket
Positioning the Bracket
Place the mounting bracket in the desired location, ensuring it’s level before marking the holes for drilling. This is where you’ll attach your doorbell camera, so make sure it’s at the recommended height for optimal performance.
Securing the Bracket
Drill the holes where you’ve marked, insert any necessary wall anchors, and use the provided screws to secure the bracket to the wall.
Connecting the Wires (for Wired Models)
Attaching the Wires
Connect the doorbell wires to the terminals on the back of the doorbell camera. The order of the wires typically doesn’t matter, but consult the manufacturer’s instructions to be sure.
Ensuring a Secure Connection
Make certain that the wires are firmly attached to the terminals and that there’s a solid connection to ensure your doorbell camera functions correctly.
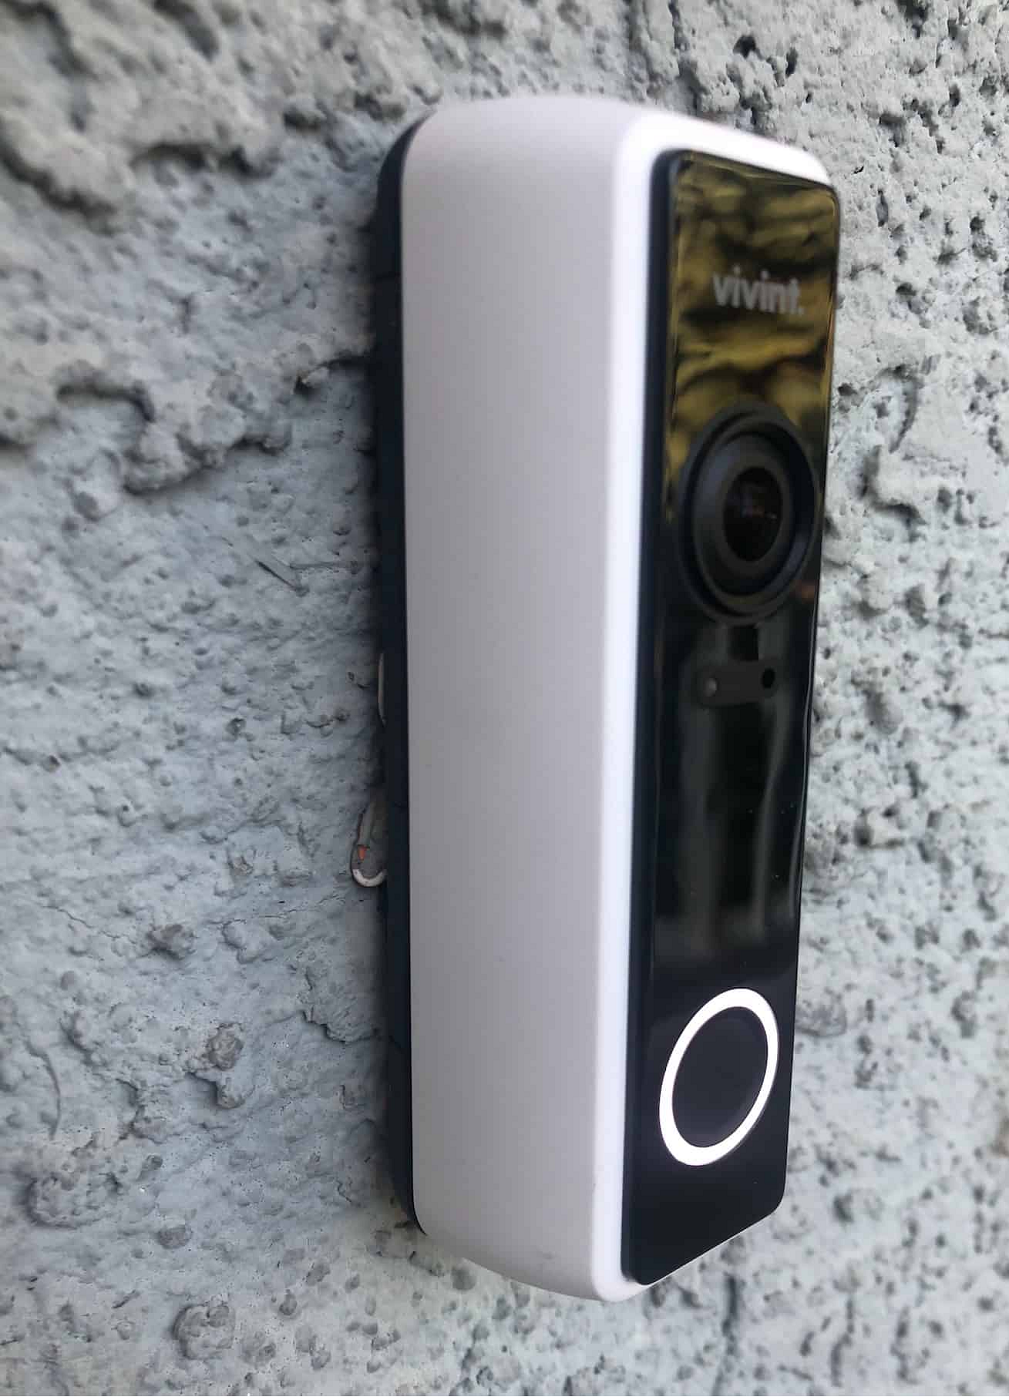
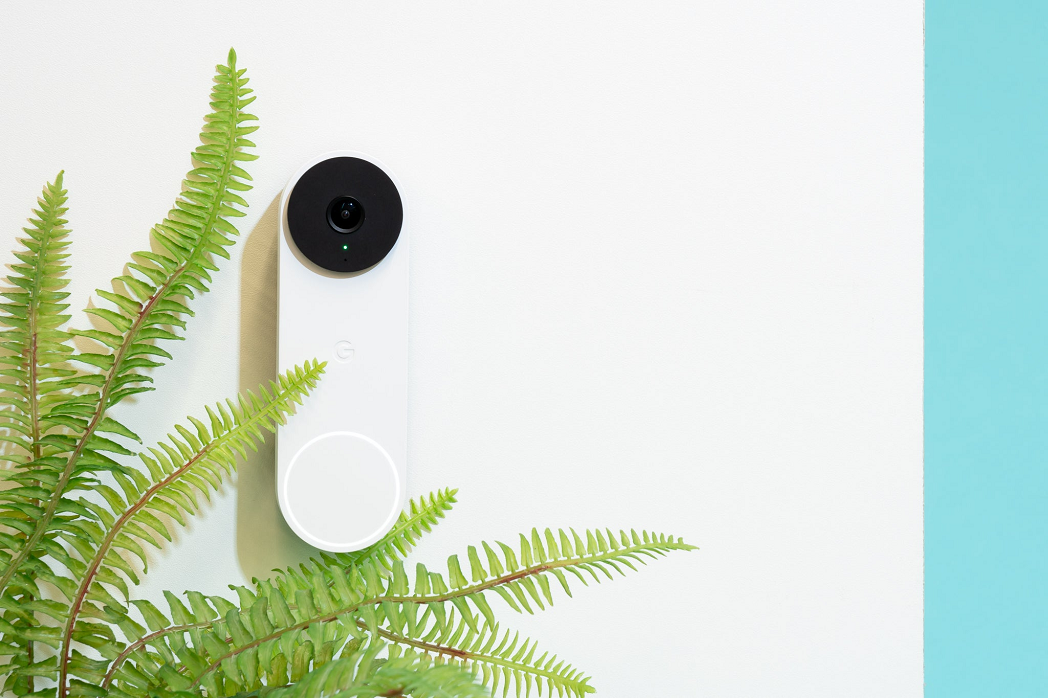
Attaching the Doorbell Camera
Mounting the Camera
Once the wires are connected (for wired models), mount the doorbell camera onto the bracket. It should click into place or be secured with additional screws depending on the design.
Setting Up the Camera’s Software
Downloading the App
Download the manufacturer’s app to your smartphone or tablet. This app will guide you through the process of connecting your doorbell camera to your home Wi-Fi network and completing the setup.
Customizing Settings
After the physical installation, spend some time customizing the settings in the app. You can adjust the camera’s field of view, motion zones, notification preferences, and more.
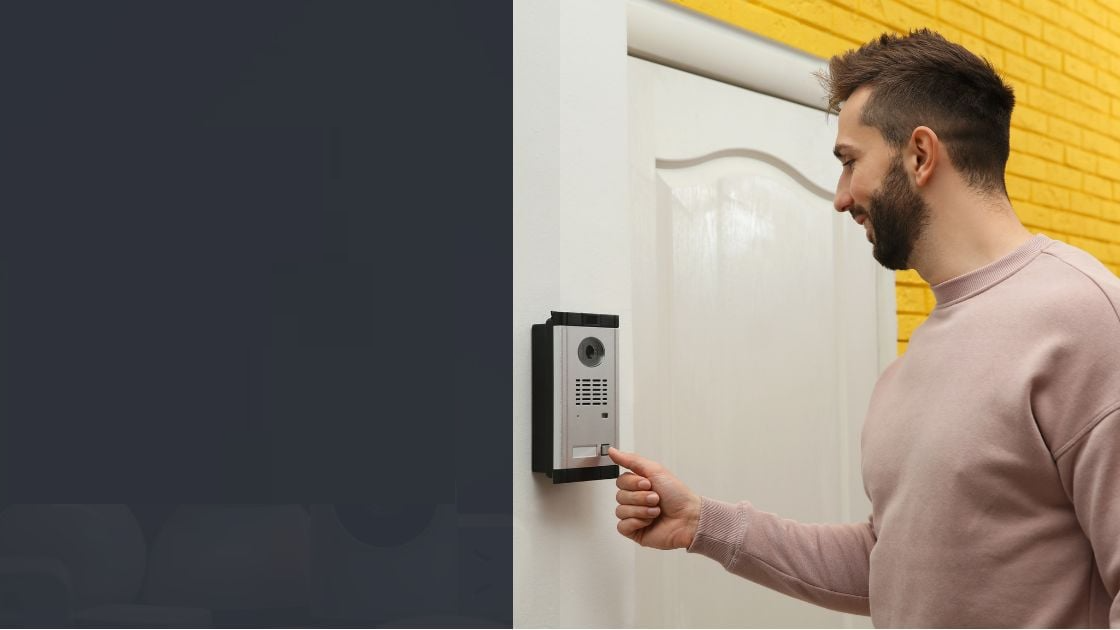
Testing Your Doorbell Camera
Ensuring Functionality
Test the doorbell camera by ringing it and checking the video feed on your smart device. Verify that the camera sends alerts and records footage as expected.
Adjusting as Needed
If anything is not working as it should, revisit the connections or settings and adjust as needed. Make sure the camera is properly aligned and that the lens is unobstructed.
Conclusion
Installing a doorbell camera is a relatively simple process that can provide a significant boost to your home security. By following these steps, you can install your device successfully and enjoy the peace of mind that comes with having a smart, connected home.