Preparation for Installation
Before you begin the installation process for your Ring doorbell camera, you’ll need to gather the necessary tools and familiarize yourself with the components included in your Ring package.
Unboxing and Understanding Your Ring Doorbell
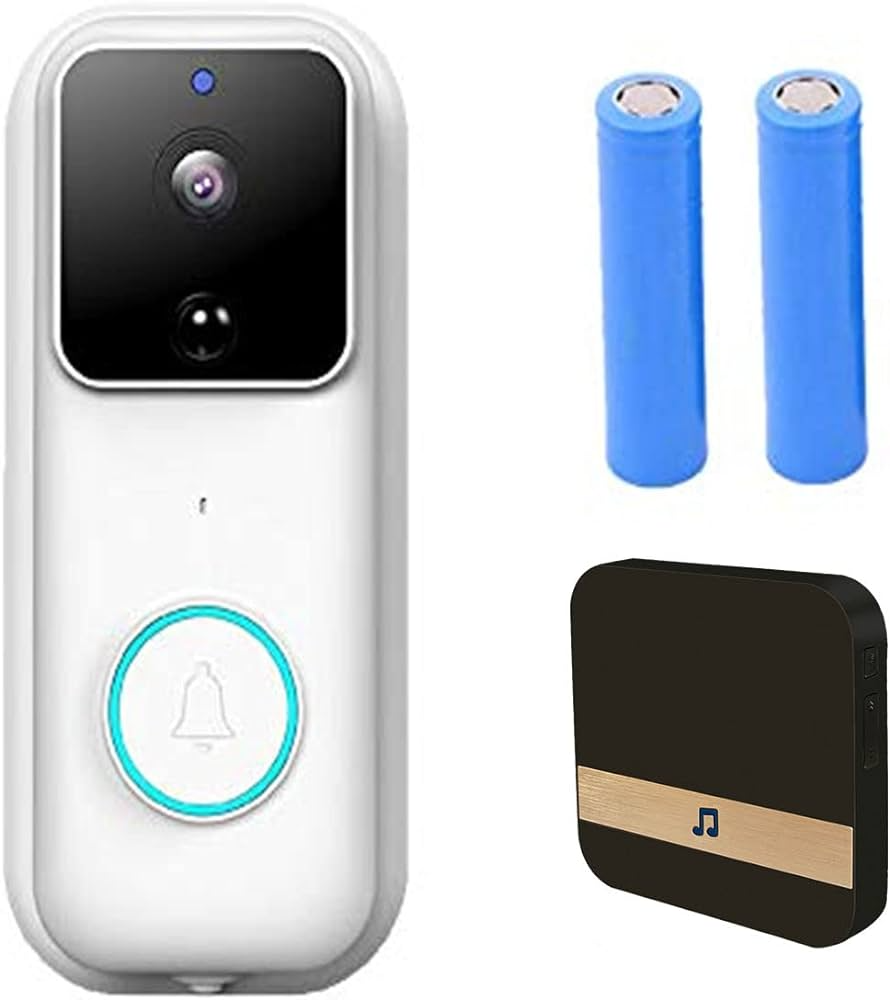
Open your Ring doorbell camera package and identify each item. You should have the doorbell camera itself, mounting bracket, installation screws and anchors, a screwdriver, a level tool, and possibly a diode (if you have a digital doorbell chime). Some models may also include a masonry drill bit for installing the unit on brick or concrete, and a charging cable if your model has a rechargeable battery.
Arranging Tools and Charging the Battery
If your Ring doorbell camera operates on battery power, ensure that the battery is fully charged before installation. This may require plugging it into a USB charger for a few hours prior to beginning work. Additionally, prepare a drill if you need to make new holes in your wall for mounting the doorbell.
Mounting the Ring Doorbell
Choose the Optimal Position
Select an appropriate location for your Ring doorbell camera. It should be mounted at about chest height, ensuring a clear view of visitors and the area surrounding your entrance.
Securing the Mounting Bracket
Using the level tool provided, position the mounting bracket against the wall where you wish to install the doorbell. Use a pencil to mark the position of the mounting holes. Drill pilot holes at the marked positions, insert the anchors (for brick, stucco, or concrete), and screw the mounting bracket tightly in place.
Connecting to Power and Wi-Fi
Handling Wiring for Hardwired Installation
If you’re replacing an existing wired doorbell with your Ring camera, turn off the power to the doorbell at the breaker box. Connect the wires to the back of the Ring doorbell, ensuring a secure connection. If your doorbell system requires a diode, install it according to the instructions provided by Ring.
Pairing with the Ring App
Download the Ring app on your smartphone and create an account if you don’t already have one. Follow the in-app instructions to connect the doorbell camera to your home Wi-Fi network. This will involve scanning the QR code on the device, selecting your Wi-Fi network, and entering the password.
Completing the Setup
Attaching the Doorbell to the Bracket
After ensuring that your Ring doorbell camera is connected to your home’s Wi-Fi network and fully charged (if it’s a battery-operated model), you are ready to physically secure the doorbell to the mounting bracket already affixed to your wall.
Securing the Doorbell Camera
To attach the Ring doorbell to the bracket:
- Position the Doorbell: Align the camera with the mounting bracket. The design usually guides you for a proper fit, often sliding the device in from the top down or snapping it in place.
- Secure the Device: Once aligned, gently press the Ring doorbell into the bracket. You will hear a click or snap when the doorbell is securely in place, indicating that it’s properly attached.
- Tighten Security Screws: Some Ring doorbell models include a security screw at the bottom of the device to prevent theft. If your model has this feature, use the included screwdriver to tighten the screw until the doorbell is firmly secured.
Testing the Installation
Test the functionality of your Ring doorbell camera by pressing the button to ring the chime and checking the video feed through the Ring app. Adjust the camera’s view and motion detection settings as needed through the app to optimize performance.
