The Crispness Factor – How Dirt Impacts Image Quality
The camera lens, the critical element that captures light and transforms it into captivating images, is susceptible to the detrimental effects of dirt and grime. Each speck of dust, fingerprint, or smudge on your lens can act as an obstruction, scattering or diffusing incoming light. This contamination leads to a noticeable drop in image sharpness, contrast, and color accuracy. A dirty lens can render even the most advanced camera sensor’s performance moot by introducing unwanted artifacts into the photographs.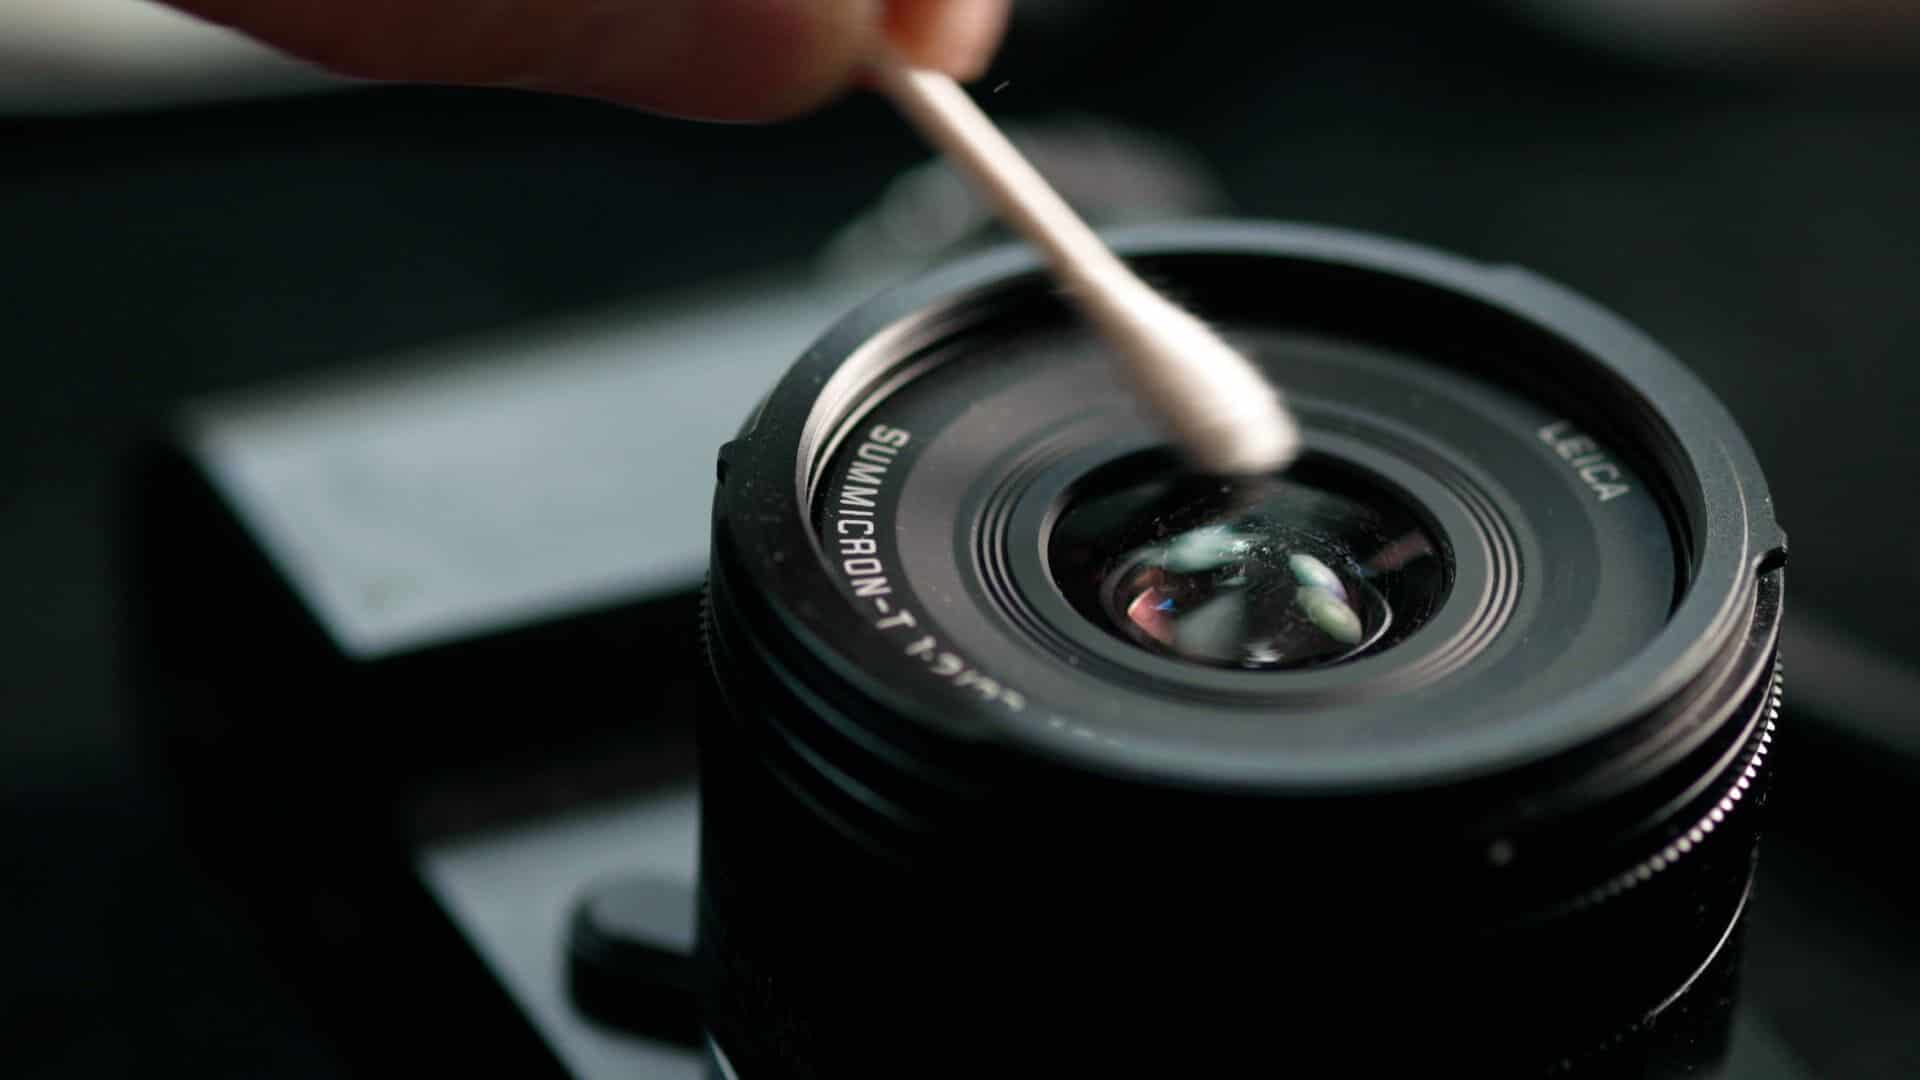
Dust Particles – The Silent Image Spoilers
Tiny dust particles may seem insignificant, but they’re potent enough to create soft spots or blur in your photos, especially when shooting at narrow apertures. They cast shadows on the sensor, resulting in dark spots on the final image, which are particularly evident in uniform backgrounds or blue skies.
Fingerprints and Smudges – Distorting Reality
Fingerprints, oily residues, or smudges from handling the lens can lead to flares and ghosting, distorting the true colors and details in your scenes. These contaminants disrupt the lens coatings designed to minimize reflections and enhance transmission, thereby compromising the overall image quality.
Long-term Effects – Protection vs. Damage
Neglecting regular cleaning could also have long-lasting consequences for your lens. Accumulated dirt can etch into the glass over time, causing permanent scratches or damaging the delicate anti-reflective coatings. Furthermore, a dirty lens might cause mechanical issues like sticking or grinding of moving parts, potentially necessitating costly repairs or replacements.
Preserving Your Investment with Regular Cleaning
Regular cleaning isn’t just about achieving superior image output; it’s also an investment in the longevity of your equipment. A well-maintained lens retains its resale value better and performs consistently throughout its lifespan.
Preventative Maintenance Schedule
A proactive cleaning schedule tailored to your shooting environment and frequency is crucial. If you often shoot outdoors or in dusty environments, consider cleaning your lens after each use. For casual or studio photographers, a routine check-up and cleaning whenever necessary can help keep the lens in prime condition.
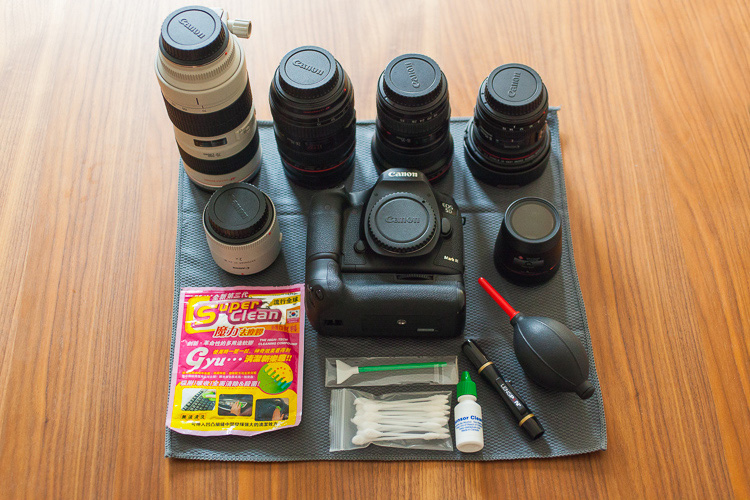
The Right Tools and Techniques
Using appropriate cleaning tools and methods prevents accidental damage. Always handle lenses gently, using microfiber cloths, lens brushes, and cleaning solutions specifically designed for camera lenses. Avoid harsh chemicals, paper products, or rough fabrics that could scratch the surface.
In summary, maintaining a clean camera lens is not merely a cosmetic exercise but an essential part of ensuring high-quality photography and preserving the integrity of your gear. It’s a small yet significant step towards capturing life’s moments with clarity and precision, and safeguarding your valuable investment against avoidable wear and tear. By making lens cleaning a habit, you’ll ensure that every shot you take reflects the true beauty of the scene before your lens.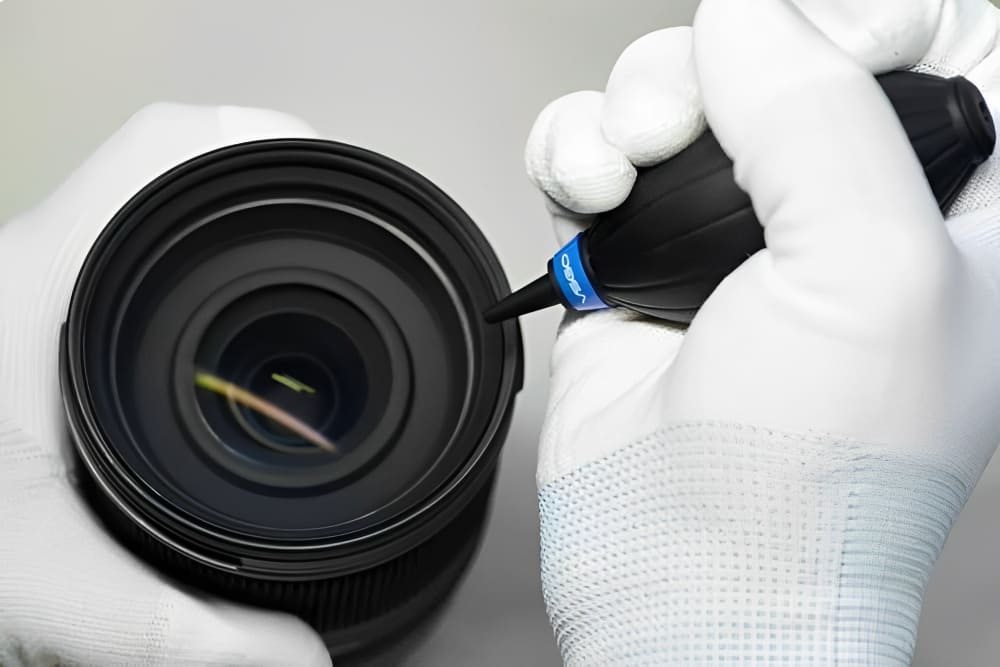
Understanding the Components of a Camera Lens
The Anatomy of a Camera Lens – A Comprehensive Overview
A camera lens is a sophisticated assembly of glass elements and mechanical parts that work together to focus light onto the camera sensor, transforming it into an image. Understanding its various components can significantly enhance your photography skills and help you make informed decisions when purchasing or using lenses. Here’s a breakdown of the key components:
Optical Elements – The Building Blocks of Light Manipulation
- Lens Elements: These are the transparent pieces of glass (or other optical materials) inside the lens barrel. Each element has a specific shape and function, designed to refract, reflect, or bend light in a way that minimizes aberrations and produces a sharp image. They might be single or grouped in multiple arrangements called “groups,” often including aspherical, low dispersion, or high refractive index elements for advanced performance.
- Aperture Blades: These adjustable blades form the aperture, controlling the amount of light entering the lens by varying the size of the opening. The number of blades and their shape impact the quality of out-of-focus areas, or bokeh.
Mount and Communication Systems
- Lens Mount: This is the interface between the camera body and the lens. It ensures precise alignment and facilitates data transfer between the two, allowing functions like autofocus, aperture control, and EXIF data recording.
- Electrical Contacts: These metal contacts on the lens communicate with the camera body, enabling features such as autofocus, auto-aperture control, and image stabilization.
Understanding each of these components equips photographers with the knowledge to better appreciate the technical capabilities of different lenses and choose the right one according to their needs and shooting conditions.
Step-by-Step Cleaning Process
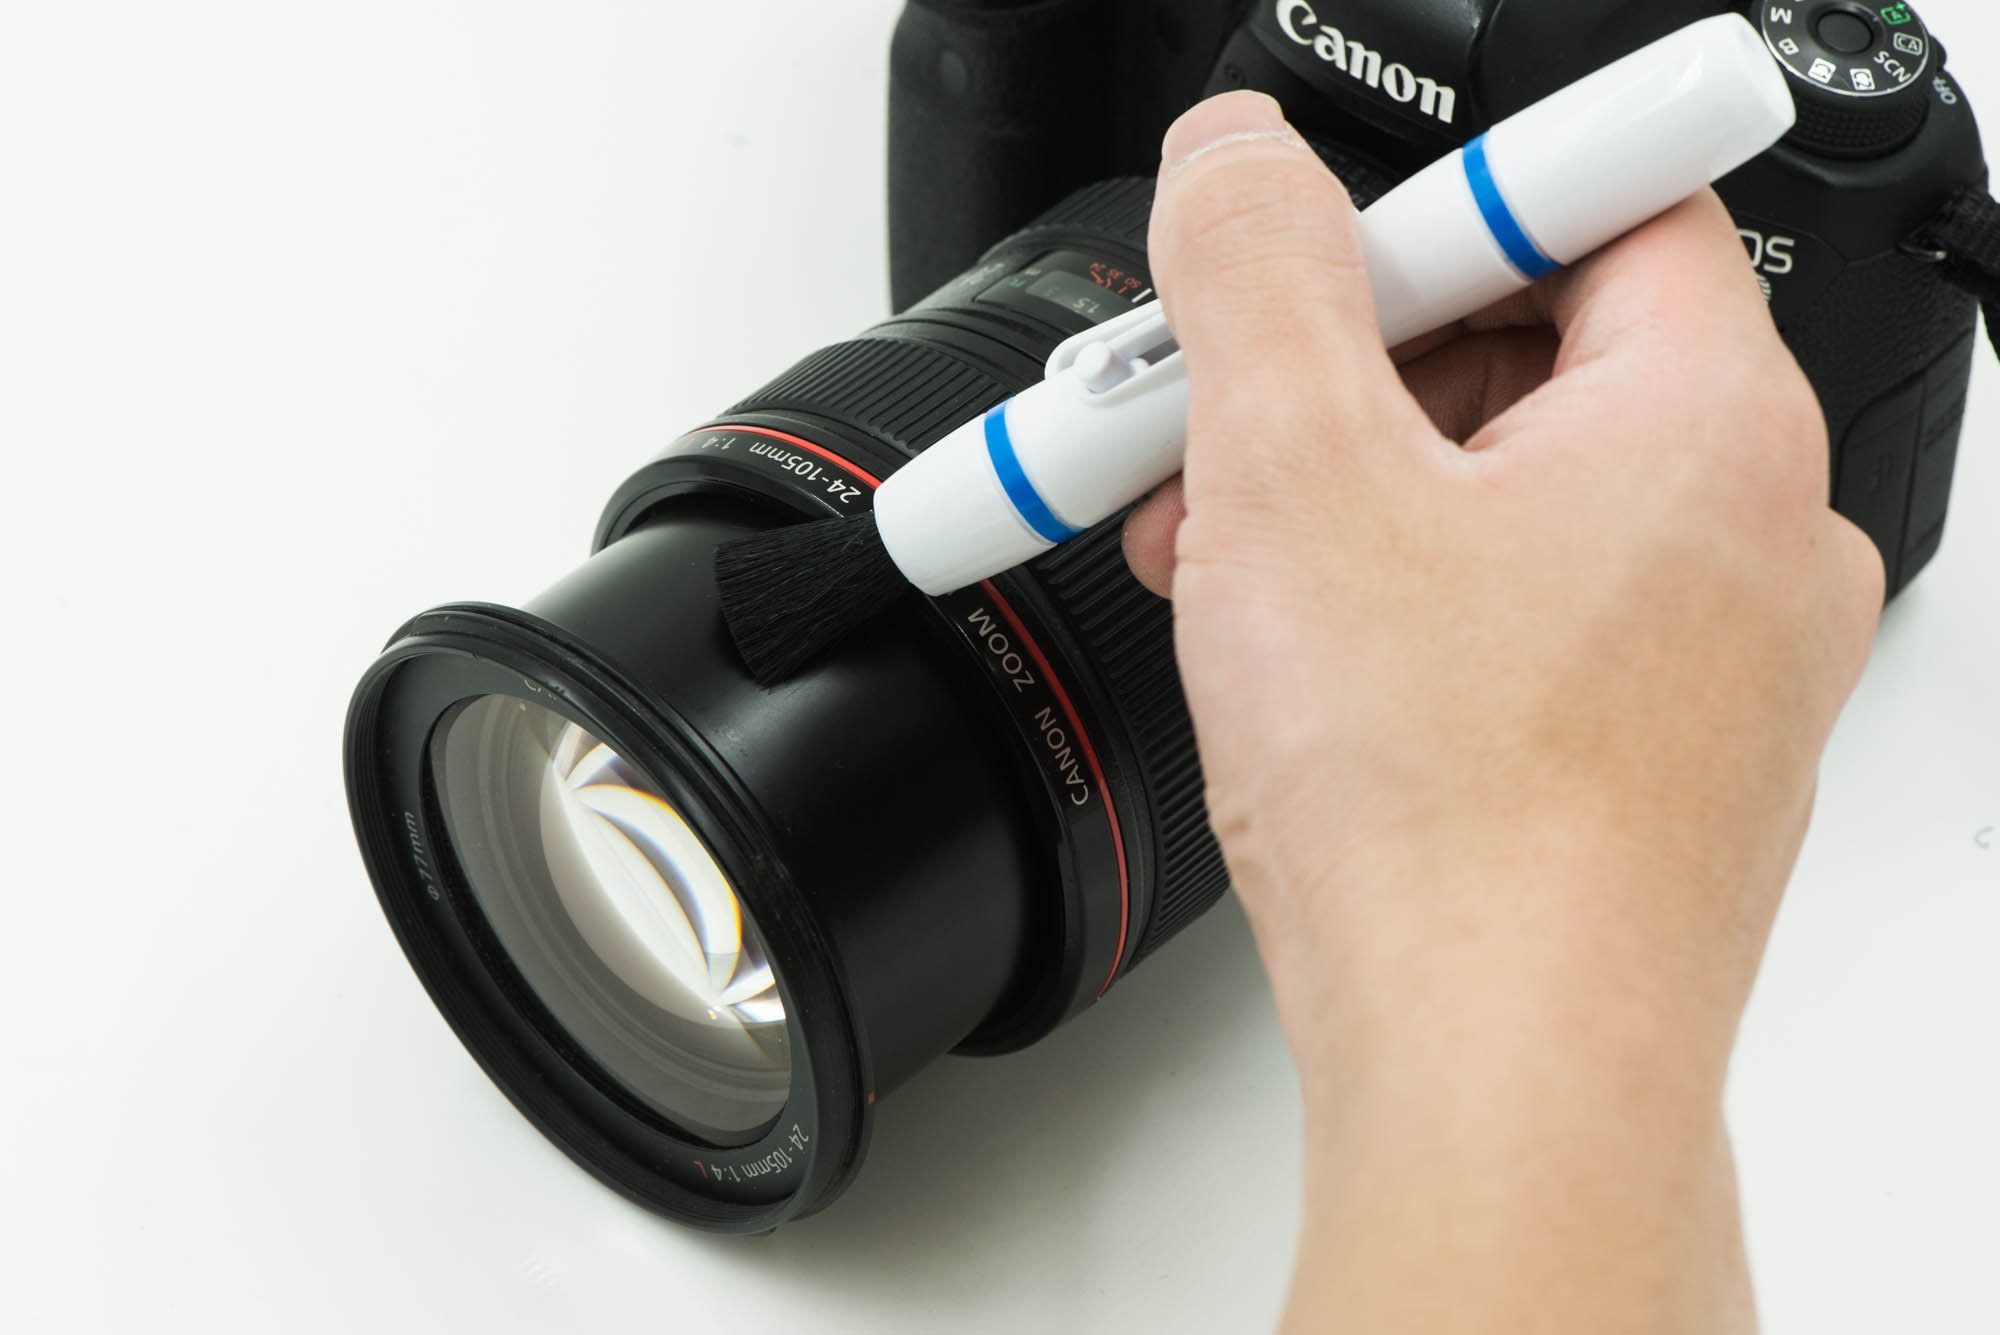
Removing Loose Dust and Particles
Begin by gently blowing off any loose dust using a lens blower or brush. Start from the center of the lens and work outward in a circular motion to avoid pushing debris further into the lens assembly.
Applying Cleaning Solution
If there are smudges or marks, apply a few drops of lens cleaning solution onto a microfiber cloth, never directly onto the lens. Gently rub in a circular motion, starting from the center and moving outwards. Do not apply excessive pressure or scrub.
Dealing with Stubborn Stains
For more persistent stains, use a clean part of the microfiber cloth dampened with cleaning solution. Be patient and repeat the gentle wiping until the stain lifts away. Remember, patience is key; aggressive rubbing can cause irreparable damage.
Cleaning the Lens Edges and Corners
Pay extra attention to the edges and corners where dirt often accumulates. Use a corner of the cloth to reach these areas without applying too much force.
Post-Cleaning Maintenance and Prevention
Storage and Transportation
After cleaning, store your lens in a dry place, ideally inside its original case or a well-padded bag. Use a UV filter to provide an additional layer of protection against everyday wear and tear.
Regular Cleaning Schedule
Implement a regular cleaning routine based on usage. If you frequently shoot in dusty environments, clean your lens after each session. For general use, weekly checks and cleaning when necessary should suffice.
Handling Techniques
Always handle your lens with clean hands or while wearing lens gloves. Avoid touching the glass surface whenever possible, as skin oils can leave residues that attract dust and are difficult to remove.
Conclusion
In conclusion, keeping your camera lens clean is an ongoing task that requires both the right approach and the right tools. By understanding the importance of lens maintenance, preparing adequately, following a proper cleaning process, and adopting good handling habits, you’ll ensure that your lens stays in top condition, capturing the world in pristine detail for years to come.