
Introduction
Open Broadcaster Software (OBS) Studio is a powerful open-source video recording and live streaming tool used by content creators around the world. One of its features, the OBS Virtual Camera, allows you to output the video from OBS as a virtual camera source. This can be selected in other applications, such as video conferencing tools or live streams, enabling you to present professionally composed scenes complete with multiple sources, overlay graphics, and transition effects. This in-depth guide will explain how to set up and use OBS Virtual Camera effectively.
Understanding OBS Virtual Camera’s Capabilities
OBS Virtual Camera acts like a traditional webcam except that it provides the ability to share much more than a single video feed. It can send a composed scene or a combination of several sources including video inputs, images, text, browser windows, and more, offering limitless creative possibilities for your broadcasts or video calls.
Getting Started with OBS Studio
Before utilizing the Virtual Camera, you first need to install and familiarize yourself with OBS Studio:
- Installation: Download OBS Studio from the official website and follow the installation instructions for your operating system.
- Interface Overview: Learn about the OBS interface including the Scenes, Sources, Audio Mixer, Transition controls, and Controls dock.
- Basic Configuration: Set up your initial broadcast settings, including video resolution, frame rate, and audio settings by accessing the ‘Settings’ menu and selecting the ‘Video’ and ‘Audio’ tabs.
Setting Up Your Scenes and Sources
The foundation of using OBS is to create scenes composed of various sources that will be output to the Virtual Camera:
- Creating Scenes: Add new scenes in OBS to represent different visual layouts or segments of your presentation or broadcast.
- Adding Sources: Within each scene, add sources such as cameras, images, text, window captures, and more to build up your visual presentation.
- Customizing with Filters and Effects: Enhance your sources using filters and effects for color correction, chroma keying, image masking, and more.
Configuring the Audio
Sound is a critical component of your virtual broadcast:
- Audio Sources: Add and manage audio sources such as microphones, desktop audio, or external audio devices.
- Mixing Audio: Use the Audio Mixer to control the levels, balance, and apply filters to your audio sources to ensure clear and balanced sound output.
- Syncing Audio and Video: Synchronize your audio to your video if there is any noticeable delay, ensuring your production is professional and polished.
Launching the OBS Virtual Camera
Once your scenes and sources are set up, you can start the Virtual Camera:
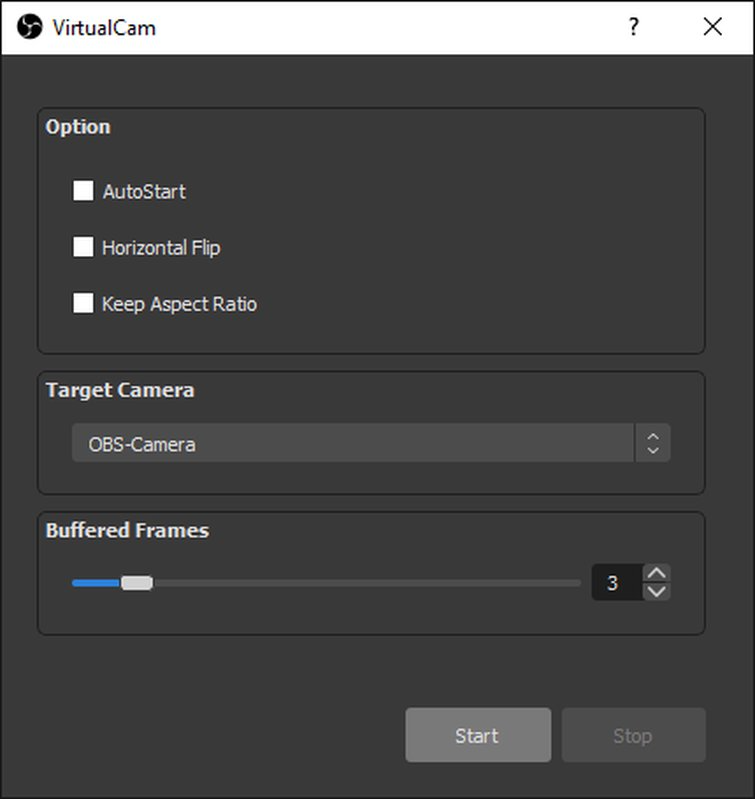
- Starting Virtual Camera: Click on the ‘Start Virtual Camera’ button located in the Controls dock of OBS.
- Selecting Virtual Camera in Other Applications: Open your video conferencing or streaming software and select OBS Virtual Camera as your video input device.
Using it with Video Conferencing Tools
Virtual Camera can elevate your video conferencing presence:
- Professional Meetings: Use OBS scenes to present with branded overlays, picture-in-picture layouts, and on-screen content during professional meetings.
- Teaching and Workshops: Enhance online teaching or workshop sessions by switching between presentation materials, whiteboard features, and direct camera engagement.
- Creative Backgrounds: Utilize green screen features or custom backgrounds to add a personal touch or branding to your call.
Advanced Tips
To get the most out of Virtual Camera, explore advanced features and practices:
- Scene Transitions: Use transitions to smoothly switch between scenes for a more professional look.
- Hotkeys: Set up hotkeys in OBS to control scene switching, start/stop the Virtual Camera, and other actions for efficiency.
- Using Multiple Virtual Cameras: Explore plugins or additional software that allows for multiple virtual cameras, giving you the option to switch between different outputs on the fly.
Enhancing Your Virtual Presence with Plugins and Add-Ons
Expand the capabilities of your OBS Virtual Camera setup with plugins and add-ons:
- Plugins for Additional Features: Use OBS plugins to add new sources, functionality, and integrations with other software and services.
- Stream Decks and Controllers: Consider using a stream deck or MIDI controller for tactile control over your OBS scenes and sources.
Conclusion
Whether you’re a content creator, a professional, or someone looking to improve your online interaction, it offers a versatile solution. By combining the power of OBS Studio with the convenience of a virtual camera, you can create engaging, high-quality content for live streams, video conferences, and more. With practice and creativity, it can become an indispensable tool in your digital communication arsenal.