Introduction to Security Camera Installation
Installing security cameras is a critical step in safeguarding your property. With the rise in property-related crimes and the need for home automation, security cameras have become a staple in residential and commercial security. This guide will take you through a detailed journey of installing a security camera system, addressing various factors to consider and providing steps for a successful setup.
Assessing Your Security Needs
Before purchasing and installing security cameras, assess your security needs. Consider what areas are most vulnerable and require monitoring. Identify key areas such as entry points, windows, garages, hallways, or specific rooms that would benefit from surveillance. Determine whether you need indoor cameras, outdoor cameras, or a combination of both.
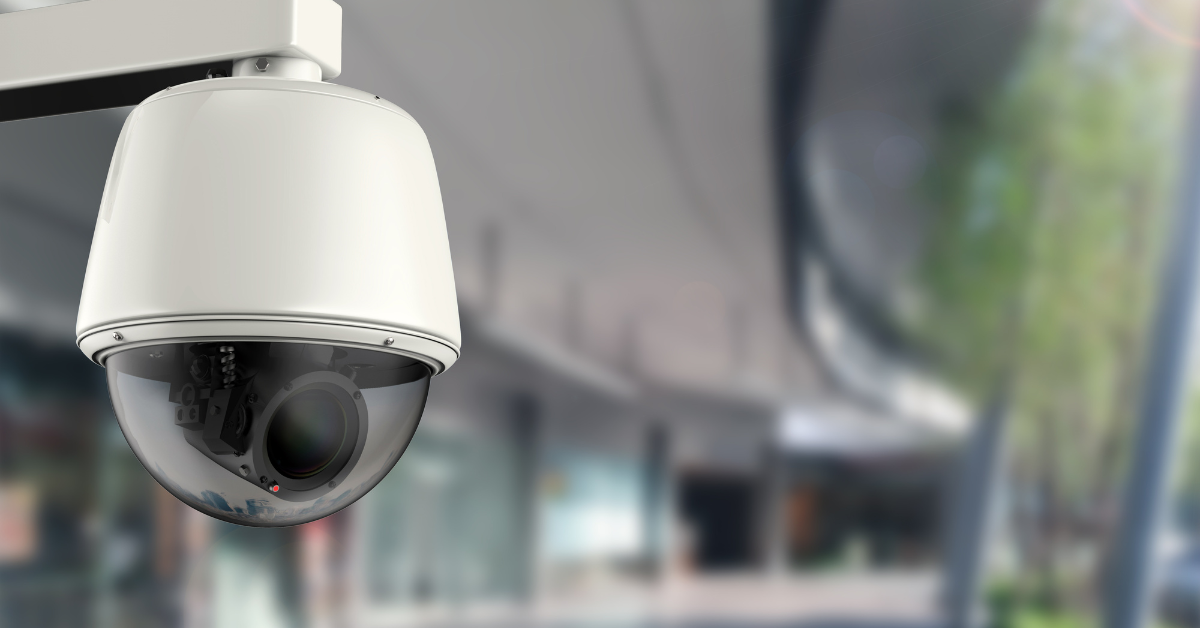
Choosing the Right Security Camera System
There’s a wide range of security camera systems available on the market. Here are some features to consider when choosing the right system for your needs:
- Wired vs. Wireless: Decide whether you want a wired system that is typically more reliable but harder to install, or a wireless system that is easier to set up but may have connectivity issues.
- Camera Resolution: Higher resolution cameras provide clearer images, making it easier to identify individuals and activities.
- Night Vision: Ensure that your cameras have good-quality night vision for clear footage in low light conditions.
- Field of View: A wider field of view will capture more area with fewer cameras.
- Storage Options: Look at whether the system offers cloud storage or local storage, and how much it costs.
- Smart Features: Motion detection, mobile alerts, two-way audio, and integrations with other smart home devices might be beneficial features for your setup.
Planning the Camera Layout
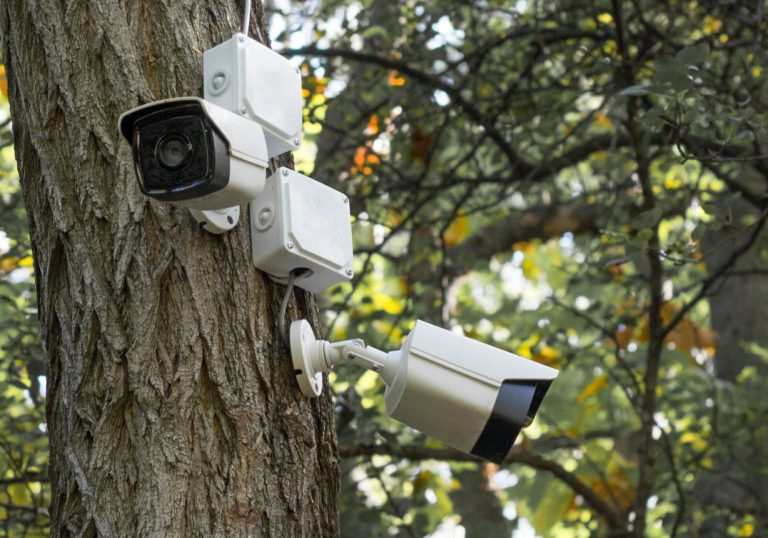
Planning where to position your cameras is critical for maximum coverage and efficiency. Sketch out a map of your property and mark the locations where cameras will be most effective. For outdoor cameras, consider placing them above entry points or facing driveways. Indoor cameras can be placed in living spaces and hallways. Ensure there are no obstructions in the camera’s line of sight.
Acquiring Installation Tools and Equipment
Gather the necessary tools and equipment needed for installation. This typically includes:
- Drill with drill bits
- Screwdriver set
- Wire strippers and cutters
- Ladder
- Anchors and screws
- Cable clips or conduits
- Ethernet cables (for wired systems)
- Power drill and saw (for running wires inside walls)
Understanding Local Laws and Regulations
Before installing your security cameras, familiarize yourself with local laws and regulations regarding surveillance. Some areas may have restrictions on recording public areas or audio recording.
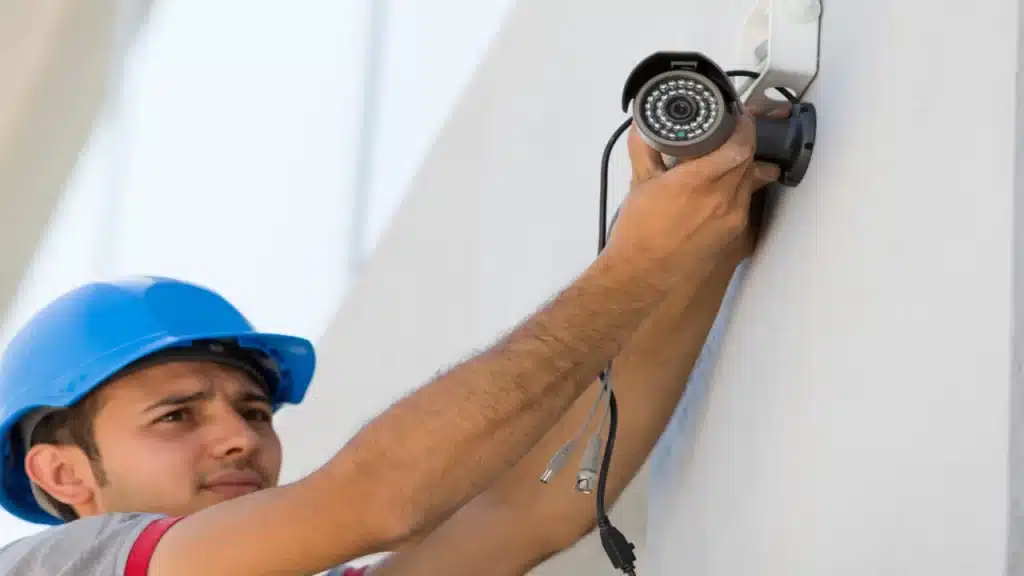
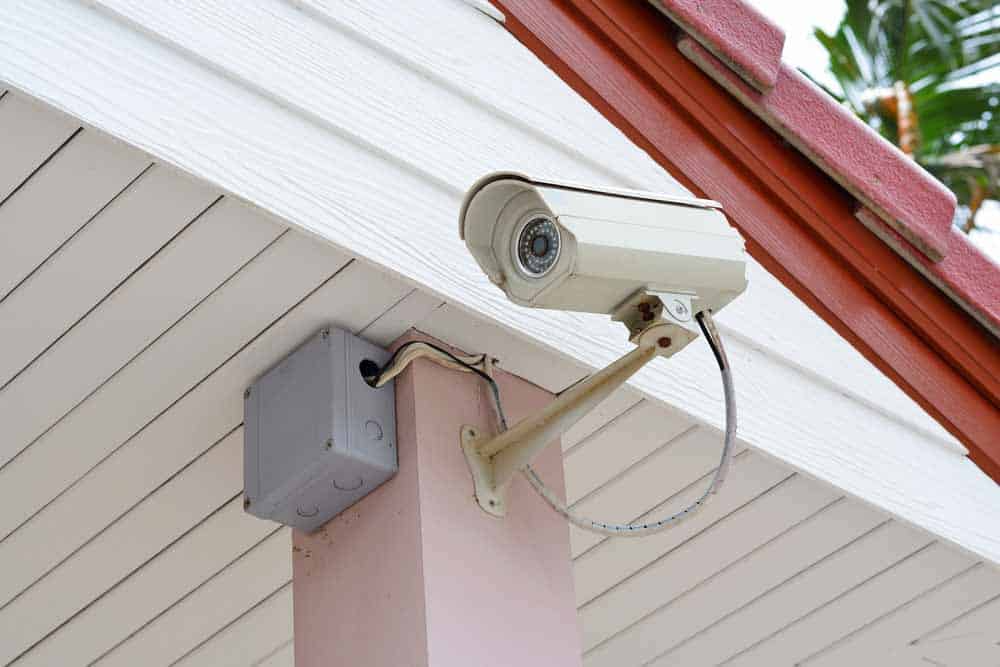
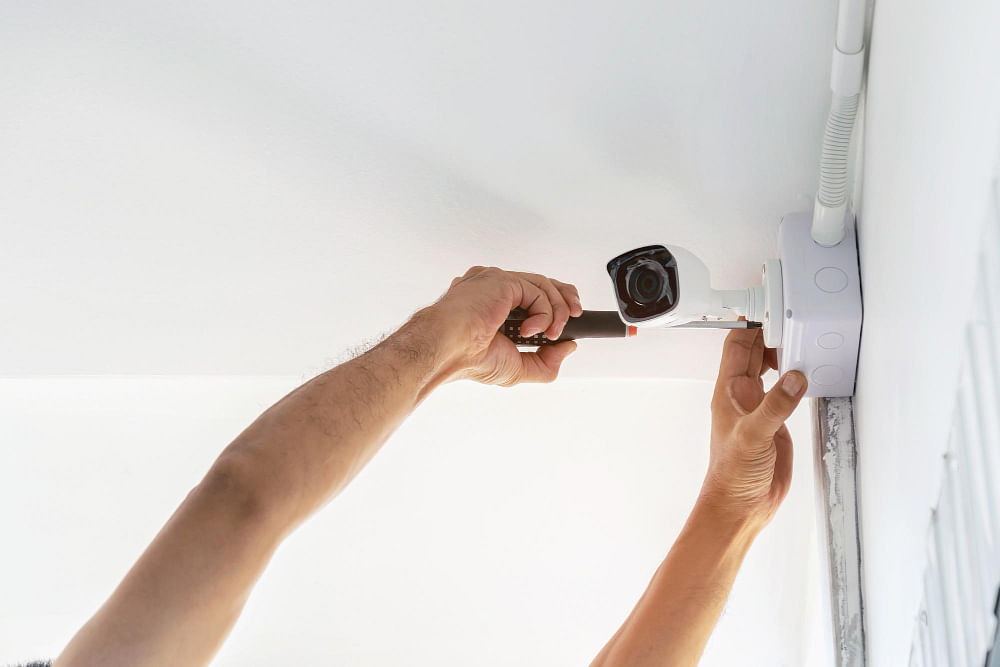
Installing Wired Security Cameras
For wired camera systems, installation is more complex and may involve running cables through walls and connecting the system to a central recording device. Follow these steps for wired camera installation:
- Mounting the Cameras: Secure the camera mounts at the pre-planned positions. If mounting on brick or concrete, use a masonry drill bit and anchors.
- Routing the Cables: Plan the route for the cables from the cameras to the DVR or NVR. You may need to drill through walls or ceilings. Use conduits or cable clips to secure and protect the cables.
- Connecting the Cameras: Once the cables are routed, connect them to the cameras and the recording device, ensuring tight and secure connections.
- Powering the System: Connect the system to power. For PoE (Power over Ethernet) systems, the network cable will provide power. For others, you may need to connect each camera to a power source.
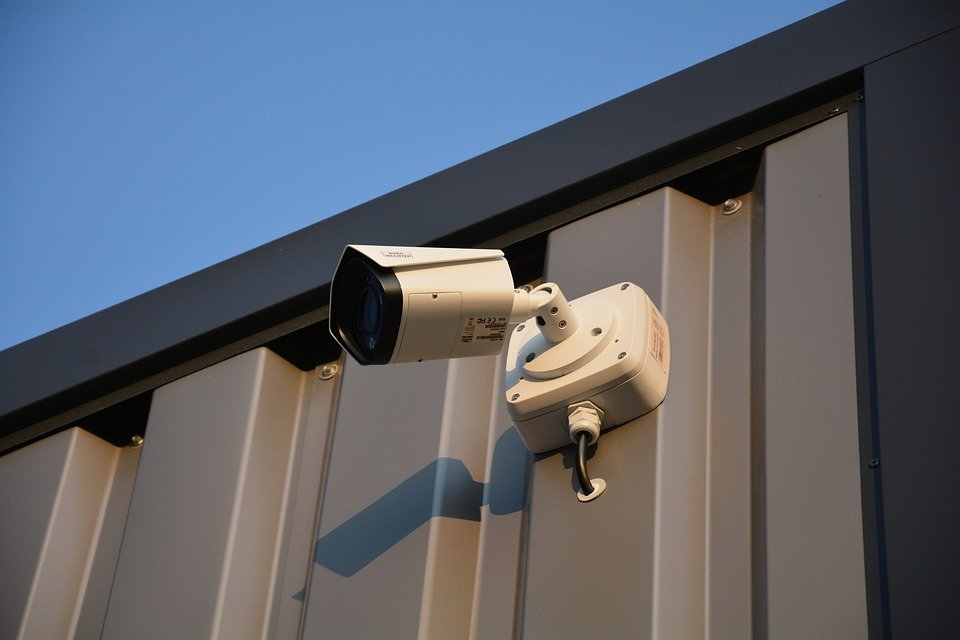
Setting Up Wireless Security Cameras
Wireless cameras offer easier installation as they do not require running video cables. Follow these steps for wireless camera installation:
- Mounting the Cameras: Install the camera mounts in the chosen locations, making sure they’re within your Wi-Fi network’s range.
- Powering the Cameras: Some wireless cameras are battery-powered, while others need to be plugged into a power outlet. Install them accordingly.
- Syncing with the Network: Follow the manufacturer’s instructions to sync the cameras with your wireless network and connect them to the central recording hub or app.
Configuring the DVR/NVR
A digital video recorder (DVR) or network video recorder (NVR) is the central hub of your security system. Here’s how to set it up:
- Placing the Recorder: Choose a secure and accessible location for your DVR/NVR, such as a locked cabinet or a dedicated closet.
- Making Connections: Connect the video and power cables from the cameras to the recorder.
- Configuring the Settings: Power up the recorder and configure the settings as per your preferences, including recording quality, schedule, and motion detection areas.
Setting Up Remote Viewing
Remote viewing allows you to monitor your security cameras from anywhere via an internet connection. To set this up:
- Network Configuration: Connect your DVR/NVR to your network router using an Ethernet cable.
- Dynamic DNS Setup: Set up dynamic DNS if you have a dynamic IP address from your internet provider.
- Port Forwarding: Configure port forwarding on your router to allow external connections to your DVR/NVR.
- Mobile App Configuration: Download the app associated with your camera system and connect it to your DVR/NVR for remote viewing.
Testing and Adjusting Camera Angles
Once your cameras are installed, test the system to ensure all cameras are working correctly. Adjust the angles to maximize coverage and minimize blind spots. Make sure the cameras are focused and the field of view is as planned.
Maintaining and Updating the Camera System
Maintenance is vital to ensure your system remains functional over time:
- Regularly Clean Cameras: Wipe down lenses and camera bodies to keep the video feed clear.
- Check for Updates: Regularly update your camera firmware and software to patch security vulnerabilities and improve functionality.
- Inspect Cables and Connections: For wired systems, periodically check cables and connectors for signs of wear or damage.
Conclusion
Security camera installation is a multi-step process that involves planning, selecting the right equipment, and carefully installing the system. By following the comprehensive steps outlined in this guide, you can provide an additional layer of security for your property, ensuring peace of mind and protection for your loved ones and assets. With the right tools and a bit of patience, you can install a security camera system that suits your needs and budget.