Introduction to Wiring a Backup Camera
Enhancing Vehicle Safety with a Backup Camera
Installing a backup camera on your vehicle is a proactive step toward increased safety, reducing the risk of backing accidents by providing a clear view of what’s behind you. Not only can backup cameras help prevent collisions with obstacles, pedestrians, and other vehicles, but they also make parking and maneuvering in tight spaces far easier. This guide will introduce you to the process of wiring a backup camera, an essential skill for any DIY enthusiast or vehicle owner looking to add this valuable feature to their car or truck.
Overview of Backup Camera Systems
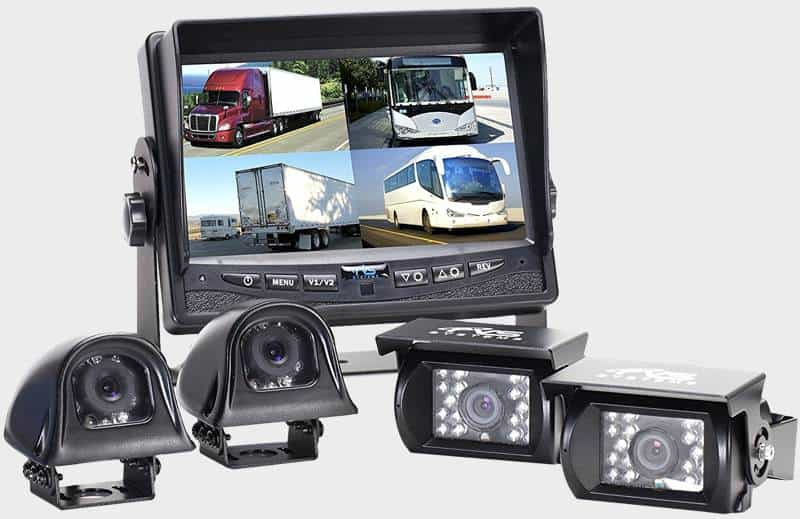
Backup camera systems typically consist of a camera mounted at the rear of the vehicle, a display monitor, and the necessary wiring to connect the two components and power the system. Some systems integrate the monitor into the rearview mirror, while others use a separate screen that mounts on the dashboard. Wireless systems are also available, which minimize the amount of wiring needed but may still require power connections.

Choosing the Right Backup Camera for Your Vehicle
Selecting the right backup camera involves considering several factors:
- Camera Quality: Look for cameras with high resolution and good low-light performance to ensure a clear picture at all times of the day.
- Field of View: A wider angle lens will provide a more comprehensive view of the rear, but be aware of potential fish-eye distortion in some models.
- Monitor: Decide if you prefer a mirror monitor, a dashboard monitor, or a system that uses your vehicle’s existing infotainment screen.
- Wired vs. Wireless: Wired systems are more reliable in terms of signal quality, while wireless systems are easier to install but may suffer from interference.
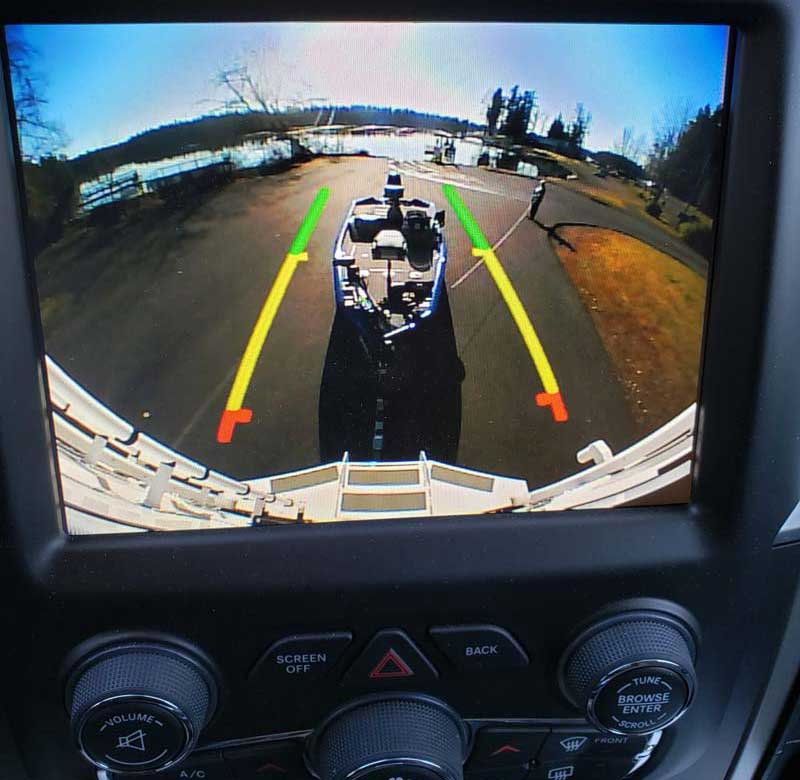
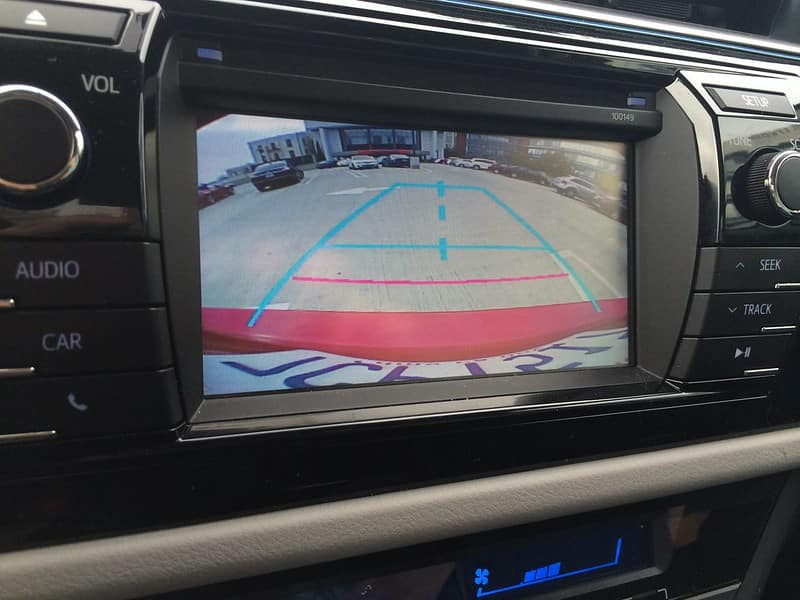
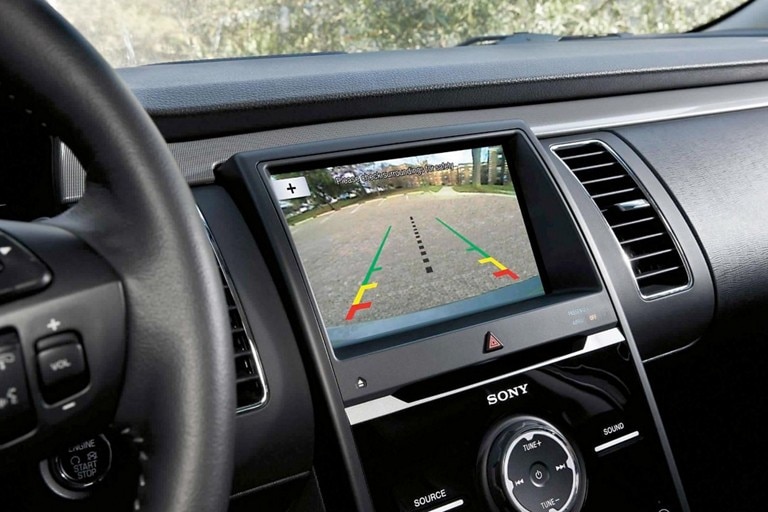
- Parking Guidelines: Some cameras include on-screen parking lines to assist with depth perception and alignment while reversing.
Essential Tools and Materials
Before beginning the installation, it’s important to gather all necessary tools and materials. You’ll need:
- Backup camera and monitor kit
- Wire strippers and crimping tool
- Electrical tape or heat-shrink tubing
- Cable ties
- Drill with appropriate bits
- Screwdrivers
- Multimeter
- Fuse tap or add-a-circuit kit
- Automotive-grade wiring (if not provided with the kit)
- Rubber grommets (for protecting wires through drilled holes)
- Silicone sealant
Understanding Your Vehicle’s Wiring System
Familiarize yourself with your vehicle’s wiring system, specifically the reverse light wiring, as this will be the primary power source for your backup camera. Consult your vehicle’s service manual for wiring diagrams and color coding to identify the correct wires.
Planning the Backup Camera Installation
Plan the route for the wiring from the camera to the monitor, accounting for the best path that avoids moving parts and sources of heat. Decide where the camera and monitor will be mounted for optimal visibility and convenience.
Mounting the Backup Camera
Follow these steps to mount the backup camera:
- Select a suitable location for the camera, typically above the rear license plate or on the rear bumper.
- Mark the drilling points, ensuring there’s no interference with any internal components.
- Drill the required holes, and install the camera using the provided mounting hardware. Apply silicone sealant around the drilled holes to prevent water ingress.
- If necessary, use a rubber grommet to protect the wiring where it passes through the vehicle’s body.
Running the Wiring for the Camera
The next step is to run the camera’s wiring to the monitor and power source:
- Route the camera’s video cable from the rear of the vehicle to the monitor’s location, typically at the front. Use cable ties to secure the wiring along the way, avoiding any pinch points or areas that may damage the cable.
- Choose a path that runs beneath the vehicle’s trim or carpeting for a clean installation.
Connecting to the Reverse Light Power Source
Powering your backup camera from the reverse light ensures it activates when the vehicle is put into reverse gear:
- Locate the reverse light wiring at the rear of the vehicle.
- Use a multimeter to confirm the positive and negative wires for the reverse light.
- Splice the camera’s power cable into the reverse light’s power wire using a wire tap or by soldering and insulating the connection.
- Connect the ground wire from the camera to a suitable grounding point on the vehicle’s frame or use the reverse light’s ground wire.
Installing the Monitor
The monitor can be mounted on the dashboard, windshield, or integrated into a rearview mirror, depending on your preference and the kit’s design:
- Secure the monitor in the desired location using the provided mount or adhesive pad.
- Run the monitor’s power cable to the fuse box or another ignition-switched power source to ensure the monitor only receives power when the vehicle is on.
- Connect the monitor’s ground wire to a grounding point.
- Use a fuse tap to safely integrate the power connection into the fuse box without cutting into factory wiring.
Making the Video Connection
Connect the video cable from the camera to the monitor:
- If the video cable isn’t long enough, use a coupler or an extension cable to complete the connection.
- Ensure the connections are secure and that any excess cable is neatly tucked away.
Testing the Backup Camera System
Once all connections have been made, it’s time to test the system:
- Put the vehicle in reverse gear to engage the reverse lights and power the camera.
- Check the monitor to ensure the camera’s video feed is displaying correctly.
- Adjust the camera angle as needed to achieve the best view of the area behind the vehicle.
Troubleshooting Common Issues
If the camera system is not functioning as expected, consider these troubleshooting tips:
- Double-check all electrical connections for solid contact and proper insulation.
- Verify the polarity of the power and ground connections.
- Ensure the video cable is fully inserted and free from damage.
- Check the fuse box to ensure the monitor’s power fuse is intact and of the correct amperage.
Finalizing the Installation
With the camera system working correctly:
- Reinstall any trim or carpeting that was removed to route the cables.
- Use cable ties to tidy up any loose wiring.
- Confirm that no wires are pinched and that all drilled holes are sealed.
Maintaining Your Backup Camera
Regular maintenance of your backup camera system is important:
- Clean the camera lens periodically for a clear view.
- Inspect wiring for signs of wear or damage, especially if exposed to the elements.
- Check monitor and camera mounts to ensure they remain secure over time.
Conclusion
Wiring a backup camera requires careful planning, attention to detail, and a basic understanding of your vehicle’s electrical system. With the right approach and by following these detailed steps, you can install a backup camera that provides safety and convenience for years to come. Whether you’re an experienced DIYer or new to vehicle electronics, taking the time to do the job correctly will result in a reliable and professional-looking installation.