
Introduction to Backup Camera Installation
The concept of a backup camera is simple; it’s a camera mounted at the rear of a vehicle that feeds live video to a display in the driver’s field of vision. The purpose is to give the driver a clear view of what’s behind the car, aiding in parking, reversing, and eliminating the rear blind spot. As of May 2018, federal law in the United States requires all new passenger cars, trucks, vans, and other vehicles weighing less than 10,000 pounds to be equipped with rearview monitoring technology, essentially backup cameras. However, for older vehicles or models that did not come equipped with these devices, installing a backup camera is a smart safety measure and adds convenience for the driver.
Understanding the Importance of a Backup Camera
The importance of backup cameras can’t be overstated. Each year, backing up incidents result in fatalities and injuries, many involving young children. Backup cameras can help prevent these tragedies by providing a clear view of the area behind the vehicle, an area not always visible by traditional means like rearview or side mirrors.
Aside from safety, these cameras offer pragmatic benefits. They make parking in tight spots easier, reduce the risk of minor fender benders, and can even help with hitching a trailer. Whether you’re navigating a crowded city parking garage or your own cluttered driveway, a backup camera proves its worth time and time again.
Choosing the Right Backup Camera System
Picking a Compatible Camera Model
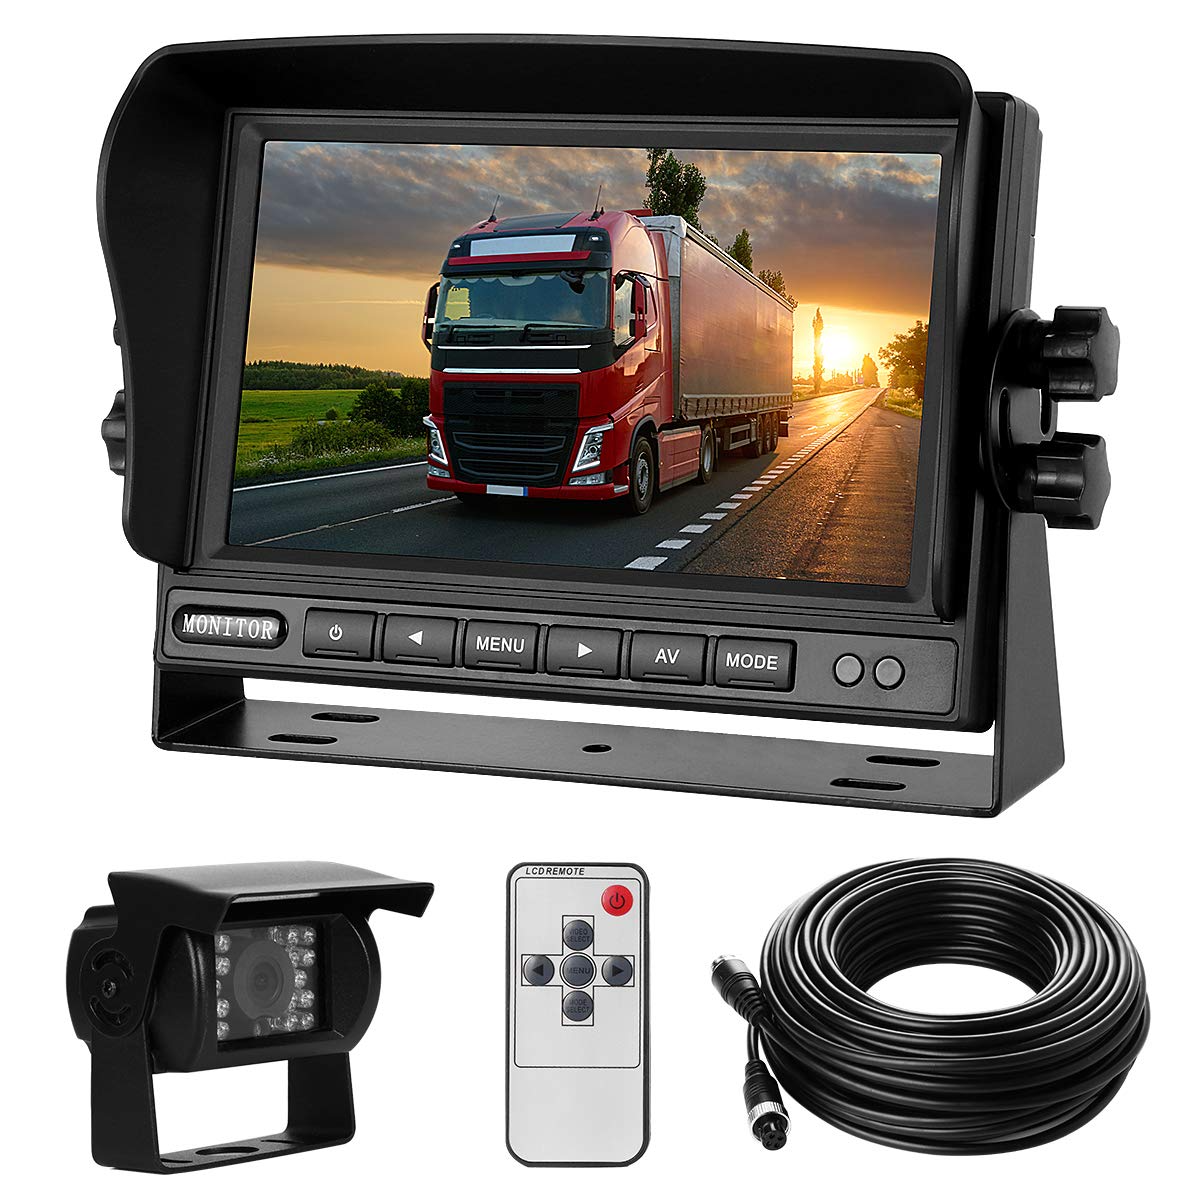
When it comes to selecting a backup camera, compatibility with your vehicle is paramount. Cameras come in various types, such as license plate-mounted, surface-mounted, or flush-mounted options. Features like wide-angle views, night vision, and parking guidelines can be beneficial. Ensure the model you choose can integrate seamlessly with your vehicle’s power system and display preferences.
Deciding on a Display Solution
There are two primary display options for backup cameras: a dedicated monitor or an integrated in-dash screen. A dedicated monitor may require additional mounting on the dashboard or windshield, while an integrated screen can display the camera feed on your existing infotainment system. Your decision will influence the complexity of the wiring process.
Planning the Installation
Diagramming the Wiring Route
Before you start, it’s essential to plan the route your wires will take from the backup camera to the display. You’ll need to consider the vehicle’s interior and exterior layout, identifying the best path to avoid obstructions and potential damage. This plan will guide your installation process and help prevent unnecessary adjustments.
Gathering Tools and Materials
Assemble all the necessary tools and materials before you begin. You’ll need screwdrivers, a drill with bits, a wire stripper, electrical tape, cable ties, a circuit tester, and any other tools specified by your camera’s installation manual. Having everything on hand will streamline the installation process.
Installing the Backup Camera
Mounting the Camera
The first physical step is to mount the camera onto your vehicle. If it’s a license plate-mounted camera, replace your current license plate frame with the new one that includes the camera. For other types, you may need to drill holes and secure the camera with provided hardware. Always ensure the camera is aligned correctly and securely fastened.
Routing the Camera Wires
Carefully route the camera’s power and video cables from the mounting point to the front of the vehicle. Pass the wires through the trunk and behind the interior panels, following the planned route. Use cable ties to secure the wires along the way, ensuring they don’t interfere with any moving parts or create tripping hazards.
Connecting the Backup Camera to Power
Tapping into the Reverse Light Circuit
For the camera to activate when your vehicle is in reverse, it needs to be connected to a power source that’s active only during reverse gear, such as the reverse light circuit. Locate your vehicle’s reverse light wire—often found in the trunk or rear compartment—and use a circuit tester to confirm its function.
Making Electrical Connections
Once you’ve identified the correct reverse light wire, you’ll need to tap into it to provide power to your camera. This can be done using splice connectors or by soldering for a more secure connection. Cover all connections with electrical tape or heat-shrink tubing to protect against short circuits and corrosion.
Setting Up the Display Monitor
Choosing a Location for the Monitor
If you’re using a dedicated monitor, select a location that’s within the driver’s field of vision but doesn’t obstruct the view of the road. This could be on the dashboard, attached to the windshield, or mounted over an existing display. Ensure that the chosen spot is stable and accessible for wiring.
Running Cables to the Display
Run the video cable from the camera to the display monitor, using a similar method as you did for the power wire. Conceal the cable behind interior panels and trim pieces, and secure it with cable ties. If the display is an integrated in-dash screen, you may need additional adapters to connect the camera.
Finalizing the Installation
Testing the Camera and Monitor
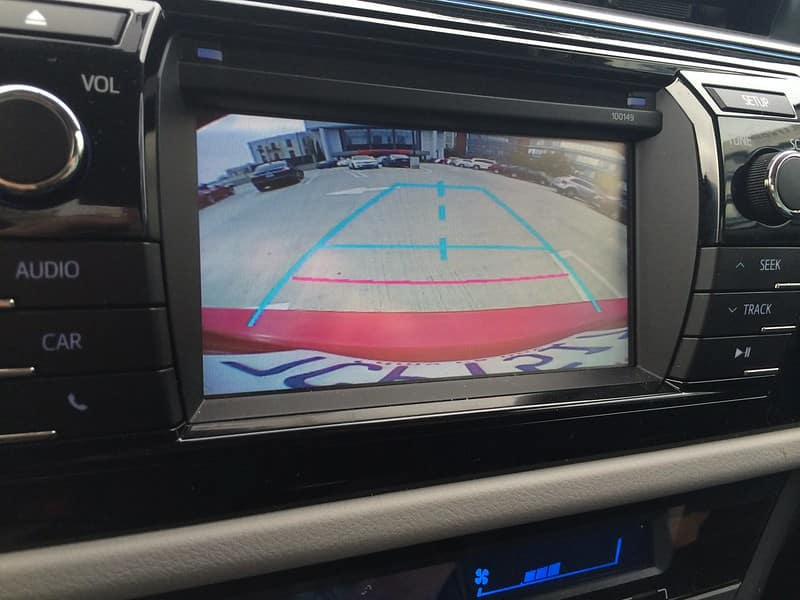
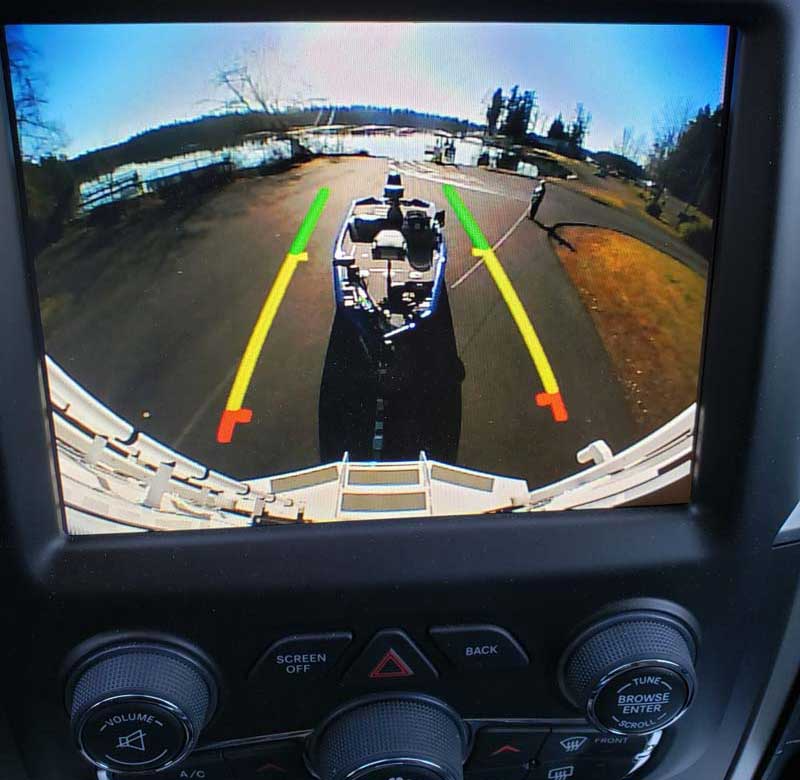
With all connections made, it’s time to test the system. Turn on your vehicle’s ignition and shift into reverse. The backup camera should activate, and the video feed should appear on the monitor. Check for clarity, alignment, and any obstructions in the camera’s view. Adjust the camera angle if necessary.

Cleaning Up the Installation
Once you’ve confirmed that everything is working correctly, tidy up any loose wires and replace all interior panels and trim pieces. Use cable ties to bundle wires together and keep them secure. Review the entire installation to ensure that all components are properly attached and functioning.
Troubleshooting Common Issues
Addressing Power or Video Issues
If your camera doesn’t activate or the monitor doesn’t display the video feed, double-check all connections. Ensure that the power tap is secure and that the video cable is firmly connected at both ends. Also, check for any blown fuses that might affect the reverse light circuit.
Adjusting Camera Settings
Some backup camera systems come with adjustable settings like viewing angle, grid lines, and brightness. If your camera’s view isn’t optimal, navigate through the system’s settings to make necessary adjustments. Consult the camera’s manual for specific instructions on how to modify these settings.
Conclusion
Wiring a backup camera can seem like a complex task, but with careful planning and attention to detail, it’s within the reach of many DIY enthusiasts. By following this guide, you’ve learned the steps to choose the right equipment, plan and execute the installation, and troubleshoot any issues that arise. With your new backup camera installed, you’ll enjoy increased safety and confidence while backing up your vehicle.