
Using the camera on your Chromebook is essential for video conferencing, taking photos, and accessing various camera-related applications. This article will guide you through the simple steps to enable and use the camera on your Chromebook.
Accessing the Camera on a Chromebook
Chromebooks are designed to be user-friendly and efficient, and accessing the built-in camera is no exception. It doesn’t matter if you want to join a video call, take a photo, or record a video; accessing the camera is a straightforward process.
Opening the Camera App
Finding the Camera
To begin using your Chromebook’s camera, you’ll need to locate the Camera application:
- Access the Launcher: Click on the circular Launcher icon in the bottom-left corner of your Chromebook’s screen. This action reveals the search bar and a list of applications you’ve recently used.
- Locate the Camera App: Browse the apps shown, or use the search bar to type “Camera.” The Camera app should appear among the search results or within the visible apps on the Launcher.
- Open the Camera: Once you locate the Camera app, click on its icon to open it. Your Chromebook’s camera will activate, and you’ll see the camera’s viewfinder on your screen, ready to capture photos or videos.

Using the Camera
The Camera app on Chromebook is intuitive with an interface that allows you to switch between different modes:
- Photo Mode: By default, when you open the Camera app, it will be set to photo mode. You can take a picture by clicking the shutter button on the screen.
- Video Mode: To record a video, switch to video mode by clicking the video icon within the app. You can start recording by pressing the red video button.
- Square Mode: If you are looking to take a square photo, select the square mode which is ideal for profile pictures or images destined for social media platforms.
- Portrait Mode: Some Chromebooks support portrait mode, which can be selected to focus on the subject while softly blurring the background.
Adjusting Camera Settings
While the Camera app is designed to be ready to use from the start, there are some settings you can adjust to optimize your experience:
- Resolution and Grid Lines: Click on the settings gear icon to adjust the camera’s resolution or to turn on grid lines, which can help you compose your shots following the rule of thirds.
- Timer: The Camera app also includes a timer feature, allowing you to take photos with a delay, giving you time to join the frame if desired.
- Mirroring: If you prefer to have your photos appear exactly as they were in the preview, you can toggle the ‘mirror’ option in the settings.
- Switching Cameras: If your Chromebook comes with both front and rear-facing cameras, you can switch between them by clicking on the switch camera button, typically represented by a rotating arrow icon.
Accessing Photos and Videos
Once you’ve taken photos or recorded videos, they are saved to your Chromebook’s local storage, which you can access through the Files app:
- Open the Files app from the Launcher.
- Navigate to the “Images” or “Videos” folder to find your captured content.
- From here, you can view, edit, or share your photos and videos.
Conclusion
Accessing the camera on a Chromebook is a simple and swift process. Whether you’re using it for personal or professional purposes, the built-in Camera app provides the necessary features to get the job done without any hassle.
Granting Camera Permissions
Granting Camera Permissions on a Chromebook
When it comes to using your Chromebook’s camera with various websites and applications, it’s crucial to understand how to manage camera permissions effectively. This ensures that your privacy is respected and that you maintain control over which services can access your camera.
For Websites in Chrome
Allowing Camera Access Promptly
When you navigate to a website that requires camera access, such as video conferencing services like Zoom or Google Meet, follow these steps:
- Visit the Website: Open the Chrome browser on your Chromebook and go to the website that needs to use the camera.
- Camera Permission Request: Upon the site’s request to use your camera, a pop-up will surface near the top of the browser window.
- Grant Permission: To allow the site to access your camera, click “Allow” within the pop-up. If you do not want to grant access, simply click “Block.”
Managing Permissions After Initial Prompt
If you’ve accidentally blocked a site or changed your mind about camera access, you can adjust the settings as follows:
- Open the Site: Head to the website for which you want to modify camera permissions.
- Access Site Information: Click on the padlock icon on the left side of the address bar at the top of the browser window. This will reveal a menu with various website settings.
- Adjust Camera Settings: In the menu, locate the “Camera” option. Click on it and change the permission to either “Allow” or “Block,” depending on your preference.
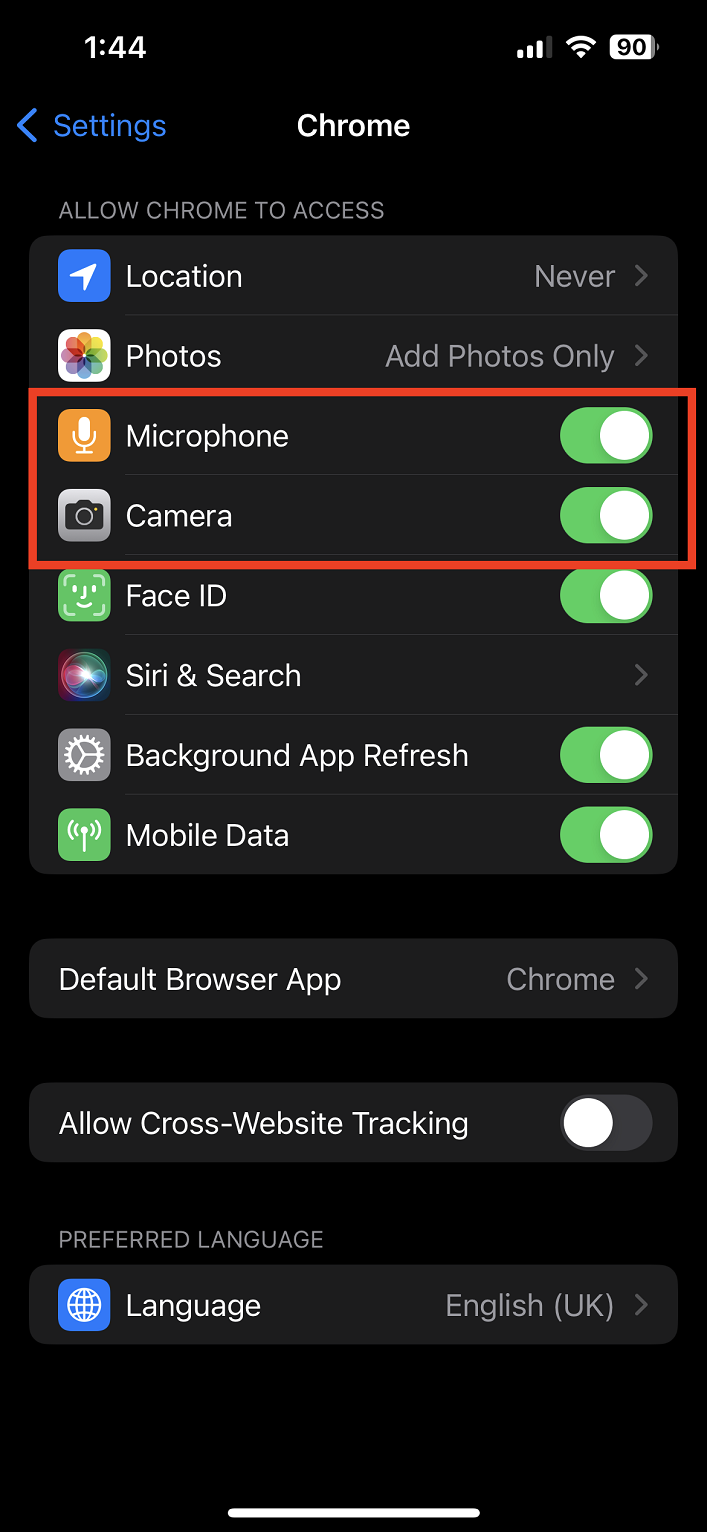
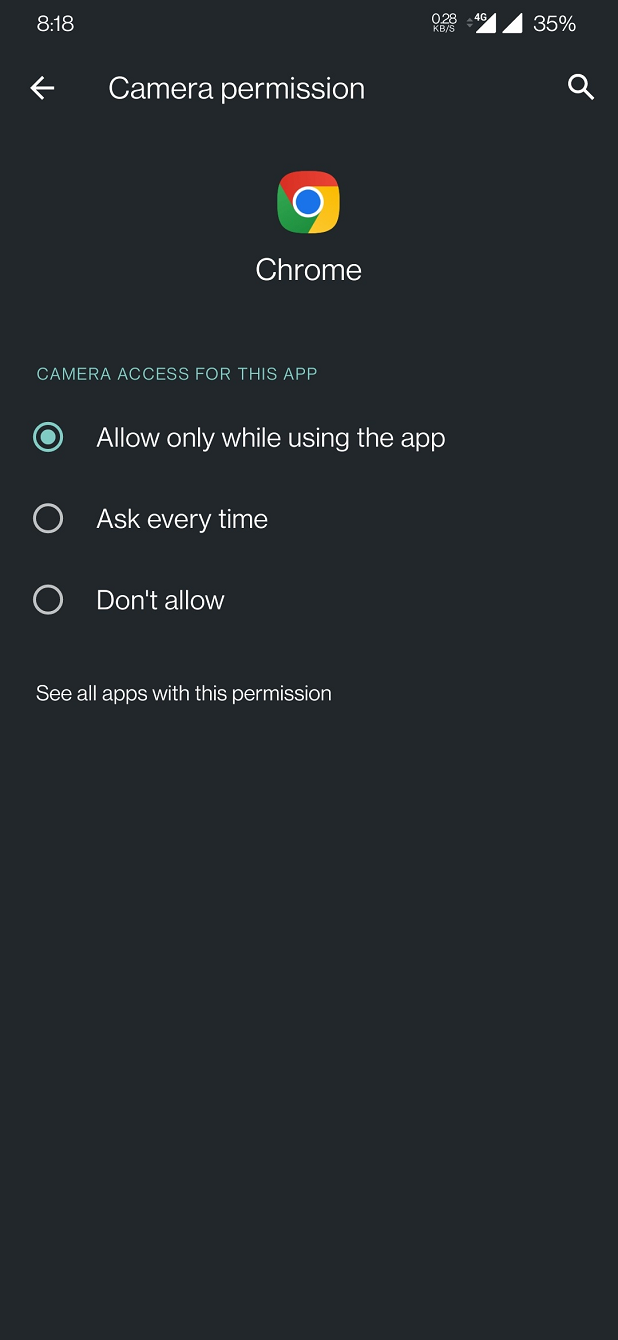
For Android Apps on Chromebook
If you’re using Android apps on your Chromebook, you’ll need to manage permissions through the settings menu:
- Open Settings: Click on the bottom right of your screen where the time is displayed, and then click the gear icon to open settings.
- Go to Apps: In the settings menu, navigate to the “Apps” section.
- Manage Your Preferences: Find the app you want to adjust permissions for, click on it, and then select “Permissions.” Here, you can toggle the camera access on or off.
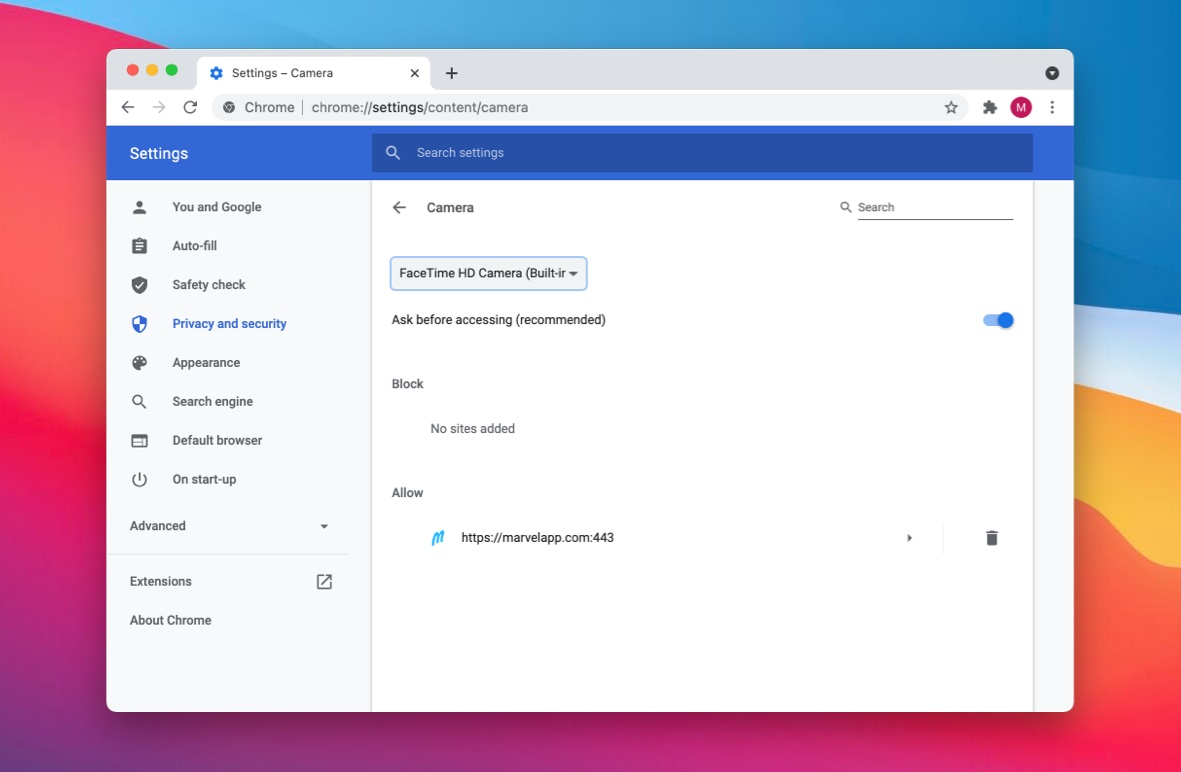
Checking Overall Camera Access
For a broader view of which apps and sites have camera access:
- Enter Chromebook Settings: Click your account photo in the bottom right corner, then click the gear-shaped settings icon.
- Privacy and Security: Scroll down to “Privacy and Security” and select “Site Settings.”
- Camera: Click on “Camera,” and you’ll see which websites have permission to access your camera. You can also revoke permissions from this screen.
Troubleshooting Tips
If you’re experiencing issues with camera permissions:
- Restart the Chromebook: Sometimes, a simple restart can fix permission-related issues.
- Update Chrome OS: Ensure you’re running the latest version of Chrome OS, as updates can resolve bugs and improve security.
- Check App Compatibility: Some Android apps may not be fully compatible with Chromebook’s camera access system, so check the app’s requirements.

Troubleshooting Camera Issues
Checking for Updates
If your camera isn’t working, ensure your Chromebook is up to date:
- Click on the time in the bottom-right corner of the screen.
- Select the Settings cogwheel icon.
- Scroll down to “About Chrome OS” and click “Check for updates.” If an update is available, install it.
Restarting the Camera App
Sometimes a simple restart of the Camera app can resolve issues:
- Close the Camera app.
- Reopen the app from the Launcher.
Conclusion
Enabling and using the camera on a Chromebook is a straightforward process that can be done in just a few steps. Whether for video calls, taking pictures, or app functionality, accessing your camera ensures you can get the most out of your Chromebook’s capabilities.