Installing a backup camera on your vehicle can greatly improve safety by enhancing rear visibility, making it easier to reverse into tight spots, and helping to avoid accidents. This guide will provide you with an overview of the installation process.
Preparing for the Installation of a Backup Camera
The installation of a backup camera requires careful planning and preparation. It’s a process that demands attention to detail and an understanding of your vehicle’s layout. Ensuring you have all the necessary tools and components on hand will make the installation process smoother and more efficient.
Understanding Your Vehicle’s Electrical System
Before starting the installation, it’s essential to familiarize yourself with your vehicle’s electrical system, particularly how the reverse light circuit is set up. This is because the backup camera system will typically need to be wired into this circuit for power. Consulting your vehicle’s service manual can provide you with the wiring diagrams and other specifics you might need.
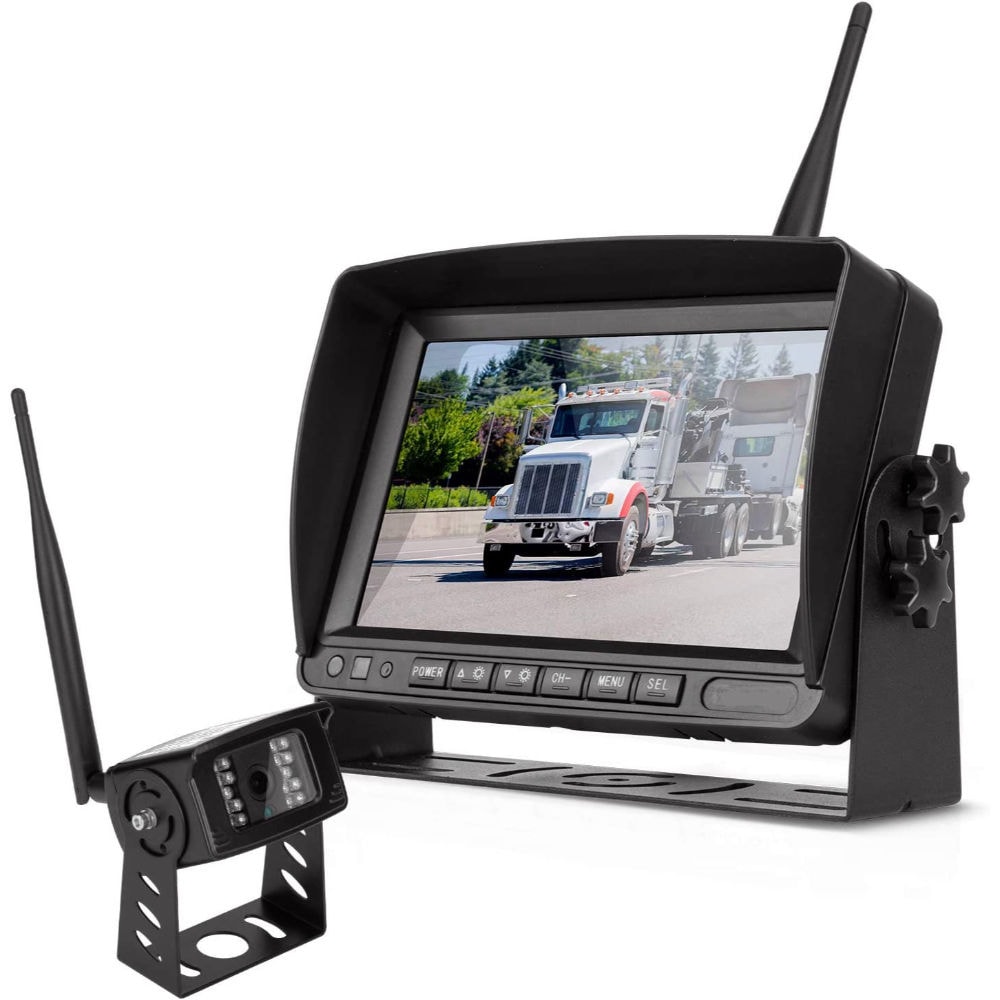
Selecting the Right Backup Camera Kit
Choosing the appropriate backup camera kit for your vehicle is paramount. There are many options available on the market, ranging from basic cameras to those with advanced features like night vision or motion sensors. Consider the size and design of the camera to ensure it will fit your vehicle properly and match your visibility needs. Determine whether a wired or wireless system better suits your preferences and skill level for installation.
Assembling the Necessary Tools
Gathering the right tools is a critical step in the preparation process. The tools you may need for installing a backup camera include:
- Screwdrivers (Phillips and flathead)
- Drill with various bit sizes
- Wire cutters and strippers
- Electrical tape
- Automotive panel removal tools
- Soldering iron and solder (for permanent connections)
- Cable ties for wire management
- Voltmeter or test light for electrical testing
Ensure that you have all these tools on hand before you begin the installation. If you don’t own some of these tools, consider borrowing them or purchasing from a hardware store.
Planning the Camera and Monitor Placement
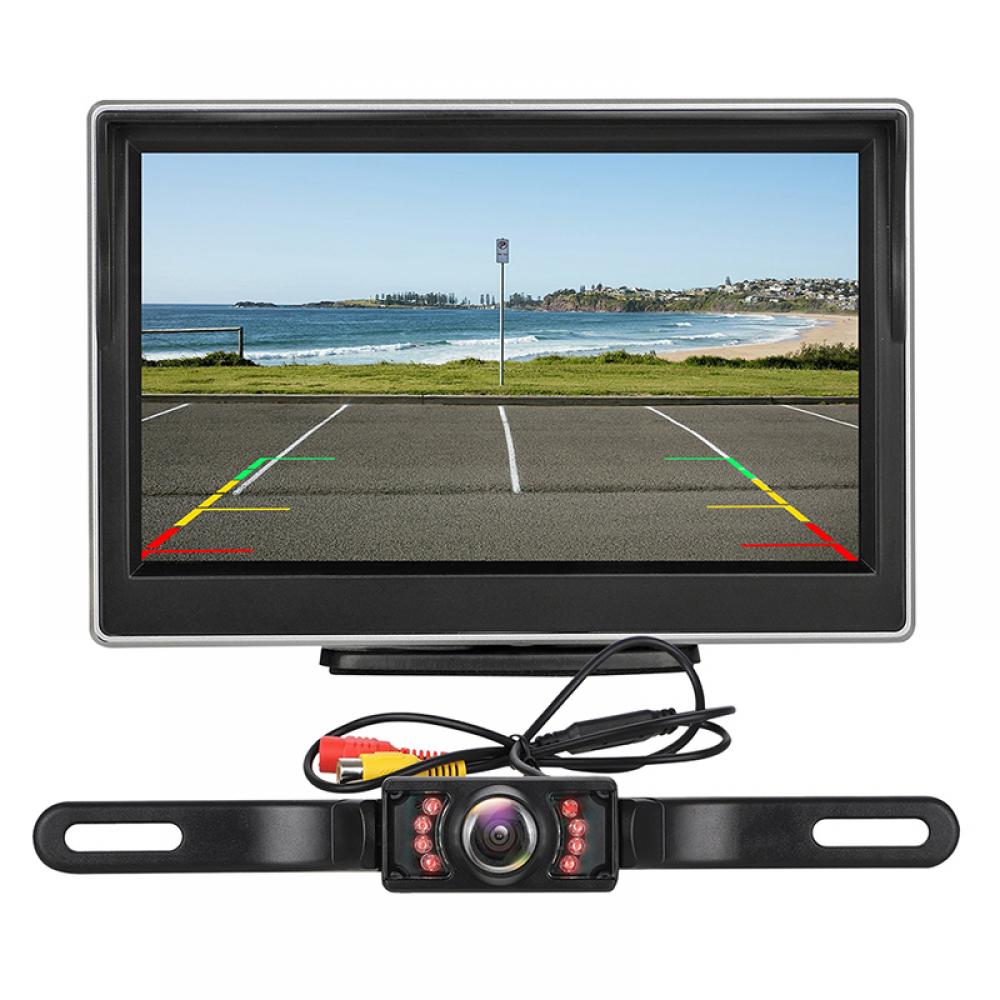
Plan where you will place the camera and monitor. The camera should be positioned where it gives you a clear and comprehensive view of the area behind your vehicle. Common locations include near the license plate or on the bumper. Make sure the chosen location does not obstruct any key vehicle functions or violate any legal requirements regarding license plate visibility.
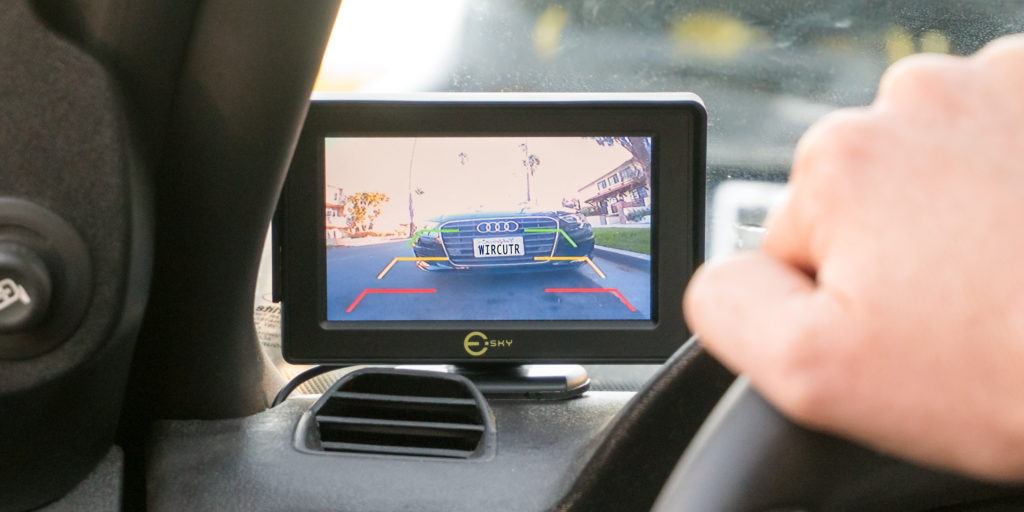
For the monitor, decide whether you want it mounted on the dashboard, integrated into an existing display (if compatible), or attached to the windshield. Consider the ease of viewing and the cable routing path from the camera to the monitor when deciding on the placement.
Reviewing the Backup Camera Kit’s Instructions
Before starting, thoroughly review the instruction manual that comes with your backup camera kit. Manufacturers often provide vehicle-specific instructions, tips for routing cables, and recommendations for connecting to the power source. Familiarizing yourself with these instructions can prevent issues during the actual installation process.
Installing the Camera
The camera should be installed at the rear of the vehicle. It’s typically mounted on or near the license plate for a clear view of what is behind you.
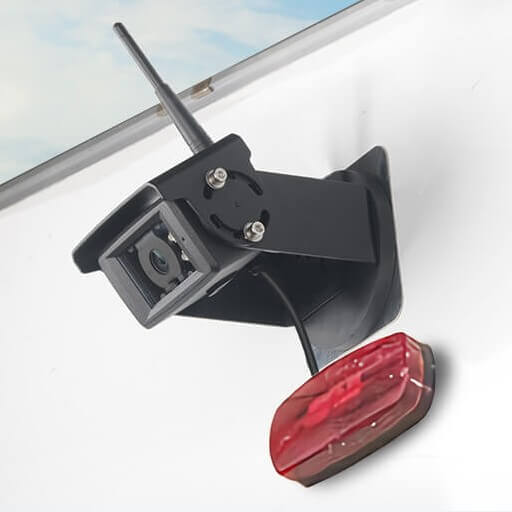
Mounting the Camera
Carefully position the camera where you want it to be installed. Some cameras are designed to fit into the license plate mounting, while others may require drilling holes. Secure the camera in place, making sure it has a clear view of the area behind your vehicle.
Running the Wires
For wired systems, you’ll need to run the video and power cables from the camera to the display monitor at the front of the vehicle. This often involves threading wires through the vehicle’s chassis, which can be the most time-consuming part of the installation.
Setting Up the Display Monitor
The display monitor is what you will look at when reversing your vehicle. There are many options for monitor placement, each with its own installation process.
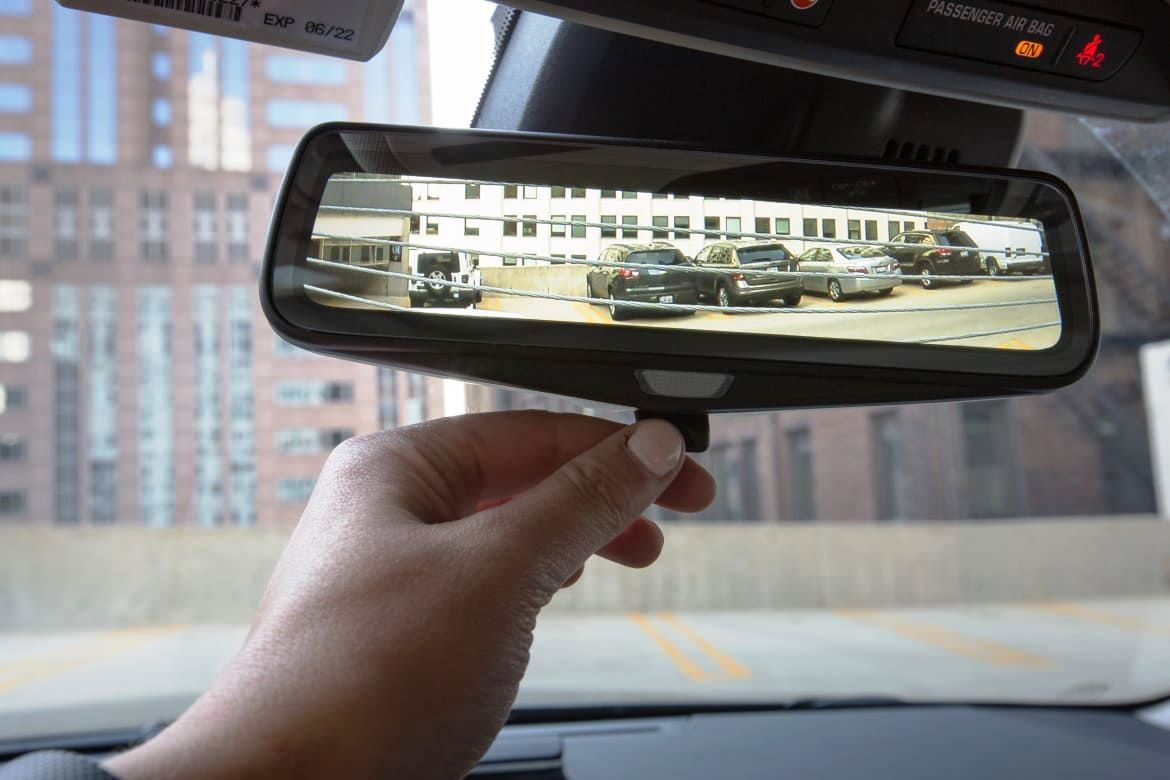
Monitor Mounting Options
You can mount the display on your dashboard, attach it to the windshield with a suction cup, or even integrate it into a replacement rearview mirror. Follow the manufacturer’s instructions to secure the monitor in your preferred location.
Connecting to Power
The monitor will need to be connected to a power source, such as the fuse box or the ignition switch power line. This ensures that the display turns on when the vehicle is in reverse.
Final Steps in Backup Camera Installation
Once you have mounted the camera and monitor and connected all the wiring, the last steps are all about securing the installation and testing the system’s functionality. This is when you ensure that the camera system operates seamlessly with your vehicle’s reversing system and that the setup is both aesthetically pleasing and safe for long-term use.
Testing the System Before Finalizing
Before permanently affixing any components and securing the wiring, you need to conduct thorough testing. Engage the reverse gear to activate the camera and monitor. Ensure that the camera provides a clear and stable image and that there are no disruptions in the video feed. Test the system under various lighting conditions to make sure the camera’s visibility is reliable.
Securing the Camera and Monitor Mounts
Once satisfied with the functionality, secure the camera and monitor mounts if not already done. Use appropriate screws or adhesive pads that typically come with the backup camera kit. Ensure that mounts are tightly secured to prevent vibrations or movement while the vehicle is in use.

Managing and Concealing the Wiring
Proper wire management is crucial for a clean installation and safety. Use cable ties to neatly bundle the wires and secure them along the vehicle’s existing wiring harnesses or within trim panels. Avoid placing wires near moving parts or heat sources. Conceal the wires under carpeting, within door sills, and behind interior panels for a professional look and to prevent damage from regular vehicle use.
Making Permanent Connections
If you’ve made temporary connections during testing, now is the time to make them permanent. This might involve soldering wires for the most secure connection and then insulating them with electrical tape or heat-shrink tubing. Ensure that all connections are solid and free from the risk of coming undone due to vehicle vibrations or temperature changes.
Reassembling the Vehicle Interior
If any part of the vehicle’s interior was disassembled during the installation, such as panels, trim pieces, or seats, reassemble them carefully. Ensure that all parts fit back into their original positions and that no wires are pinched or components obstructed.
Final System Check
After everything is secured and reassembled, conduct one final system check. This involves starting the vehicle, engaging reverse, and observing the camera and monitor operation one last time to ensure everything is working correctly after the reassembly. Double-check that the camera angle provides the best view for reversing and that the monitor is easily visible to the driver.
Post-Installation Considerations
Post-installation, consider the maintenance of your backup camera system. Keep lenses clean for optimal visibility, and periodically check the wiring and mounts to ensure they remain secure. Familiarize yourself with the process of adjusting the camera or monitor settings if necessary, based on your usage patterns and preferences.