Planning Your Lorex Camera Installation
When it comes to enhancing your home or business security, installing Lorex camera is a reliable choice. Before diving into the physical installation, it’s crucial to plan out the entire process. This planning stage is essential to ensure that you cover all necessary areas and minimize any potential issues during the installation.
Assessing Your Security Needs
Begin by evaluating the specific security needs of your property. Identify key areas that require monitoring, such as entrances, exits, windows, and any other vulnerable spots. Consider the field of view for each camera and ensure there are no blind spots that could be exploited.
Choosing the Right Lorex Cameras
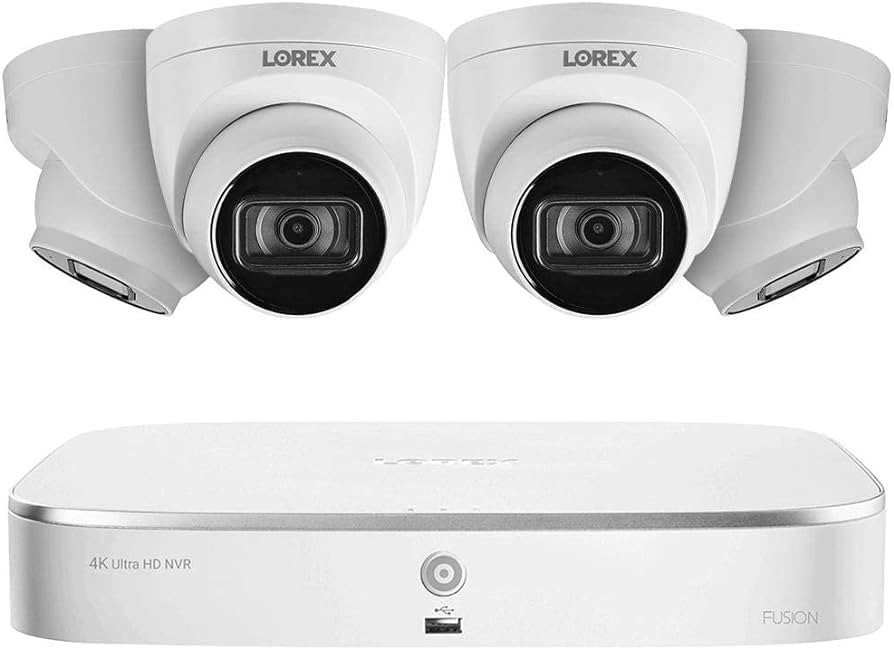
Lorex camera offers a wide range of cameras, from bullet and dome styles to PTZ (pan-tilt-zoom) and IP cameras. Select models that suit the particular needs of each location. For example, PTZ cameras are ideal for covering large areas, while bullet cameras may be better suited for fixed focus on entry points.
Mapping Camera Placement
Carefully map out where each camera will be placed. Take into account the requirement for power sources and the routing of cables if you’re not using wireless cameras. Ensure that cameras are positioned to maximize coverage and consider the height and angle for optimal field of view.
Considering Legal Requirements
Be aware of local laws and regulations regarding video surveillance, ensuring that your installation complies with privacy laws and any other legal requirements.
Installing Wired Lorex Cameras
Wired Lorex cameras offer reliability and high-quality video recording. The installation of these cameras involves running cables and ensuring secure connections, which can be an involved process.
Preparing for Installation
Gather all necessary tools and equipment before beginning the installation. This includes drills, screws, wall anchors, cable clips, and any specialized tools that may be required for your specific Lorex camera model.
Running Cables
Carefully plan the route for the cables to travel from the cameras to the DVR or NVR (Digital or Network Video Recorder). Keep cables away from high-traffic areas and use conduit or wire moldings to protect them from damage. If you need to drill through walls or ceilings, use grommets to protect the cables from sharp edges.
Mounting the Cameras
After the cables are in place, mount the cameras using the provided mounting hardware. Make adjustments to the camera’s angle and focus to ensure you’re capturing the desired area. Securely fasten the cameras to prevent any movement or tampering.
Connecting to the DVR/NVR
Run the cables to your DVR/NVR and make the necessary connections. This typically involves attaching the video and power cables to the corresponding inputs on the recording device.
Finalizing the Setup
Once all cameras are connected, power up the system and check each camera feed to confirm that they are working correctly. Make any necessary adjustments to camera angles and settings to optimize the video quality.
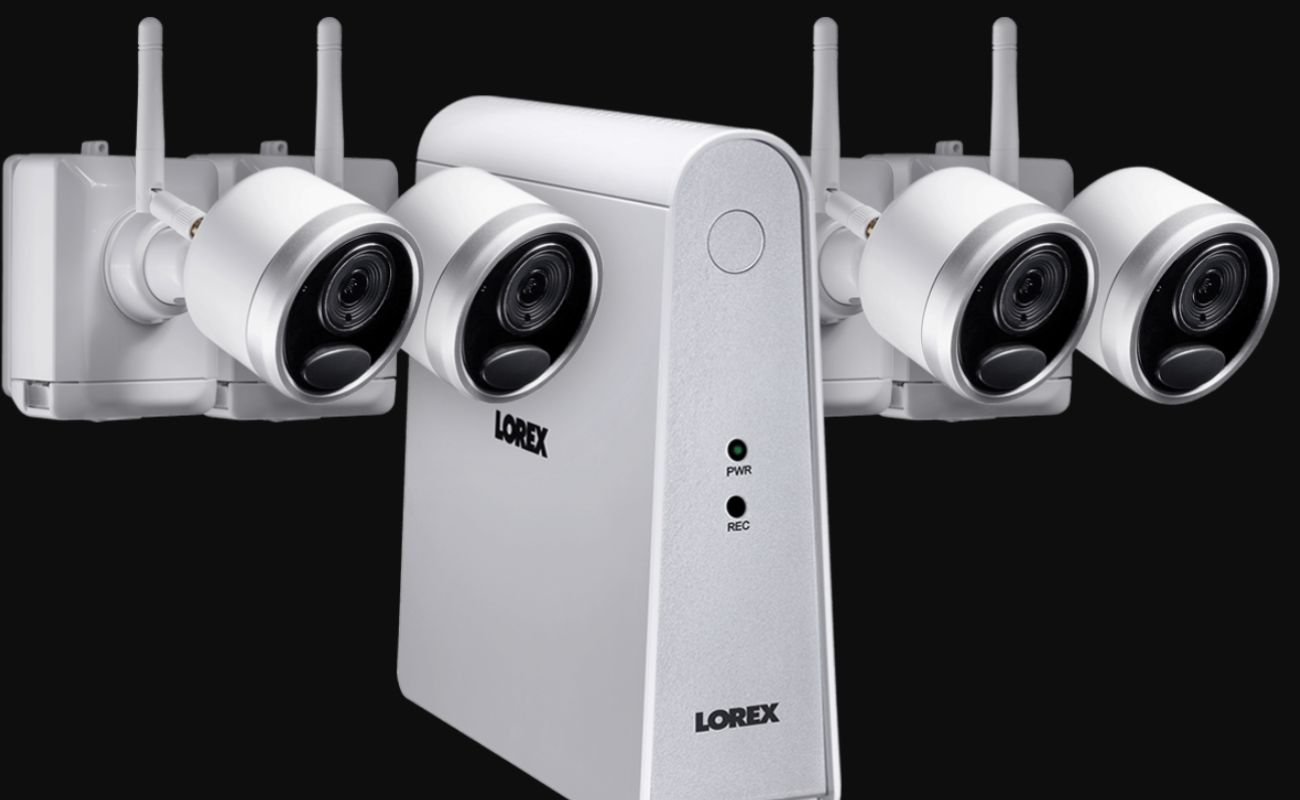
Setting Up Lorex Wireless Cameras
Wireless Lorex cameras provide a more flexible installation option, as you don’t have to worry about running video cables. However, they still require power and a good wireless connection to function correctly.
Positioning for Optimal Signal Strength
Ensure that each camera is within range of your wireless router or access point. The distance and obstacles between the camera and router can affect signal strength, so it’s important to position cameras where they receive a strong wireless signal.
Powering the Cameras
Even wireless cameras need power. Decide whether you’ll use batteries or a nearby power outlet to power each camera. If using batteries, regularly check and replace them as needed.
Syncing with the Network
Follow the manufacturer’s instructions to sync each camera with your network. This may involve using the Lorex app or a web-based setup portal to connect the cameras to your Wi-Fi.