Getting Started with Your Blink Camera
Unboxing and Understanding Your Blink Camera
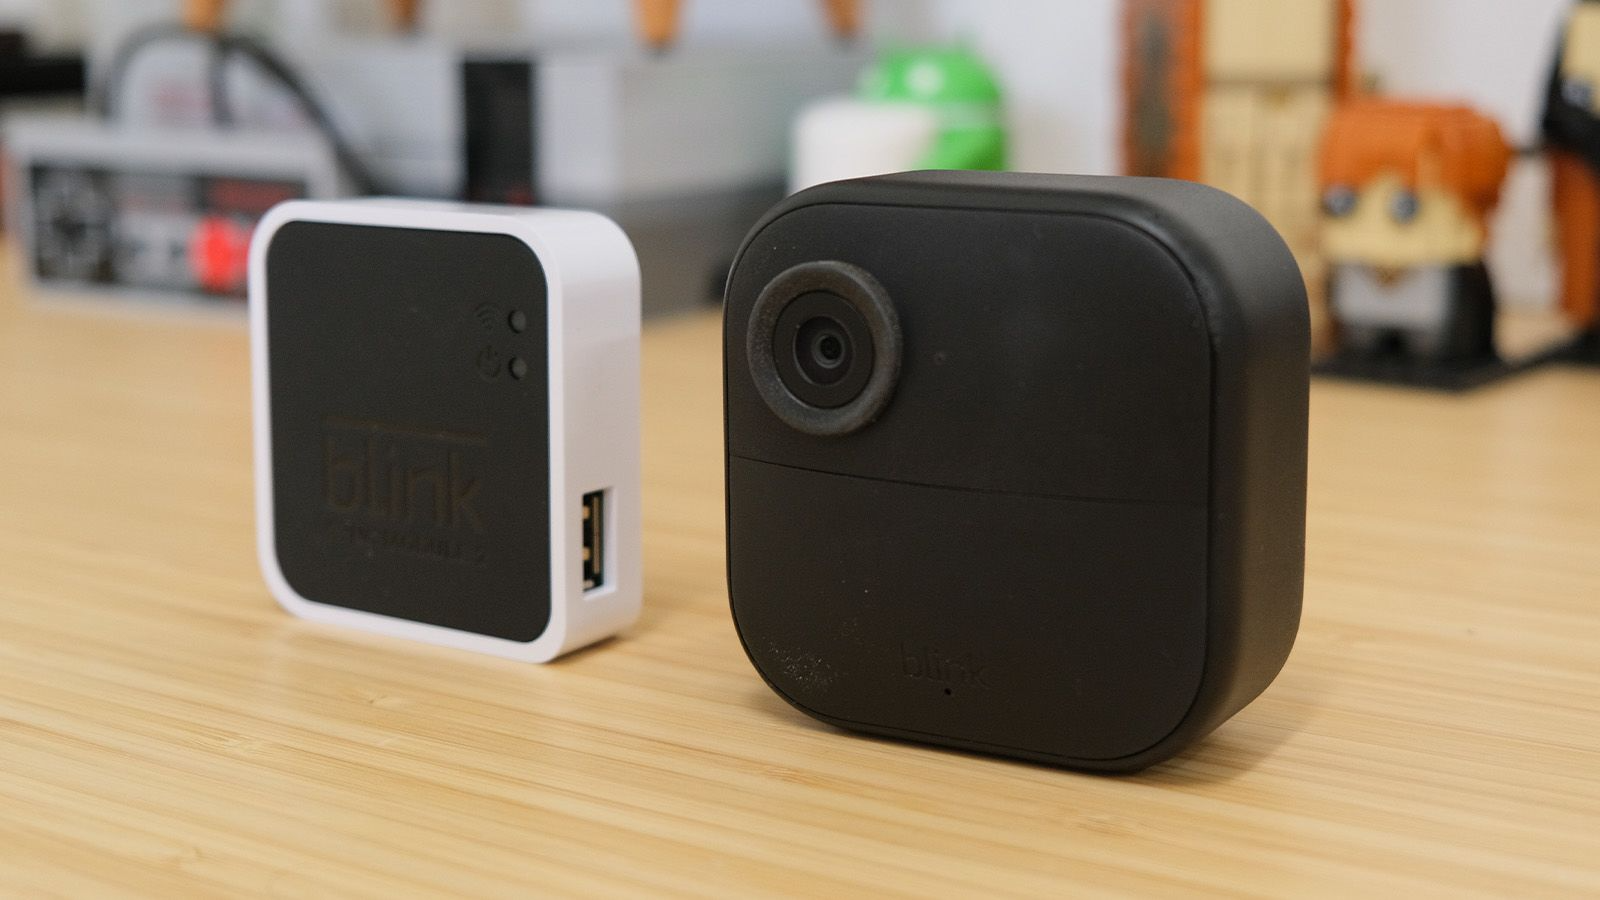
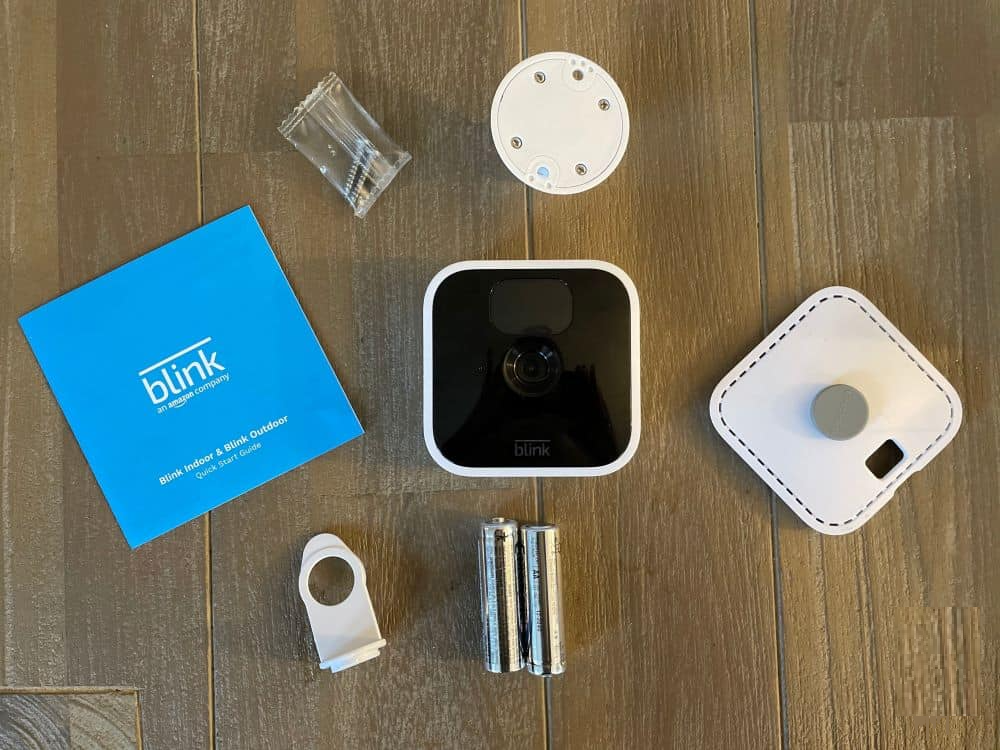
When you first receive your Blink camera, take a moment to unbox it carefully and familiarize yourself with its components. Ensure that all items listed on the packaging are present. You should find the Blink camera itself, a mounting kit, and instructions for setup. Before proceeding, make sure your home Wi-Fi network is active and that you have the network name and password handy, as you will need these during the setup process.
Installing the Blink Home Monitor App
The next step is to install the Blink Home Monitor app, which is available for free on both iOS and Android devices. Visit your respective app store, search for the Blink Home Monitor app, and download it to your smartphone or tablet. This app will serve as the control center for your Blink camera, allowing you to view live footage, manage settings, and receive alerts.
Preparing Your Camera for Connection
Inserting Batteries
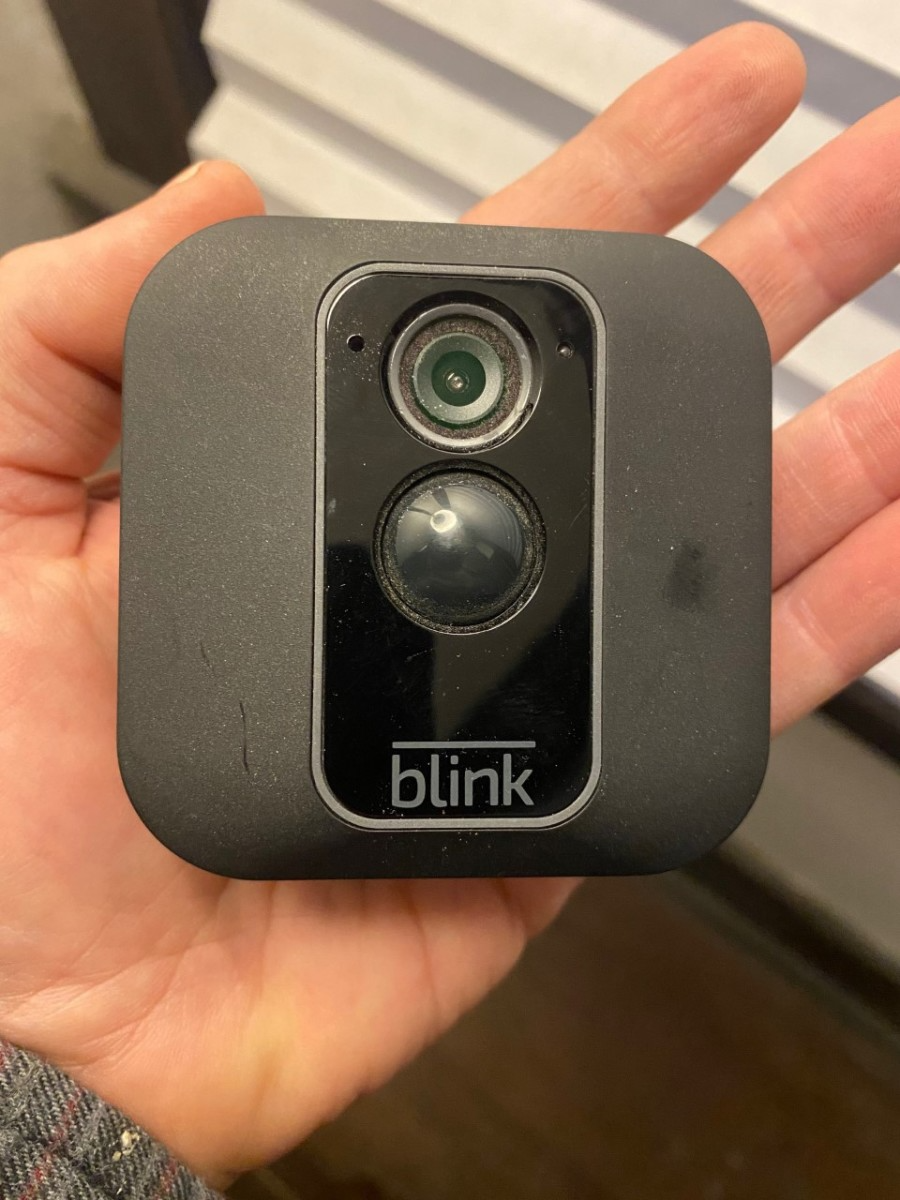
Most Blink cameras are powered by batteries, making them easy to install without the need for power cables. Open the battery compartment of your camera and insert the batteries according to the polarity markers. Make sure that the batteries are fresh and properly seated to ensure a reliable power supply for your camera.
Finding an Optimal Location
Before mounting your Blink camera, it’s important to find an optimal location for it. Consider the area you want to monitor and the camera’s range. Avoid placing the camera facing directly towards sunlight or in areas where it might be exposed to harsh weather conditions if it’s not weatherproof. Also, ensure that the location is within the range of your Wi-Fi network for a stable connection.
Connecting Your Blink Camera to Wi-Fi
Opening the Blink Home Monitor App
Now that your Blink camera is ready, open the Blink Home Monitor app on your smartphone or tablet. If you’re a new user, you will need to create an account. Follow the on-screen instructions to sign up. If you already have an account, simply log in with your credentials.
Adding Your Blink Camera
Once logged in, the app will guide you through the process of adding a new system. Tap the ‘+’ icon or the ‘Add Device’ button in the app. You’ll be prompted to select the type of Blink device you are setting up—choose the appropriate camera model.
Scanning the QR Code
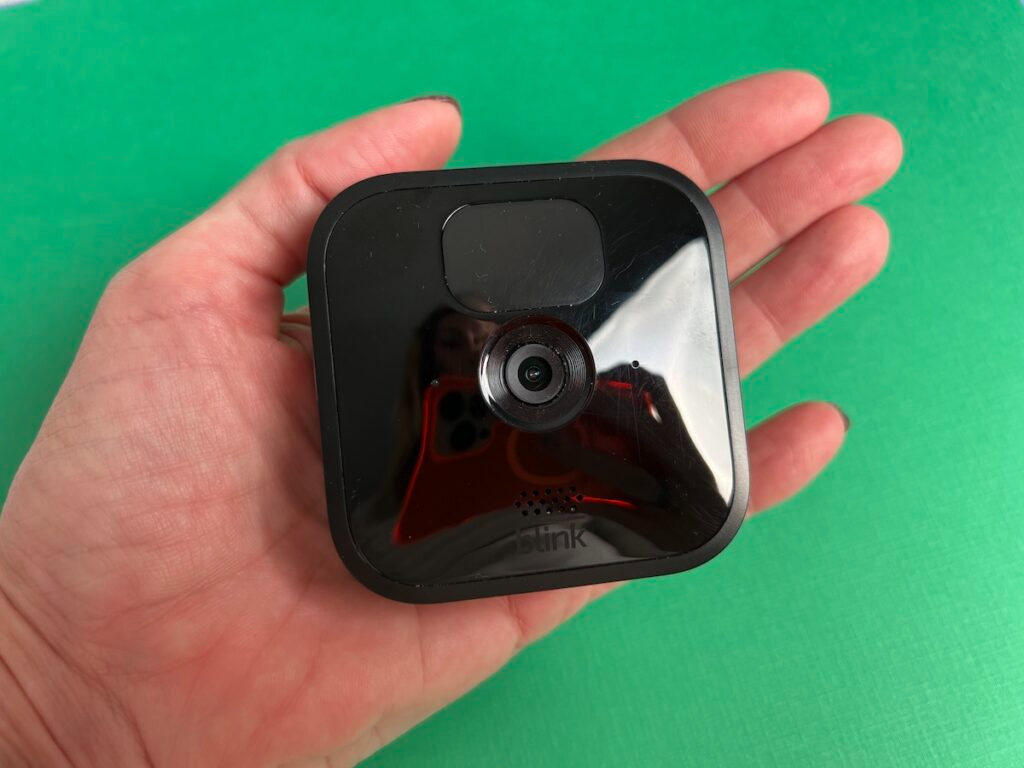
On the back of your Blink camera or inside the battery compartment, you’ll find a QR code. The app will ask you to scan this QR code with your smartphone or tablet’s camera. This is how the app identifies your specific Blink camera and prepares it to connect to your Wi-Fi network.
Connecting to Wi-Fi
After scanning the QR code, you’ll be requested to enter your home Wi-Fi network credentials. Ensure that you enter the correct network name and password. The app will then communicate with your Blink camera to establish a Wi-Fi connection. This process may take a few moments, so be patient.
Completing the Setup
Once the Blink camera connects to your Wi-Fi network, the app will confirm that the setup is complete. You can now adjust your camera’s settings, such as motion detection zones and notification preferences, directly from the app.
Troubleshooting Connection Issues
When you experience connectivity issues with your Blink camera, it can be frustrating and may compromise your home security. However, many connection problems can be resolved through a series of troubleshooting steps. The following guide will help you diagnose and fix common issues that could prevent your Blink camera from connecting to Wi-Fi.
Assessing the Problem
Before diving into more advanced troubleshooting, it’s essential to understand the nature of the problem. Is the camera not connecting to the Wi-Fi network at all, or is it experiencing intermittent connectivity? Does the issue occur during the initial setup or after the camera has been in use for some time?
Basic Troubleshooting Steps
Verifying Wi-Fi Credentials
Incorrect Wi-Fi credentials are one of the most common causes of connectivity issues. Double-check that you have entered the correct network name (SSID) and password. Remember that these credentials are case-sensitive. If you’ve recently changed your Wi-Fi password or SSID, you will need to update this information in the Blink app.
Assessing Wi-Fi Signal Strength
A weak Wi-Fi signal can lead to connection problems or intermittent disconnections. Use your smartphone or a Wi-Fi signal strength measuring app to check the signal strength in the area where the Blink camera is located. If the signal is weak, try moving your router closer to the camera or consider installing a Wi-Fi range extender or mesh network system.
Rebooting Devices
A simple reboot can often resolve connectivity issues. Power cycle your Blink camera by removing the batteries for about 10 seconds and then reinserting them. Additionally, reboot your Wi-Fi router by unplugging it, waiting for a minute, and plugging it back in. This can clear network congestion and refresh your connection.
Checking for Interference
Other electronic devices and physical obstructions can interfere with Wi-Fi signals. Devices like microwaves, cordless phones, or baby monitors operating on the same frequency can cause interference. Large metal objects, mirrors, and thick walls can also weaken the signal. Try to eliminate these potential sources of interference or move your Blink camera to a different location.
Advanced Troubleshooting Steps
Resetting Your Camera
If the above steps don’t work, consider resetting your Blink camera. Most Blink cameras have a reset button located inside the battery compartment or on the back of the unit. Press and hold this button for 10-15 seconds to reset the camera to factory settings. After a reset, you will need to go through the setup process again.
Updating Firmware
Ensure that your Blink camera is running the latest firmware, as updates often include fixes for connectivity issues. Open the Blink app and check for any available firmware updates for your camera model. If there is an update, follow the on-screen instructions to complete the process.
Checking Router Settings
Sometimes, router settings can prevent your Blink camera from connecting. Ensure that your router is set to broadcast on a 2.4 GHz network, as most Blink cameras do not support 5 GHz Wi-Fi. Additionally, check if any security settings or firewalls on your router might be blocking the camera’s connection.
Contacting Support
If you have tried all of the above steps and your Blink camera still won’t connect to Wi-Fi, it might be time to contact Blink customer support. They can offer additional assistance and, if necessary, walk you through the process of returning the camera for repair or replacement if it’s deemed to be a hardware issue.
Conclusion
Troubleshooting connection issues with your Blink camera can seem daunting, but by following these steps methodically, you can often resolve the problem on your own. Always start with the basics, such as verifying your Wi-Fi credentials and signal strength, before moving on to more complex solutions. With patience and a systematic approach, you’ll have your Blink camera back online and ensuring your home’s security in no time.
Remember that maintaining a stable connection is key to the reliable performance of your Blink camera. Regularly check your Wi-Fi setup and the Blink app for updates to ensure your camera system operates smoothly.