The Importance of Choosing the Right Lens for Solar Eclipses
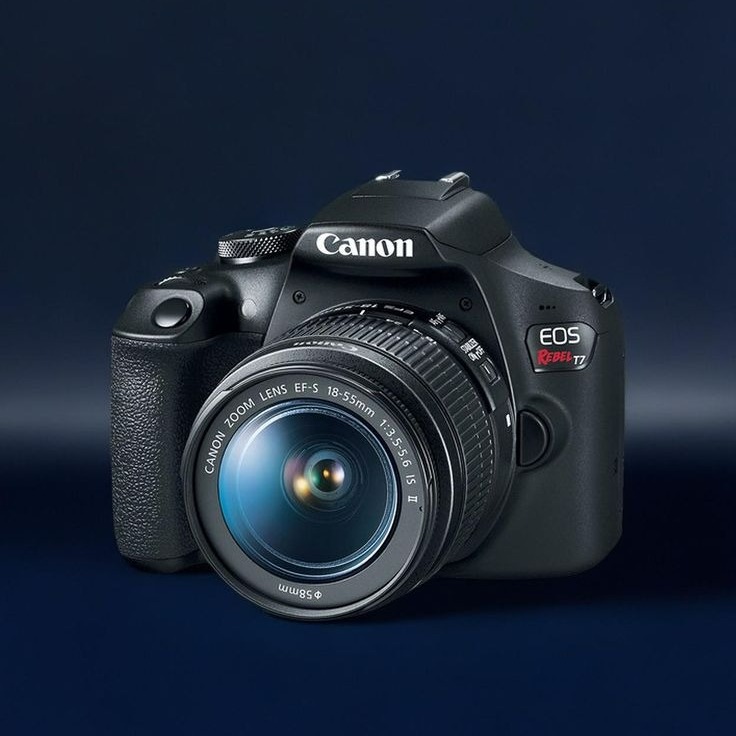
Choosing the correct camera lens for solar eclipse photography is crucial. The right lens can capture the grandeur and detail of an eclipse. It allows you to photograph the event safely and effectively. When the moon covers the sun, the lighting conditions change rapidly. A good lens will help you adapt to this. It will provide clarity and precision in your images.
Remember, solar eclipses are rare. You may only get one shot at capturing these moments. A mismatched lens may lead to poor image quality or even damage to your eyes and equipment. Investing in a suitable camera lens for solar eclipse is wise. It enhances your photography experience and safeguards your gear.
Types of Lenses Suitable for Solar Eclipse Photography
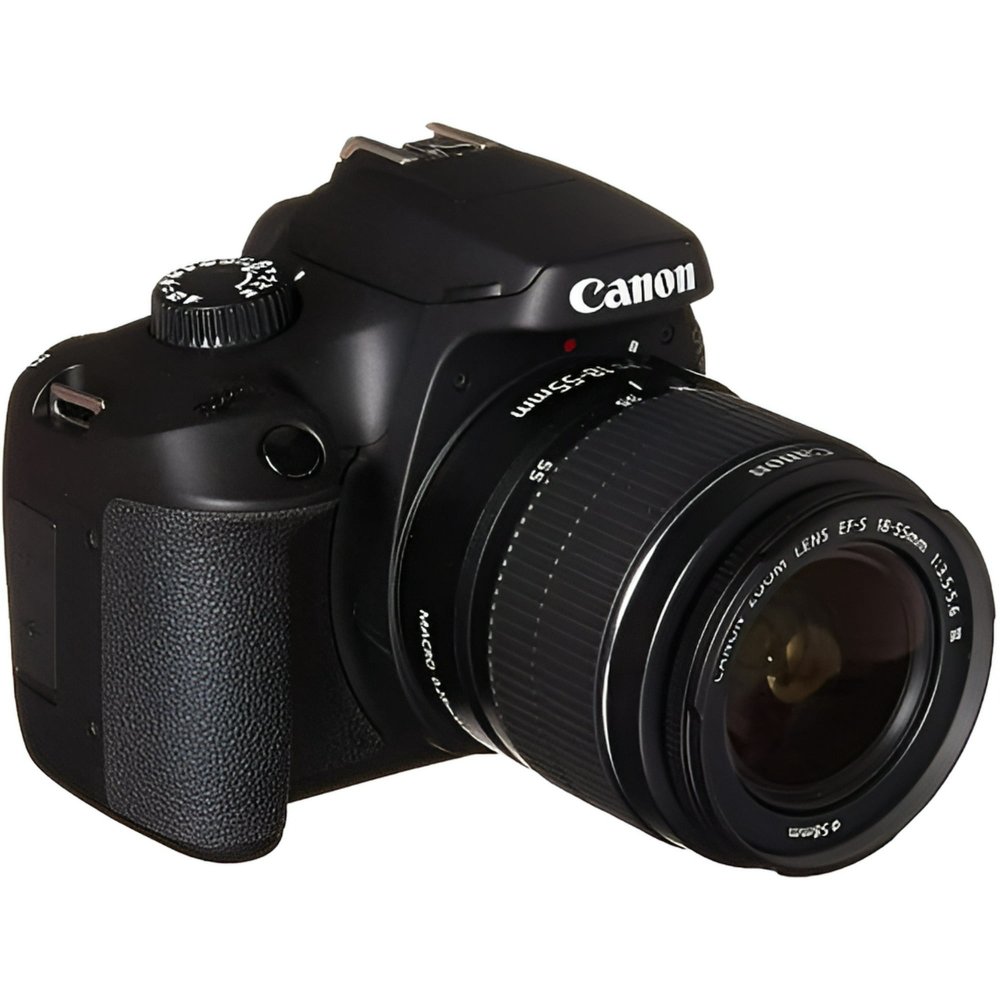
When it comes to photographing solar eclipses, the type of camera lens you select is critical. Different lenses can offer various perspectives and qualities to your images. Here are the primary types of lenses that are suitable for capturing the fleeting beauty of a solar eclipse:
Telephoto Lenses: These lenses are ideal for zooming in on the sun. They allow you to fill the frame with the eclipse, capturing intricate details.
Super Telephoto Lenses: For an even closer look and more detail, a super telephoto lens is the way to go. It’s perfect for getting tight, detailed shots of the sun’s corona.
Wide-Angle Lenses: While not typically used for close-ups of the eclipse, wide-angle lenses can capture the environment and the eclipse in context. This provides a unique perspective on the event.
Mirror Lenses: Often more affordable, mirror lenses can be used for solar eclipse photography. They have long focal lengths and are compact in size.
Catadioptric Lenses: These special lenses use both mirrors and lenses, providing high magnification with fewer chromatic aberrations. This makes them another option for eclipse images.
It’s important to use a camera lens for solar eclipse that is compatible with your camera body and meets your photography goals. The solar eclipse is a dramatic event, and the right lens can help you capture its magnificence with clear, stunning photographs. Remember to factor in the lens’ focal length and maximum aperture when making your choice, as these will influence the quality and exposure of your eclipse photos.
The Role of Filters in Capturing Solar Eclipses
When photographing a solar eclipse, using the right filter is as vital as selecting the ideal camera lens for solar eclipse. Without a proper filter, the intense sunlight can damage your camera sensor. It can also harm your eyes. There are specific filters designed to protect your equipment during an eclipse.
Solar Filters: These are the most crucial for direct sun photography. They block out the majority of the sun’s harmful rays, making it safe to capture the eclipse.
Neutral Density (ND) Filters: While not as strong as solar filters, ND filters reduce light entering the lens. This can prevent overexposure.
Polarizing Filters: They can help manage reflections and enhance contrast. But they are not enough on their own for direct solar photography.
You should never attempt to photograph the sun without the proper filter. Doing so risks permanent damage to your equipment and your eyesight. Always look for a filter that can block light in the ultraviolet and infrared spectrums. This will ensure sharp, crisp images of the solar eclipse. It’s also essential to fit the filter securely on the lens. This prevents any light leaks that might affect your photograph and safety.
In summary, a high-quality filter is a critical companion for your camera lens for solar eclipse photography. It allows you to capture the event safely without compromising image integrity.
Lens Focal Length and Its Impact on Solar Eclipse Images
The focal length of a camera lens for solar eclipse is crucial. It determines the size of the sun in your images. A longer focal length can magnify the sun, showing more detail. For instance, lenses with focal lengths of 300mm or more can zoom in on the eclipse. They make the sun appear large and detailed in your frame. On the other hand, short focal lengths provide a wider view. They work well for capturing the landscape with the sun in the background. This can create stunning images that show the eclipse’s effect on the surroundings.
Understanding focal length can help you plan your shots. If you intend to capture only the eclipse, long focal lengths are best. They will allow you to fill the frame with the eclipse’s beauty. However, for a broader composition, consider shorter focal lengths. These can include the horizon or observers in the shot. The environment’s reaction can add depth to your eclipse photography.
Lastly, consider the maximum aperture of the lens. This will affect your ability to photograph in low light. During an eclipse, light levels drop dramatically. A lens with a large maximum aperture will let in more light. This is important for getting a clear shot during the totality phase when the sun is most obscured.
In conclusion, the focal length and maximum aperture are key. They influence the appearance of the sun in your shots and the overall quality. Choose a camera lens for solar eclipse with the right focal length for your desired image. And ensure it has an adequate aperture to handle the unique lighting of an eclipse.
Tips for Safely Photographing Solar Eclipses with Camera Lenses
When photographing solar eclipses, safety is paramount. Here are tips to ensure both you and your equipment stay safe during the event:
- Use Solar Filters: Make sure your camera lens for solar eclipse has a solar filter. This blocks harmful rays and protects your sensor.
- Check Filter Fit: Ensure your solar filter fits snugly. A loose filter can let in harmful light.
- Never Look Directly at the Sun: Use your camera’s LCD or viewfinder. Never look at the sun through the lens without a filter.
- Test Your Equipment: Try out your gear before the eclipse. Know how to adjust settings quickly.
- Secure Your Camera: Use a stable tripod. This prevents camera shake and keeps your hands free.
- Be Patient: Solar eclipses last a short time. Don’t rush your shots. Take time to focus and frame.
- Protect Your Eyes: Wear solar viewing glasses. Your eyes are as important as your camera.
- Plan Your Composition: Decide if you want just the sun or the landscape too. Pick the right focal length for your vision.
- Monitor Light Levels: As the eclipse progresses, adjust your exposure settings. Light conditions change fast.
- Enjoy the Experience: Remember to take breaks. Look around and enjoy the moment beyond the lens.
Following these tips will help you capture the solar eclipse safely. You’ll get stunning images without risking your or your camera’s safety.
Prime Lenses vs. Zoom Lenses for Eclipse Photography
When preparing for solar eclipse photography, picking between prime and zoom lenses is key. Both have benefits that can enhance your photos of this rare event.
Prime Lenses: These come with a fixed focal length. They often offer sharper images and better aperture sizes. A prime lens with a large aperture allows more light. This is great during the darker phases of an eclipse. They are also typically lighter and easier to handle. However, they lack flexibility. You must move physically to change the composition or framing.
Zoom Lenses: With these, you can adjust the focal length on the go. Zoom lenses give you flexibility to frame your shot without moving. They are ideal for adjusting your view as the eclipse happens. This means you can switch between close-ups and wide shots quickly. But, zooms might not be as sharp as primes. They may also have smaller max apertures, which affects low-light performance.
Your choice depends on your shooting style and the compositions you envision. With prime lenses, you plan more and set your position early. Choose a focal length that fits the scale of the sun you want. With zoom lenses, you have the chance to be more spontaneous. They allow you to react to the unfolding eclipse and adapt your framing.
For the best camera lens for solar eclipse, consider your preferred style of photography. Think about the image quality you aim for and weigh the pros and cons. Both prime and zoom lenses have a place in eclipse photography. They just serve different needs based on your creative goals and practical requirements.
Preparing Your Camera Gear for a Solar Eclipse Shoot
To capture the solar eclipse perfectly, you must prepare your camera gear well. Start by choosing a suitable camera lens for solar eclipse, as discussed earlier. Confirm that the lens and camera body work together without issues. Charge your camera batteries fully and carry spares if possible. Eclipses can last a few hours, and you don’t want to miss out due to a dead battery.
Clean your camera lens meticulously. Any dirt or smudges can affect the image quality. With the lens ready, mount the solar filter securely. Double-check the filter to ensure there are no gaps or light leaks. Remember, safety always comes first.
Next, set up a tripod. You need stability during the shoot, especially with a long telephoto lens. A sturdy tripod avoids camera shake. This also frees your hands so you can adjust settings and enjoy the event.
Practice framing and focusing before the eclipse. Getting a sharp focus on the sun can be challenging. Use manual focus if necessary. If your camera has a Live View mode, use it. This enables you to see the sun’s position without looking directly through the lens.
Lastly, prepare your shooting location early. Find a clear and unobstructed view. Check weather forecasts to avoid cloudy skies. Position yourself comfortably and get ready to capture this spectacular celestial event.
Essential Camera Settings for Photographing Solar Eclipses
Photographing solar eclipses demands precise camera settings. To achieve great results, adjust your camera for optimal exposure and focus. Here are key settings to consider:
Manual Mode: Auto settings won’t work well for eclipses. Switch to manual mode. This gives you full control over aperture, shutter speed, and ISO.
Low ISO: Start with a low ISO, like 100 or 200. It minimizes grain in your images. You can increase it if the scene gets too dark during totality.
Aperture Setting: Use a medium to small aperture, such as f/8 to f/16. It provides a deeper depth of field and sharper images.
Shutter Speed: Shutter speed varies depending on the phase of the eclipse. For partial phases, faster speeds like 1/1000 to 1/4000 may be needed. During totality, slower speeds can capture more detail.
Spot Metering: Choose spot metering to measure the sun’s brightness. It helps to avoid underexposure or overexposure of the sun in your photos.
Manual Focus: Autofocus can struggle with the darkened sun. Set your camera to manual focus. Aim for a sharp outline of the moon against the sun.
Raw Format: Shoot in raw format if possible. It captures more detail and allows greater flexibility in post-processing.
Use these settings as a starting point. Adjust them to your specific situation. Remember to frequently check and tweak settings during the eclipse. Light levels can change quickly and dramatically. Good preparation along with proper settings will ensure you get the best images possible of this extraordinary event.