
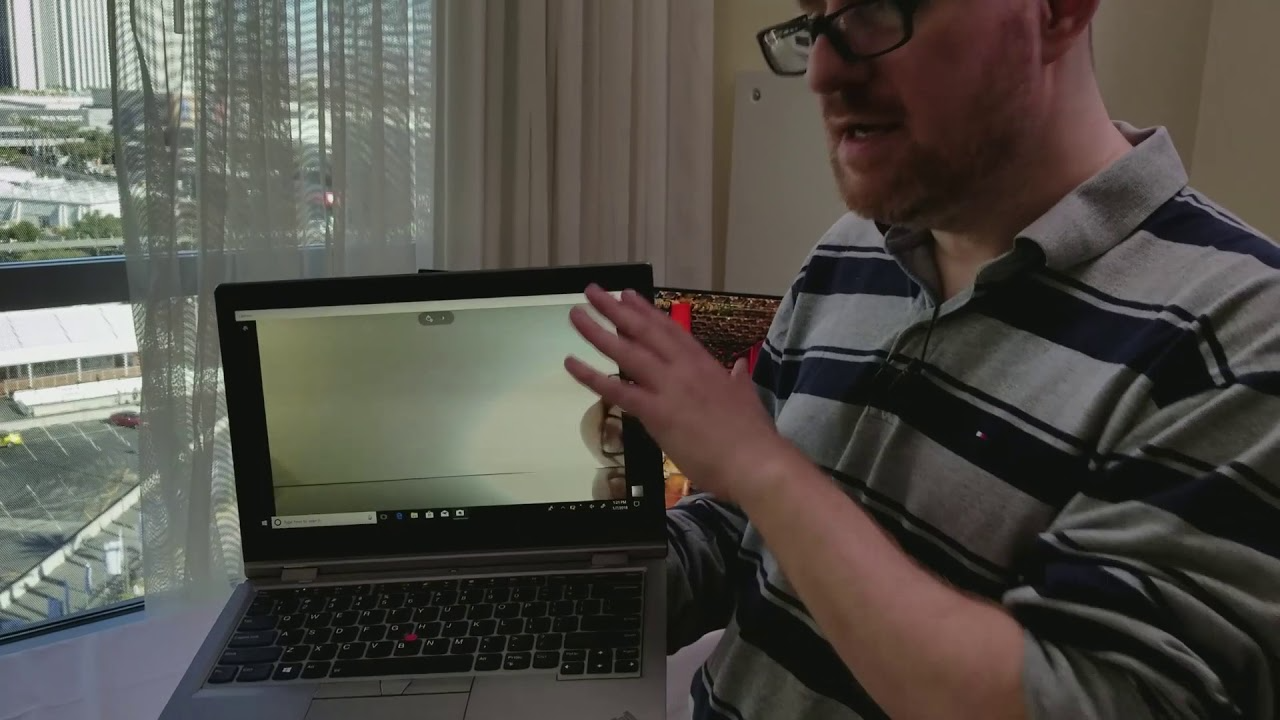
Introduction to Troubleshooting Lenovo ThinkPad Camera Issues
Lenovo ThinkPad laptops are renowned for their robustness and reliability, often becoming the go-to choice for business professionals. However, like any tech, they’re not immune to issues, and one common problem users might encounter is the camera not working. In this guide, we’ll explore various troubleshooting methods to get your ThinkPad camera up and running again.
Checking Basic Camera Functionality
Before diving into more advanced solutions, it’s essential to check the basic functionality of your ThinkPad camera:
- Ensure the Camera is Enabled: Many ThinkPads have a physical switch or a function key (often F8) to toggle the camera. Make sure it’s set to enable the camera.
- Privacy Settings: Check your operating system’s privacy settings to ensure that camera access is allowed for the applications you’re trying to use.
- Testing with Multiple Applications: Sometimes, the issue might be with a specific application. Test the camera with different programs to confirm if the problem is widespread.
Updating and Reinstalling Camera Drivers
Outdated or corrupted drivers are frequently the culprit behind camera malfunctions:
- Updating Drivers via Device Manager: Access the device manager, locate the camera under ‘Imaging devices,’ right-click and select ‘Update Driver Software.’
- Lenovo System Update: Lenovo offers a system update tool that can automatically scan for and update drivers.
- Manual Driver Reinstallation: Visit the Lenovo support website, find your specific ThinkPad model, and download the latest camera driver. Install it manually, following the on-screen instructions.
Examining Lenovo Vantage Settings
Lenovo Vantage is a software application designed to enhance the performance of Lenovo devices. It can sometimes override general settings:
- Accessing Camera Settings: Open Lenovo Vantage and navigate to the camera settings. Ensure that the camera is enabled from within this tool.
- Checking for Software Updates: Lenovo Vantage also provides system updates. Run it to see if any camera-related updates are available.
Exploring Privacy Shutter or Camera Cover
Some ThinkPad models have a privacy shutter or a camera cover to physically block the camera for security:
- Locating the Privacy Shutter: Check above the screen bezel for a slider or switch that might be closing off the camera.
- Operating the Camera Cover: If your model has a cover that you flip open and closed, make sure it’s in the open position.
Configuring BIOS Settings for Camera Functionality
The BIOS/UEFI settings on your ThinkPad can control hardware access, including the camera:
- Entering BIOS Setup: Reboot your ThinkPad and press the Enter key (or relevant function key) to enter the BIOS setup utility.
- Navigating to Security Settings: Within the BIOS, navigate to the ‘Security’ tab, and then to ‘I/O Port Access.’
- Enabling Camera: Ensure the camera is enabled in the BIOS settings. If it’s disabled, change the setting to enabled, save your changes, and exit the BIOS.
Running the Windows Hardware and Devices Troubleshooter
The built-in Windows troubleshooter can detect and resolve issues with hardware and peripherals:
- Accessing the Troubleshooter: Open ‘Settings,’ go to ‘Update & Security,’ and then to ‘Troubleshoot.’ Select ‘Hardware and Devices’ and run the troubleshooter.
- Following Guidance: Follow any recommendations provided by the troubleshooter to resolve detected issues.
Considering Known Software Conflicts
Certain software can interfere with camera operations:
- Antivirus Software: Some security programs can block camera access. Temporarily disable your antivirus to see if it resolves the issue.
- Other Camera Apps: If another application is using the camera, it may not be available in your desired app. Close all other programs that might be using the camera.
Restoring the System to a Previous State
If your camera stopped working after a software change or update, system restoration might help:
- Creating Restore Points: Regularly create system restore points, especially before making significant changes to your device.
- Performing System Restore: Use Windows System Restore to roll back your operating system to a point when the camera was functioning correctly.
Investigating Potential Hardware Malfunctions
Hardware failure, though rare, is a possibility:
- Internal Connections: Sometimes, the camera cable can become loose, especially if the laptop has suffered a drop or bump. If you’re comfortable doing so, open the laptop to check the connections (or have a professional do this).
- External Webcam as a Diagnostic Tool: Use an external webcam to confirm if the issue is software-related. If the external camera works without problems, the internal webcam might be at fault.
Seeking Professional Support and Warranty Services
If none of the above steps resolve the issue, it might be time to seek professional help:
- Lenovo Customer Support: Contact Lenovo customer support for assistance. They can guide you through further diagnostics and resolve the issue.
- Warranty Claim: If your ThinkPad is still under warranty, a repair or replacement might be covered. Check your warranty status and make a claim if necessary.
Conclusion
Troubleshooting a non-functioning camera on a Lenovo ThinkPad can be a layered process that requires patience and systematic exploration of potential solutions. From checking the basics to delving into BIOS settings, and from running hardware diagnostics to potentially seeking professional repair, the steps outlined provide a comprehensive guide to addressing and resolving camera malfunctions to restore your ThinkPad’s webcam functionality.