Mastering the Chromebook Camera
The camera on a Chromebook is designed for ease of use, serving as a practical tool for both work and play. Whether you’re attending video meetings, capturing images, or using augmented reality (AR) applications, understanding the Chromebook camera is key to taking full advantage of your device’s capabilities.
Getting to Know Your Camera App
Effortless Access for Everyday Use
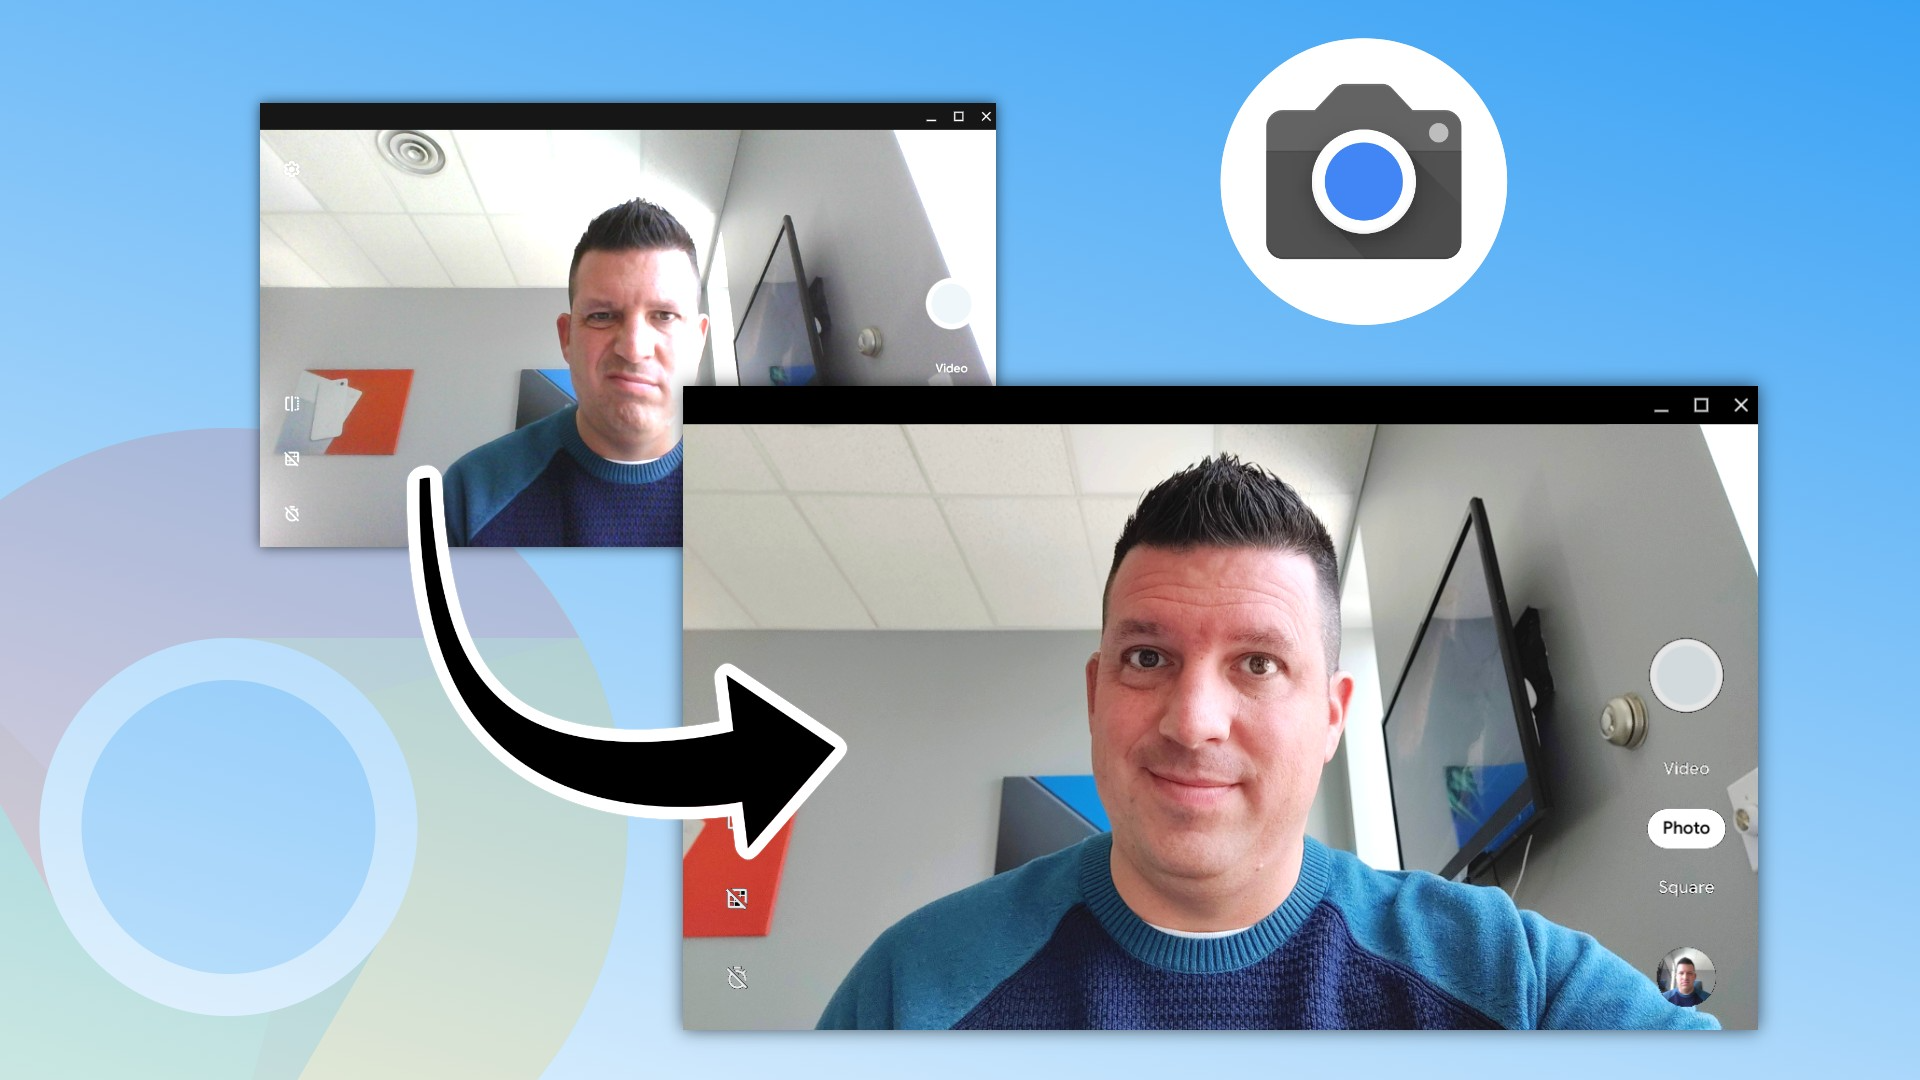
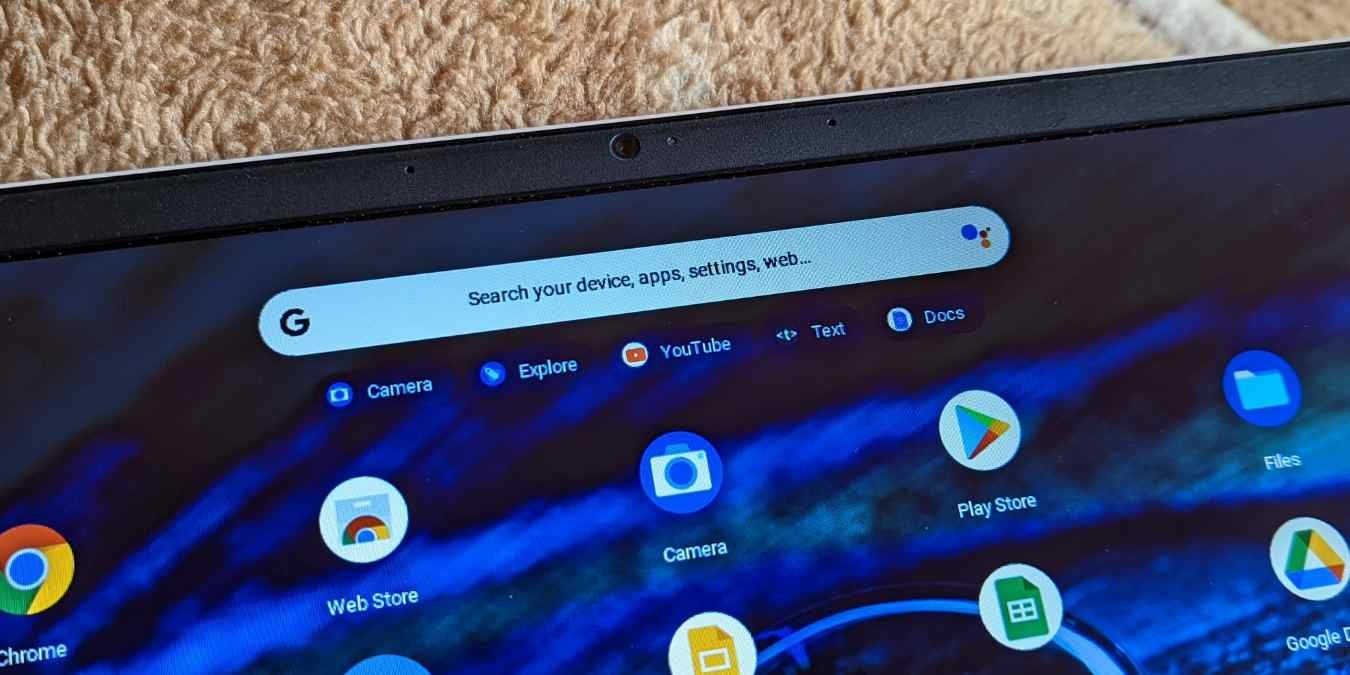
Accessing the camera on your Chromebook is straightforward. Click on the Launcher (typically found in the lower-left corner of the screen), and either browse through the apps to find the Camera app or type “Camera” into the search bar and select it from the search results. Once you open the Camera app, you’ll be greeted with an intuitive interface ready for quick photo or video capture.
Versatile Camera Modes
Adapting to Various Imaging Needs
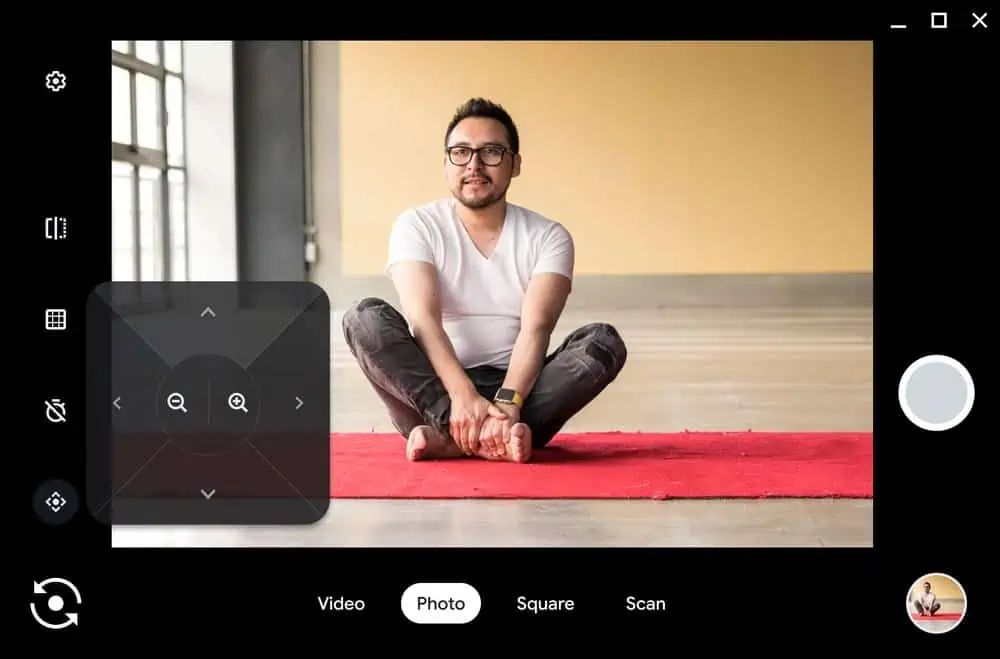
The Chromebook Camera app offers different modes such as Photo, Video, and Square, catering to various content creation needs. Some Chromebooks also offer additional features like Portrait mode for focus-enhanced photos, or Scan mode for document capturing. Toggling between these modes is as simple as selecting the desired option on the screen.
Customizing Camera Settings
Personalizing Your Camera Experience
Within the Camera app, users can explore settings for adjusting resolution, enabling grid lines, or setting a timer for photos. While the Chromebook camera might not have as many settings as a professional camera, there are sufficient options to suit most users’ primary needs.
Integrating with Apps and Services
Expanding Functionality Beyond the Camera App
The Chromebook camera can be used with a variety of apps and services. From video conferencing tools like Google Meet to educational apps that utilize AR technology, your device’s camera can be selectively enabled for different purposes. When prompted, simply allow the app to access your camera, ensuring you have the functionality you need within each service.
Privacy and Security
Staying In Control of Your Camera
Security is a priority with Chromebooks, and managing camera permissions is a part of maintaining privacy. Chromebook users can control which websites and apps have access to the camera, ensuring that it’s only activated when intended. This can be managed through site settings in the Chrome browser or through app permissions in the system settings.
Conclusion
The Chromebook camera is a powerful yet user-friendly tool that can enhance your computing experience. Whether you’re using it for basic photography, video communication, or interactive learning, understanding how to access and control your Chromebook’s camera is essential. With straightforward functionality and robust privacy features, you can use your camera confidently and securely.
Enabling the Camera Manually
Accessing Camera Settings
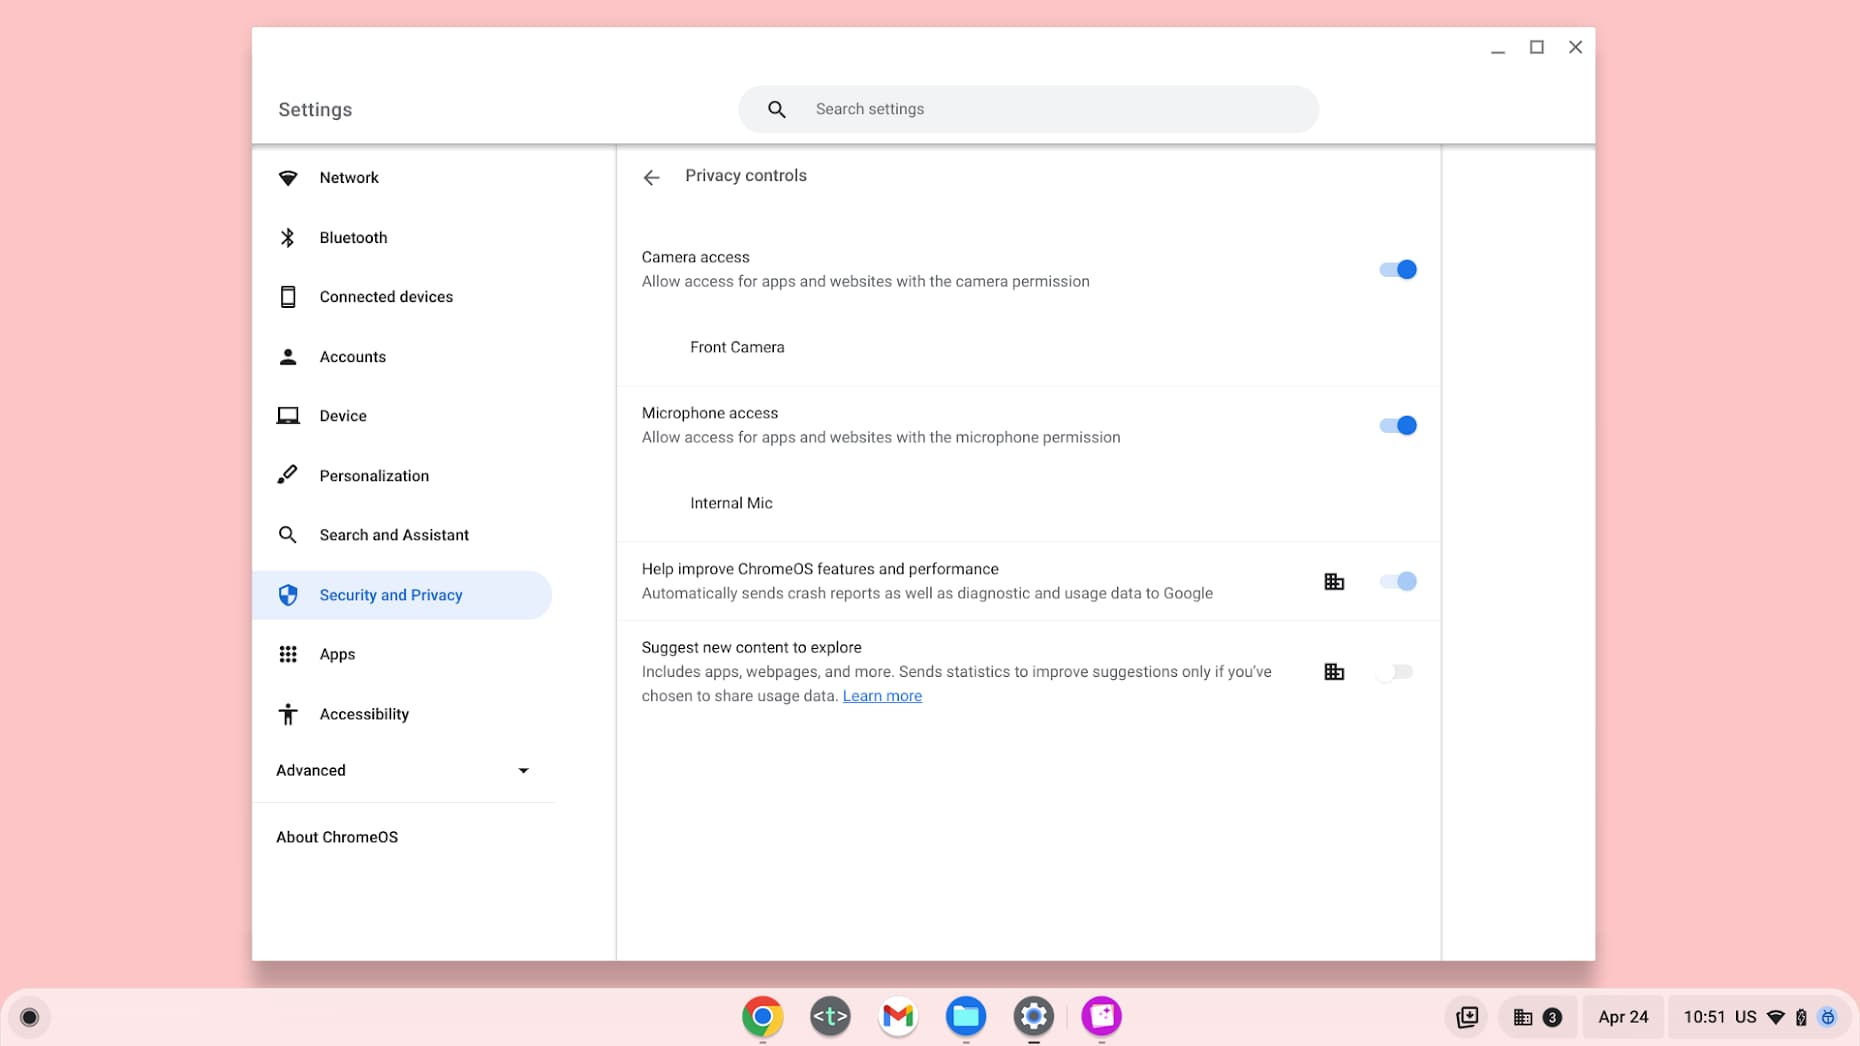
Turning on the camera on a Chromebook involves navigating to the settings menu. Click on the time in the lower right corner to open the system tray, then click the gear icon to access “Settings”.
- Step 1: In the Settings panel, scroll down and click on “Privacy and security”.
- Step 2: Within this section, find and select “Site settings”.
- Step 3: Now, click on “Camera” under the “Permissions” category.
Here, ensure that the toggle switch beside “Ask before accessing (recommended)” is turned on. This setting ensures that websites must request permission to use your camera, safeguarding your privacy.
Using the Camera for Applications
Launching the Camera App
To manually activate the camera for use:
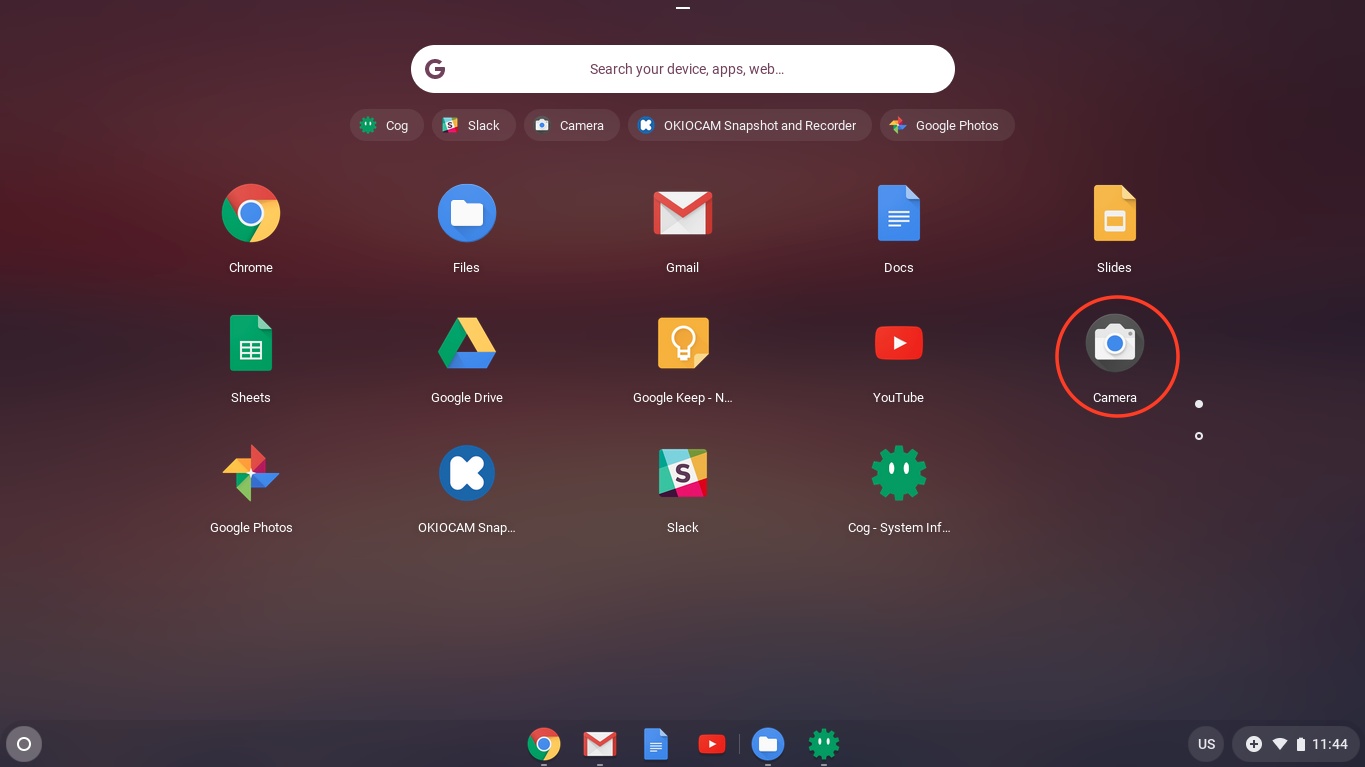
- Locate and click the Launcher (usually represented by a circle at the bottom-left of the shelf).
- Type “Camera” in the search bar, and select the native “Camera” app.
- Upon launching the app, your camera should automatically turn on.
If it doesn’t, verify that the camera permissions are enabled in the previous step.
Using Camera in Web Apps
When using web apps like Google Meet or Zoom, the camera will activate when you join or start a video call. During a meeting, look for the camera icon in the app interface; clicking it will enable or disable your camera feed.
Troubleshooting Camera Issues on Your Chromebook
Solving Common Camera Problems for a Smooth Experience
Despite the Chromebook’s user-friendly design, users may occasionally encounter issues with the camera. Here are steps for troubleshooting some of the most common camera problems on a Chromebook.
Camera Not Detected or Working
Quick Fixes to Get You Back in View
If your Chromebook doesn’t recognize the camera or it’s not functioning:
- Check for Updates – Ensure your Chromebook is running the latest version of Chrome OS. Go to Settings > About Chrome OS > Check for Updates. If an update is available, install it and restart your Chromebook.
- Restart Your Chromebook – A simple restart can often resolve minor glitches that might cause the camera to malfunction.
- Check App Permissions – If a specific app can’t access the camera, check the app’s permissions in the settings to ensure it has permission to use the camera.
- Reset Camera App – Clear the Camera app’s data. Go to Settings > Apps > Camera > Storage > Clear Data/Clear Cache.
Poor Image Quality
Enhancing Your Video Calls and Photos
For issues with image quality, such as blurriness or low resolution:
- Clean the Camera Lens – Use a soft, lint-free cloth to gently clean the lens. Fingerprints or dust on the lens can cause image quality to deteriorate.
- Adjust Settings – If available, tweak the camera settings within the app you’re using. Some apps allow you to change the resolution or quality of the video feed.
- Improve Lighting – Ensure the subject is well-lit. Poor lighting can significantly affect the camera’s image quality.
Camera App Crashes or Freezes
Restoring Stability to Your Camera Operations
If the Camera app crashes or freezes:
- Close Other Apps – Running too many apps simultaneously can put a strain on the system. Close unnecessary apps to free up resources.
- Reset the Camera App – Try the earlier mentioned steps to reset the Camera app’s data and cache.
- Powerwash – As a last resort, if all else fails, consider performing a Powerwash (factory reset). This will erase all data on your Chromebook, so back up important files first. Go to Settings > Advanced > Reset Settings > Powerwash > Restart.
Camera Works Intermittently
Addressing Sporadic Camera Performance
For a camera that works on and off:
- Check for Physical Damage – Inspect your Chromebook for any signs of damage that could affect the camera’s connection or functionality.
- Test Hardware – Use the Chromebook’s built-in diagnostic tools to test the camera hardware. You can access these by entering ‘chrome://diagnostics’ in the Chrome browser.
Conclusion:
Keeping Your Chromebook Camera Ready
In summary, turning on the camera on your Chromebook is a straightforward process involving proper setup in settings and granting permission to applications. Regular maintenance, including software updates and occasional checks on permissions, will ensure that your Chromebook’s camera remains functional and ready for action whenever you need it. If troubleshooting steps fail to solve any issues, remember that seeking professional help is always an option. With these simple steps, you’ll be able to maximize the benefits of your Chromebook’s camera functionality without hassle.